
Olive oil cleaning stone steel – sounds like a fancy spa treatment, right? Well, almost! It’s actually your secret weapon for sparkling clean stainless steel, and I’m here to let you in on this amazing DIY trick. For generations, folks have been using simple, natural ingredients to keep their homes gleaming, long before fancy cleaning products lined store shelves. Think about it – our grandmothers probably had a similar trick up their sleeves!
Let’s face it, stainless steel appliances are gorgeous, but those fingerprints and water spots? Not so much. We all crave that showroom shine, but who has time for endless scrubbing with harsh chemicals? That’s where this olive oil cleaning stone steel hack comes in. It’s quick, easy, affordable, and uses ingredients you likely already have in your pantry.
I’m going to show you how to create your own cleaning stone using olive oil and a few other simple ingredients. This DIY method is not only effective but also eco-friendly, avoiding the harsh chemicals found in many commercial cleaners. Get ready to say goodbye to stubborn smudges and hello to a gleaming kitchen with this simple, yet powerful, cleaning solution!
DIY: Revive Your Stainless Steel with Olive Oil and a Cleaning Stone
Hey there, fellow DIY enthusiasts! Are you tired of looking at dull, scratched stainless steel appliances? Do those stubborn water spots and fingerprints drive you crazy? Well, I’ve got a fantastic, budget-friendly solution for you that combines the power of olive oil and a cleaning stone. Trust me, this method will leave your stainless steel looking brand new!
What You’ll Need
Before we dive in, let’s gather our supplies. This is a pretty simple project, so you probably have most of these items already:
* Olive Oil: Extra virgin olive oil works great, but any kind will do. We’re using it for its polishing and protective properties.
* Cleaning Stone (Pumice Stone): You can find these at most hardware stores or online. Make sure it’s a fine-grit stone to avoid scratching. A grill cleaning stone works well.
* Soft Microfiber Cloths: You’ll need a few – one for applying the olive oil, one for working with the cleaning stone, and one for buffing.
* Spray Bottle (Optional): This can help distribute the olive oil more evenly.
* Dish Soap: For pre-cleaning the surface.
* Water: For rinsing.
* Gloves (Optional): If you have sensitive skin, gloves are a good idea.
Preparing Your Stainless Steel Surface
Before we start the magic, we need to prep the surface. This ensures we’re working with a clean slate and that the olive oil and cleaning stone can do their best work.
1. Wash the Surface: Mix a small amount of dish soap with warm water. Using a soft cloth or sponge, thoroughly wash the stainless steel surface to remove any dirt, grease, or grime.
2. Rinse Well: Rinse the surface with clean water to remove all traces of soap.
3. Dry Completely: Use a clean, dry microfiber cloth to thoroughly dry the stainless steel. Any remaining water can interfere with the olive oil application.
The Olive Oil Treatment
Now for the fun part! The olive oil will act as a lubricant and a polishing agent, helping to lift away grime and restore shine.
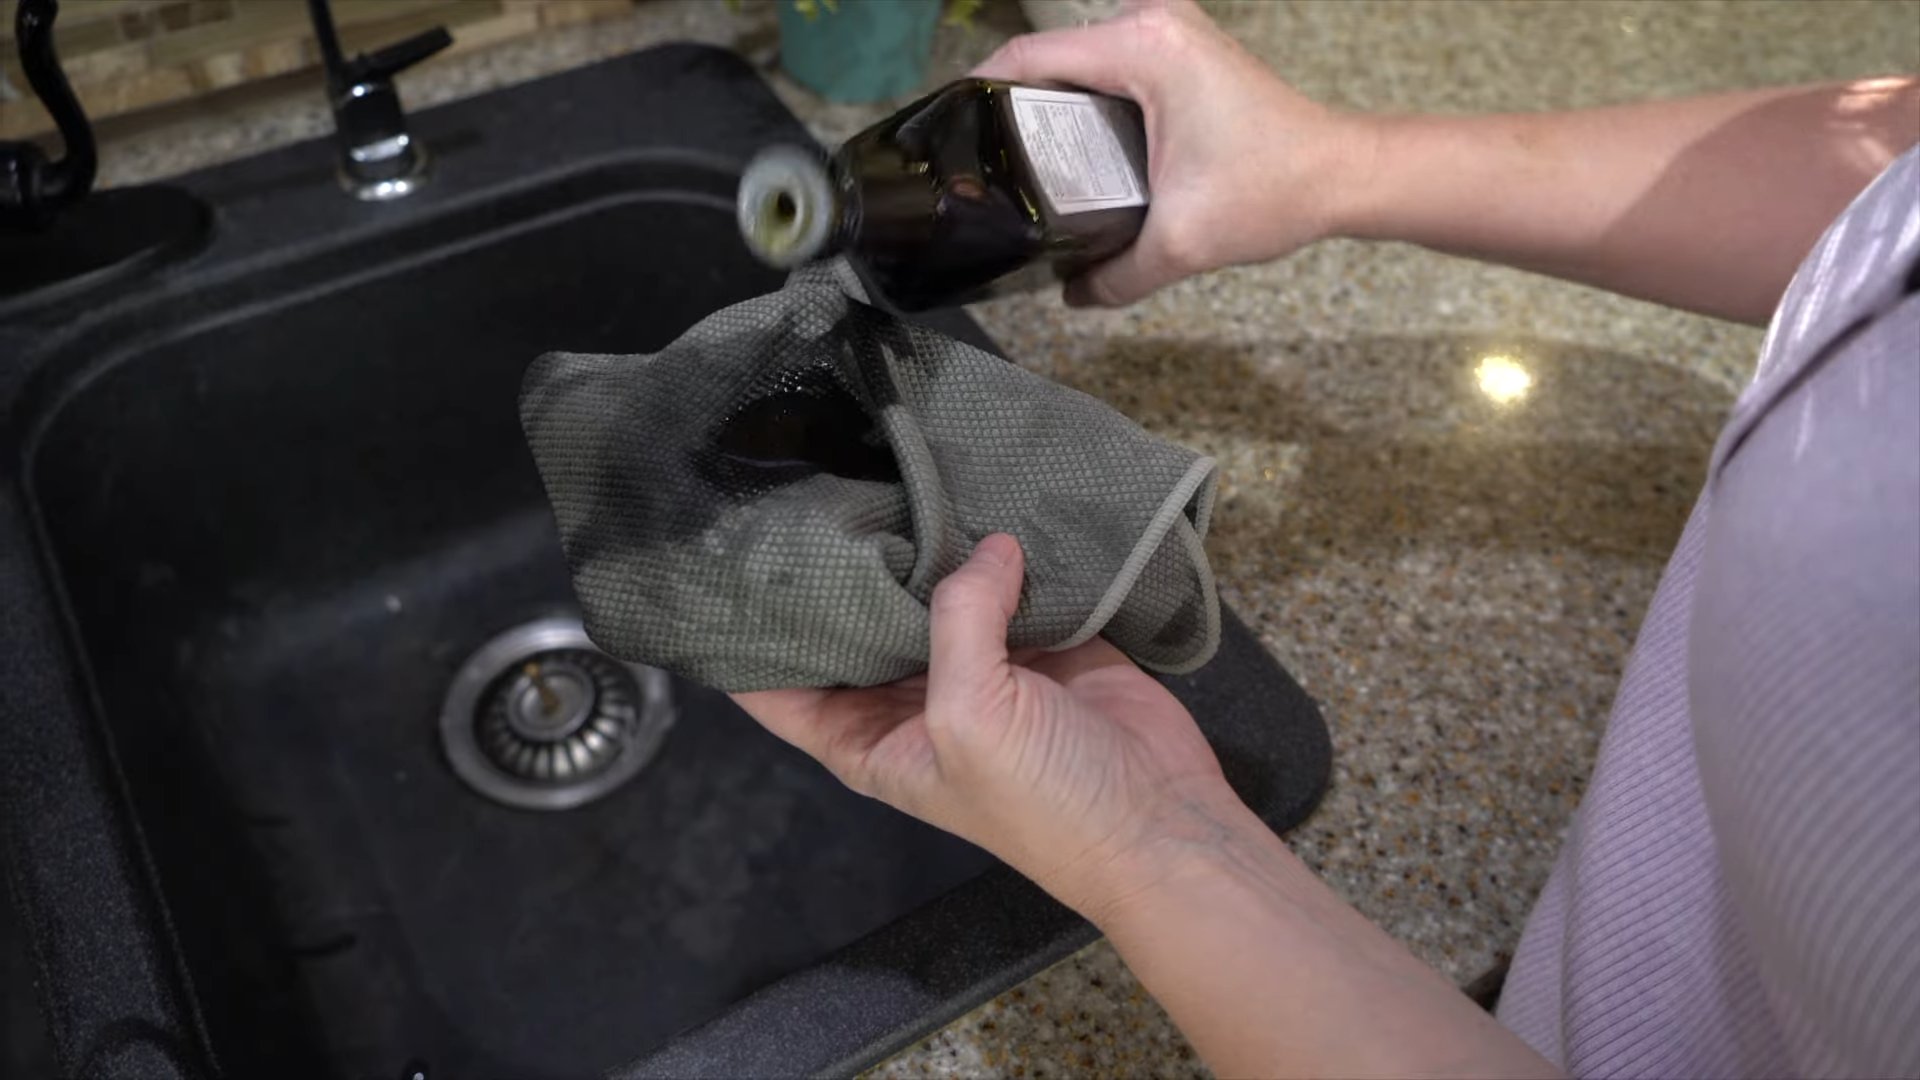
1. Apply Olive Oil: You have two options here. You can either pour a small amount of olive oil directly onto a clean microfiber cloth or pour some into a spray bottle and lightly mist the surface. I personally prefer the spray bottle method for even distribution.
2. Spread Evenly: Using the microfiber cloth, gently spread the olive oil over the entire stainless steel surface. Make sure you’re applying a thin, even coat. You don’t want it dripping!
3. Let it Sit (Optional): For heavily soiled or scratched surfaces, let the olive oil sit for about 5-10 minutes. This allows it to penetrate the grime and loosen it up.
Working with the Cleaning Stone
This is where the real magic happens! The cleaning stone will gently buff away scratches and imperfections, revealing a smoother, shinier surface.
1. Dampen the Cleaning Stone: Lightly dampen the cleaning stone with water. You don’t want it soaking wet, just slightly moist. This will help it glide more smoothly over the surface.
2. Gentle Circular Motions: Using light to medium pressure, gently rub the cleaning stone over the scratched or dull areas in small, circular motions. This is crucial: Always work *with* the grain of the stainless steel to avoid creating new scratches. Pay close attention to the direction of the grain.
3. Work in Sections: Focus on small sections at a time, overlapping your strokes slightly. This ensures you’re covering the entire area evenly.
4. Check Your Progress: Periodically wipe away the residue with a clean microfiber cloth to check your progress. You’ll start to see the scratches and imperfections fading away.
5. Rinse the Stone: As you work, the cleaning stone will accumulate residue. Rinse it periodically with water to keep it clean and effective.
6. Repeat as Needed: For deeper scratches, you may need to repeat the process several times. Just remember to be patient and use light pressure.
Buffing to a Shine
Once you’ve worked the cleaning stone over the entire surface, it’s time to buff it to a beautiful shine.
1. Wipe Away Residue: Use a clean, dry microfiber cloth to thoroughly wipe away any remaining olive oil and cleaning stone residue.
2. Buff in Circular Motions: Using a clean, dry microfiber cloth, buff the entire surface in small, circular motions. This will remove any remaining streaks and bring out the shine.
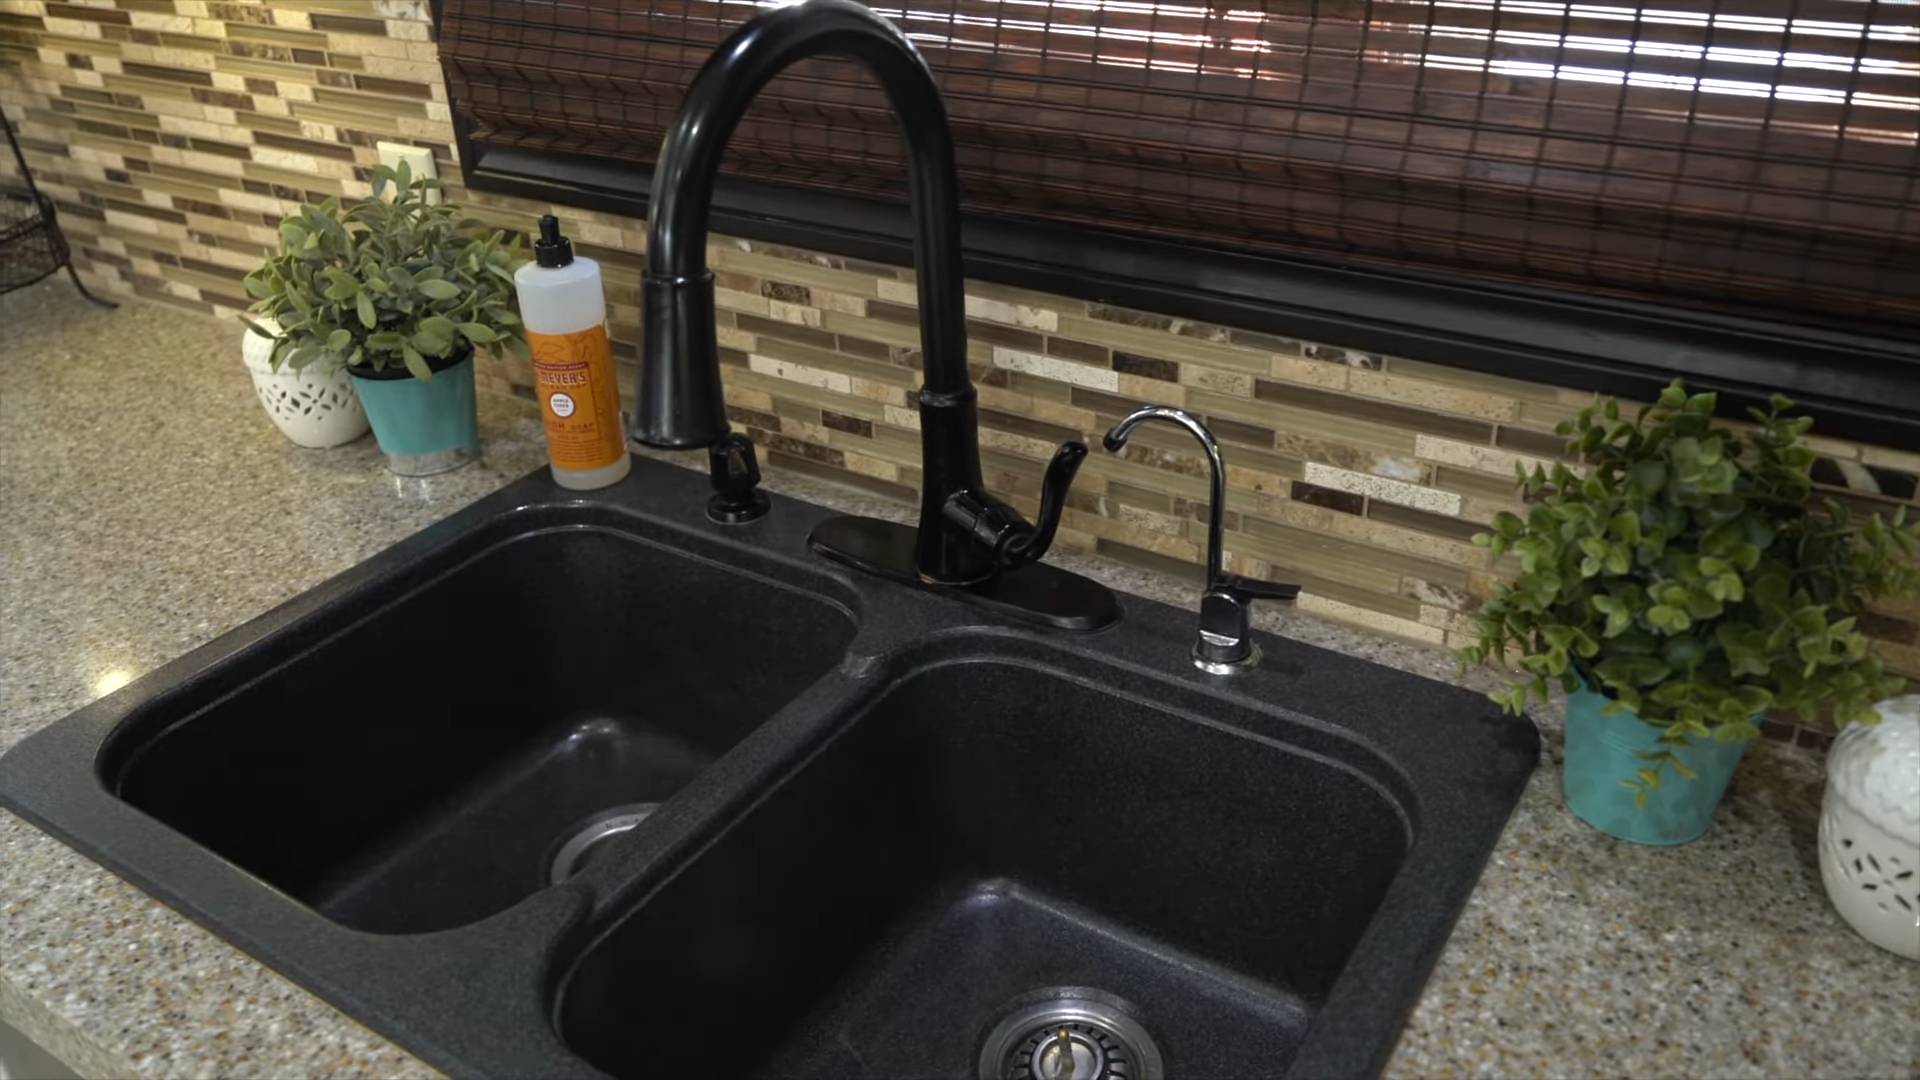
3. Admire Your Work: Step back and admire your beautifully restored stainless steel!
Dealing with Stubborn Scratches
Sometimes, you’ll encounter scratches that are a bit more stubborn. Here are a few tips for tackling them:
* More Pressure (Carefully!): If a scratch isn’t budging, you can try applying slightly more pressure with the cleaning stone. However, be extremely careful not to overdo it, as you could create new scratches.
* Repeat the Process: Sometimes, all it takes is repeating the cleaning stone process a few more times. Be patient and persistent.
* Consider a Stainless Steel Scratch Removal Kit: If you’re dealing with very deep scratches, you might want to consider purchasing a stainless steel scratch removal kit. These kits typically contain a series of abrasive pads with varying grits, allowing you to gradually buff away the scratches. Follow the instructions carefully.
Maintaining Your Stainless Steel
Now that you’ve restored your stainless steel to its former glory, here are a few tips for keeping it looking its best:
* Regular Cleaning: Wipe down your stainless steel appliances regularly with a damp microfiber cloth to remove fingerprints, water spots, and other surface grime.
* Avoid Abrasive Cleaners: Harsh chemicals and abrasive cleaners can damage the finish of your stainless steel. Stick to mild dish soap and water.
* Dry Thoroughly: Always dry your stainless steel appliances thoroughly after cleaning to prevent water spots.
* Apply Olive Oil Periodically: Reapply a thin coat of olive oil every few weeks to help protect the surface and maintain its shine.
* Use Stainless Steel Cleaner: Consider using a dedicated stainless steel cleaner for regular maintenance. These cleaners are specifically formulated to protect and enhance the finish of stainless steel.
Important Considerations
* Always Test in an Inconspicuous Area: Before applying the olive oil and cleaning stone to the entire surface, test it in a small, inconspicuous area to make sure it doesn’t damage the finish.
* Work with the Grain: Remember to always work with the grain of the stainless steel to avoid creating new scratches.
* Be Patient: Restoring stainless steel can take time and effort. Be patient and persistent, and you’ll be rewarded with beautiful results.
* Safety First: Wear gloves if you have sensitive skin.
Troubleshooting
* Streaks: If you’re seeing streaks after buffing, try using a clean, dry microfiber cloth and buffing in circular motions again. You may also need to use a slightly damp cloth to remove any remaining residue.
* New Scratches: If you accidentally create new scratches, don’t panic! Simply repeat the cleaning stone process, focusing on the new scratches.
* Dullness: If your stainless steel still looks dull after the olive oil and cleaning stone treatment, try using a stainless steel cleaner and polish.
I hope this guide helps you revive your stainless steel appliances and keep them looking their best! It’s a simple, affordable, and effective way to tackle those unsightly scratches and imperfections. Happy DIY-ing!
Conclusion
So, there you have it! This simple yet incredibly effective DIY trick using olive oil to clean your stainless steel surfaces with a cleaning stone is a game-changer. Forget expensive, chemical-laden cleaners that promise the world but often leave streaks and residue. This method is not only cost-effective and environmentally friendly, but it also delivers a superior shine that will leave your stainless steel looking brand new.
Why is this a must-try? Because it’s easy, affordable, and it works! The combination of the gentle abrasive action of the cleaning stone and the lubricating and polishing properties of olive oil creates a powerful cleaning duo. It effortlessly removes stubborn stains, fingerprints, water spots, and even minor scratches, revealing the beautiful luster of your stainless steel appliances, sinks, and cookware. Plus, the olive oil leaves behind a protective layer that helps prevent future smudges and stains.
But the best part? You can customize this DIY cleaning solution to suit your specific needs and preferences. For an extra boost of cleaning power, add a few drops of lemon essential oil to the olive oil. The lemon oil will not only enhance the cleaning action but also leave a fresh, citrusy scent. Alternatively, if you’re dealing with particularly tough stains, you can pre-treat the area with a paste of baking soda and water before using the olive oil and cleaning stone.
Experiment with different types of olive oil to see which one works best for you. Extra virgin olive oil is a great option for its rich moisturizing properties, but regular olive oil will also do the trick. You can also try using a different type of natural oil, such as coconut oil or almond oil, but be sure to test it on a small, inconspicuous area first to ensure it doesn’t leave any residue.
We are confident that once you try this DIY trick, you’ll be amazed by the results. It’s a simple, effective, and sustainable way to keep your stainless steel surfaces looking their best. So, ditch the harsh chemicals and embrace the power of olive oil and a cleaning stone.
Don’t just take our word for it – give it a try and see for yourself! We encourage you to share your experiences with us in the comments below. Let us know what you think of this DIY cleaning solution and if you have any tips or variations of your own. We’re always eager to learn from our readers and create a community of DIY enthusiasts. Happy cleaning!
Frequently Asked Questions (FAQs)
What exactly is a cleaning stone, and where can I get one?
A cleaning stone, also known as a pumice stone or scouring stone, is a porous volcanic rock that is used for cleaning and scrubbing. It has a slightly abrasive texture that helps to remove stubborn stains and grime without scratching surfaces. You can find cleaning stones at most hardware stores, home improvement stores, and online retailers. Look for ones specifically designed for cleaning, as some are intended for other purposes, such as removing calluses. When selecting a cleaning stone, make sure it is relatively smooth and free of large, sharp edges that could scratch your stainless steel.
Will this DIY cleaning method scratch my stainless steel appliances?
When used correctly, this method should not scratch your stainless steel. The key is to use a gentle touch and to ensure that the cleaning stone is always lubricated with olive oil. The olive oil acts as a buffer, preventing the stone from directly contacting the stainless steel and causing scratches. Before cleaning your entire appliance, test the method on a small, inconspicuous area to ensure that it doesn’t cause any damage. If you notice any scratches, discontinue use immediately. Also, make sure your cleaning stone is clean and free of any debris that could scratch the surface.
Can I use any type of olive oil for this DIY cleaning trick?
While any type of olive oil will work, extra virgin olive oil is generally recommended for its superior moisturizing and polishing properties. However, regular olive oil or even light olive oil can also be used effectively. The most important thing is to ensure that the olive oil is pure and free of any additives or fragrances that could leave a residue on your stainless steel. Experiment with different types of olive oil to see which one works best for you and your appliances.
How often should I clean my stainless steel with this method?
The frequency of cleaning will depend on how often your stainless steel surfaces are used and how prone they are to getting dirty. For high-traffic areas like kitchen sinks and stovetops, you may need to clean them once or twice a week. For less frequently used appliances, such as refrigerators and dishwashers, you can clean them once a month or as needed. Regular cleaning will help to prevent the buildup of stains and grime, making it easier to maintain the shine of your stainless steel.
What if I don’t have a cleaning stone? Can I use something else?
If you don’t have a cleaning stone, you can try using a soft, non-abrasive sponge or microfiber cloth. However, keep in mind that these alternatives may not be as effective at removing stubborn stains and grime. You can also try using a paste of baking soda and water as a gentle abrasive cleaner. Apply the paste to the stainless steel surface, let it sit for a few minutes, and then gently scrub with a soft cloth. Rinse thoroughly with water and dry with a clean towel.
Is this method safe for all types of stainless steel finishes?
This method is generally safe for most types of stainless steel finishes, but it’s always a good idea to test it on a small, inconspicuous area first. Some stainless steel appliances have a special coating or finish that may be more sensitive to abrasive cleaners. If you’re unsure about the type of finish on your appliance, consult the manufacturer’s instructions or contact customer support for guidance.
How do I prevent streaks when cleaning stainless steel?
To prevent streaks, make sure to wipe the stainless steel in the direction of the grain. The grain is the subtle pattern of lines that runs across the surface of the stainless steel. Wiping in the direction of the grain will help to prevent streaks and ensure a more even shine. Also, use a clean, dry microfiber cloth to buff the stainless steel after cleaning. This will help to remove any remaining residue and leave a streak-free finish.
Can I use this method to clean other surfaces besides stainless steel?
While this method is primarily designed for cleaning stainless steel, it can also be used on other surfaces, such as chrome, porcelain, and ceramic. However, it’s important to test it on a small, inconspicuous area first to ensure that it doesn’t cause any damage. Avoid using this method on delicate surfaces, such as painted walls or wood furniture.
What are the benefits of using olive oil to clean stainless steel?
Olive oil offers several benefits for cleaning stainless steel. It acts as a lubricant, preventing the cleaning stone from scratching the surface. It also helps to dissolve grease and grime, making it easier to remove stubborn stains. Additionally, olive oil leaves behind a protective layer that helps to prevent future smudges and stains. Finally, olive oil is a natural and environmentally friendly alternative to harsh chemical cleaners.
Leave a Comment