
Pink Radish Pot Gardening: A Beginner’s Guide to Vibrant Homegrown Veggies
Pink radish pot gardening – it sounds delightful, doesn’t it? And it is! This isn’t just about growing your own food; it’s about experiencing the pure joy of nurturing life from seed to harvest, right on your doorstep. I’ve always loved the satisfying crunch of a freshly picked radish, and the vibrant pink hue of these beauties is simply irresistible. This article is your passport to that same satisfaction, guiding you through simple, effective pink radish pot gardening techniques that even the most novice gardener can master.
Historically, radishes have been cultivated for millennia, prized not only for their peppery bite but also as a symbol of good fortune and prosperity in various cultures. Now, you can bring that same sense of abundance into your own home, regardless of space limitations. Forget sprawling vegetable patches; with pink radish pot gardening, even a small balcony or windowsill can become a thriving little farm.
Why bother with pink radish pot gardening? Well, for starters, it’s incredibly rewarding! There’s nothing quite like the feeling of biting into a radish you’ve grown yourself, knowing exactly where it came from and how it was nurtured. Beyond the personal satisfaction, homegrown produce is often tastier and more nutritious than store-bought options. Plus, it’s a fantastic way to introduce children to the wonders of nature and the magic of growing your own food. So, let’s get started on your journey to delicious, homegrown pink radishes!

Growing Pink Radishes in Pots: A Complete Guide
I love the vibrant color and peppery bite of pink radishes, and growing them in pots is surprisingly easy! This guide will walk you through everything you need to know, from choosing the right pot and soil to harvesting your delicious crop.
Phase 1: Planning and Preparation
- Choose the right pot: Select a pot at least 8 inches deep and wide. Radishes need enough space for their roots to develop properly. Larger pots are even better, allowing for more plants. Make sure the pot has drainage holes to prevent waterlogging.
- Gather your supplies: You’ll need potting mix (not garden soil!), pink radish seeds, a watering can, and a small trowel or gardening fork. Consider using a seed starting tray for easier germination if you’re planting many seeds.
- Select a sunny spot: Radishes need at least six hours of sunlight per day. Choose a location that receives ample sunlight, either outdoors or on a sunny windowsill if growing indoors.
- Prepare the potting mix: Use a high-quality potting mix that’s well-draining. Avoid using garden soil, as it can be too heavy and compact for container gardening. You can amend the potting mix with a small amount of compost for extra nutrients.
Phase 2: Sowing the Seeds
- Fill the pot: Fill your chosen pot with the prepared potting mix, leaving about an inch of space from the top. Gently firm the soil to create a level surface.
- Sow the seeds: Sow the pink radish seeds about ½ inch deep and 1-2 inches apart. If using a seed starting tray, follow the tray’s instructions for spacing. Don’t overcrowd the seeds, as this will lead to smaller radishes.
- Water gently: After sowing the seeds, water the soil gently but thoroughly. Use a watering can with a rose head to avoid disturbing the seeds. The soil should be moist but not soggy.
- Cover the pot (optional): You can cover the pot with clear plastic wrap to help retain moisture and speed up germination. Make sure to remove the plastic wrap once the seeds have sprouted.
- Place in a sunny spot: Place the pot in your chosen sunny location. Monitor the soil moisture regularly and water as needed to keep it consistently moist.
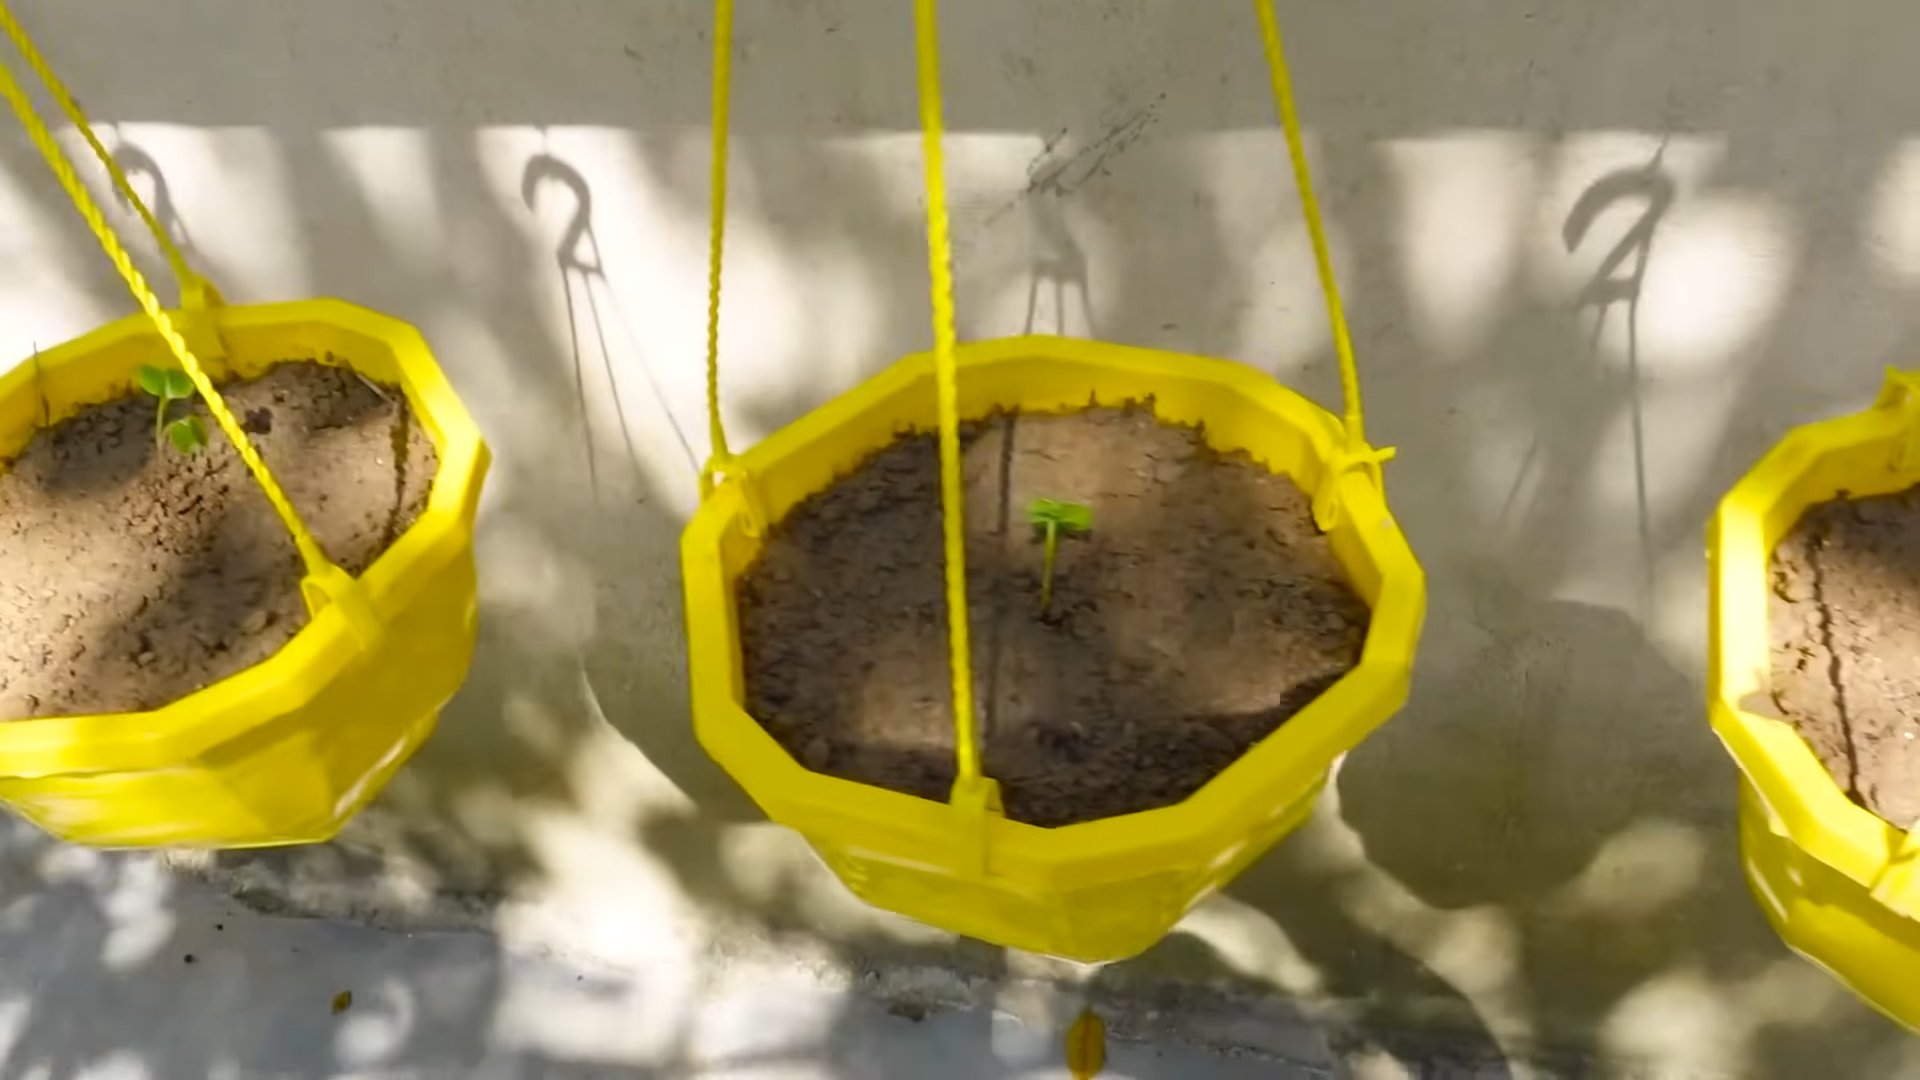
Phase 3: Germination and Growth
- Germination: Pink radish seeds usually germinate within 3-7 days. Once you see the seedlings emerge, remove the plastic wrap (if used).
- Thinning: Once the seedlings have a few true leaves (the leaves that appear after the initial cotyledons), thin them out to ensure proper spacing. Leave the strongest seedlings about 2-3 inches apart. You can gently pull out the weaker seedlings or use small scissors to cut them off at the soil line.
- Watering: Water regularly, keeping the soil consistently moist but not waterlogged. The frequency of watering will depend on the weather and the type of pot you’re using. Check the soil moisture by sticking your finger about an inch into the soil. If it feels dry, it’s time to water.
- Weeding: Regularly check for weeds and remove them promptly. Weeds compete with the radishes for nutrients and water.
- Fertilizing (optional): While not strictly necessary, you can lightly fertilize your radishes with a balanced liquid fertilizer every two weeks. Follow the instructions on the fertilizer packaging carefully.
Phase 4: Harvesting
- Harvesting time: Pink radishes are typically ready for harvest in 25-35 days, depending on the variety and growing conditions. Check the size of the radishes regularly. They are ready to harvest when they are firm and about 1-2 inches in diameter.
- Harvesting method: Gently pull the radishes from the soil, being careful not to damage the roots. If they are difficult to pull out, use a small trowel to loosen the soil around them.
- Cleaning and storage: Wash the harvested radishes gently under cool water to remove any soil. Store them in a plastic bag in the refrigerator for up to a week. For longer storage, consider pickling or canning your harvest.
- Succession planting: To ensure a continuous supply of fresh radishes, consider succession planting. Sow a new batch of seeds every two weeks.
Troubleshooting
- Leggy seedlings: If your seedlings are leggy (tall and thin), they may not be getting enough sunlight. Move the pot to a sunnier location or supplement with grow lights if growing indoors.
- Pests: Radishes can be susceptible to pests such as aphids and flea beetles. Inspect your plants regularly and take appropriate action if you notice any pests. Consider using insecticidal soap or neem oil.
- Diseases: Root rot can occur if the soil is too wet. Ensure good drainage and avoid overwatering.
- Bolting: Bolting (premature flowering) can occur if the radishes are exposed to hot temperatures or long days. Choose a cool location and consider planting in the early spring or fall.
Remember to always check your radish seeds’ packaging for specific instructions and growing recommendations. Happy gardening!
Conclusion
So there you have it – a complete guide to achieving vibrant, healthy pink radish plants right in your own backyard, balcony, or even windowsill with our easy pink radish pot gardening method! This DIY trick isn’t just about growing your own radishes; it’s about experiencing the satisfaction of nurturing life from seed to harvest. The incredible flavor of homegrown pink radishes, bursting with a peppery sweetness, far surpasses anything you’ll find in the supermarket. This method simplifies the process, making it accessible to even the most novice gardeners. You’ll be amazed at how rewarding it is to cultivate your own fresh produce, knowing exactly where it came from and how it was grown.
Beyond the delicious results, pink radish pot gardening offers a fantastic opportunity to connect with nature, even in the most urban environments. It’s a project that can engage the whole family, teaching children about the wonders of plant growth and the importance of sustainable living. The compact nature of pot gardening means you can maximize space, even if you have limited outdoor area. And let’s not forget the aesthetic appeal – a vibrant pot of pink radishes adds a splash of color and life to any space.
We encourage you to experiment with different pot sizes and varieties of pink radishes. Try companion planting with herbs like chives or dill to enhance the flavor and deter pests. Consider using different types of potting mixes to see what works best in your climate. For those with limited sunlight, explore the possibility of grow lights to supplement natural light. The possibilities are endless! Don’t be afraid to get creative and adapt this method to suit your specific needs and preferences. The beauty of DIY pink radish pot gardening is its adaptability.
Ultimately, the success of your pink radish pot gardening adventure hinges on your commitment and attention to detail. But with our step-by-step guide and these helpful tips, you’re well on your way to a bountiful harvest. We truly believe that everyone, regardless of their gardening experience, can achieve success with this method. So, what are you waiting for? Grab some seeds, a pot, and get started! Share your experiences, photos, and any innovative techniques you discover with us. We’d love to hear about your pink radish journey and see the beautiful results of your hard work. Let’s cultivate a community of home gardeners, sharing knowledge and celebrating the joy of growing our own food!
Frequently Asked Questions
We understand that you might have some questions about pink radish pot gardening. Here are some of the most frequently asked questions to help you get started:
What type of pot is best for pink radish pot gardening?
While any pot will do, we recommend using pots that are at least 6 inches deep and wide to allow for adequate root development. Terracotta pots are a good choice as they allow for better drainage, but plastic pots are also suitable. Ensure your chosen pot has drainage holes to prevent waterlogging.
What kind of soil is best for growing pink radishes?
Pink radishes thrive in loose, well-draining soil rich in organic matter. A good quality potting mix specifically designed for vegetables is ideal. You can also amend your garden soil with compost or other organic materials to improve its drainage and fertility.
How much sunlight do pink radishes need?
Pink radishes need at least 6 hours of sunlight per day to grow properly. Choose a location that receives ample sunlight, whether it’s a sunny spot in your garden or a south-facing windowsill.
How often should I water my pink radishes?
Water your pink radishes regularly, keeping the soil consistently moist but not waterlogged. The frequency of watering will depend on your climate and the type of pot you are using. Check the soil moisture regularly by sticking your finger a couple of inches into the soil. Water when the top inch feels dry.
How long does it take for pink radishes to mature?
The time it takes for pink radishes to mature varies depending on the variety and growing conditions, but generally, you can expect to harvest them in 25-35 days from sowing.
What are some common problems encountered when growing pink radishes?
Some common problems include pests like aphids and flea beetles, and diseases like root rot (caused by overwatering). Regularly inspect your plants for pests and diseases, and take appropriate action if necessary. Proper watering and well-draining soil are crucial to prevent root rot.
Can I grow pink radishes indoors?
Yes! Pink radishes can be successfully grown indoors in pots placed near a sunny window. Supplementing with grow lights can further enhance growth, especially during winter months when natural sunlight is limited.
What should I do with my harvested pink radishes?
Enjoy your fresh, homegrown pink radishes immediately! They are delicious eaten raw in salads, sandwiches, or as a snack. You can also add them to stir-fries or other cooked dishes. For longer storage, store them in the refrigerator in a plastic bag.
What if my pink radishes are too spicy?
The spiciness of pink radishes can vary depending on the variety and growing conditions. If your radishes are too spicy, try planting a different variety next time. Also, ensure that you are not overwatering, as this can sometimes contribute to increased spiciness.
Leave a Comment