
Planting Taro in Backyard: Ever dreamed of having your own little tropical oasis, right outside your back door? I know I have! There’s something incredibly satisfying about growing your own food, and taro, with its delicious starchy root and beautiful, elephant-ear-like leaves, is a fantastic choice.
Taro cultivation boasts a rich history, deeply intertwined with the cultures of Southeast Asia and the Pacific Islands. For centuries, it has been a staple food, revered not just for its nutritional value but also for its cultural significance in ceremonies and traditions. Imagine bringing that ancient heritage into your own garden!
But why should you consider planting taro in your backyard? Well, beyond the sheer joy of homegrown goodness, taro is surprisingly versatile. You can use the root in stews, soups, or even make taro chips! Plus, the leaves are edible too, adding a unique flavor to your dishes. In this article, I’m going to share some simple, DIY tricks and hacks to help you successfully cultivate taro, even if you’re a complete beginner. Get ready to transform your backyard into a lush, edible paradise!
Planting Taro in Your Backyard: A Beginner’s Guide
Hey there, fellow gardening enthusiasts! Ever thought about growing your own taro? It’s a fantastic plant, offering both delicious corms (the underground stem) and edible leaves. Plus, it adds a touch of the tropics to your backyard. I’ve been growing taro for a few years now, and I’m excited to share my experience with you. This guide will walk you through everything you need to know, from selecting the right variety to harvesting your bounty. Let’s get started!
Choosing Your Taro Variety
Before you even think about digging a hole, you need to decide which taro variety is right for you. There are tons of different types, each with its own unique characteristics. Here’s a quick rundown to help you choose:
- Bun Long: This is a popular variety known for its large corms and excellent flavor. It’s a good choice for beginners.
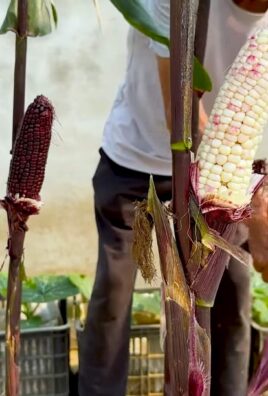
- Lehua Maoli: This variety has reddish-purple stems and leaves, adding a beautiful splash of color to your garden. The corms are also delicious.
- Maui Lehua: Similar to Lehua Maoli, but with slightly different leaf patterns. Both are great choices for visual appeal and tasty corms.
- Chinese Taro: This type is known for its smaller, more numerous corms. It’s a good option if you want a higher yield of smaller portions.
Consider your local climate and soil conditions when making your decision. Some varieties are more tolerant of certain conditions than others. Also, think about what you plan to do with your taro. Are you primarily interested in the corms, the leaves, or both?
Preparing Your Planting Site
Taro loves water, so choosing the right location is crucial. Here’s what to look for:
- Sunlight: Taro thrives in partial shade to full sun. Aim for at least 6 hours of sunlight per day.
- Soil: Taro prefers rich, well-draining soil that retains moisture. Amend your soil with compost or other organic matter to improve its fertility and water-holding capacity.
- Water: Taro needs consistent moisture. If you don’t have a naturally wet area, you’ll need to be prepared to water regularly. Consider planting near a water source or creating a small pond or bog garden.
- Protection from Wind: Strong winds can damage the large leaves of the taro plant. Choose a location that is sheltered from strong winds.
Planting Your Taro: Step-by-Step
Now for the fun part! Here’s how to plant your taro:
- Prepare the Soil: Dig a hole that is about twice as wide and as deep as the taro corm or huli (the top portion of the corm with the leaves attached). Amend the soil with compost or other organic matter.
- Plant the Corm or Huli: Place the corm or huli in the hole, ensuring that the top of the corm or the base of the leaves is just below the soil surface. If you’re planting a huli, make sure the leaves are pointing upwards.
- Backfill the Hole: Gently backfill the hole with soil, pressing down lightly to remove any air pockets.
- Water Thoroughly: Water the newly planted taro thoroughly to help settle the soil and provide moisture to the roots.
- Mulch (Optional): Apply a layer of mulch around the base of the plant to help retain moisture and suppress weeds. I like to use straw or wood chips.
Caring for Your Taro Plants
Once your taro is planted, it’s important to provide it with the care it needs to thrive. Here’s what you need to do:
- Watering: Taro needs consistent moisture. Water regularly, especially during dry periods. The soil should be consistently moist, but not waterlogged.
- Fertilizing: Taro is a heavy feeder. Fertilize regularly with a balanced fertilizer. I like to use a slow-release fertilizer or compost tea. Follow the instructions on the fertilizer package.
- Weeding: Keep the area around your taro plants free of weeds. Weeds can compete with the taro for nutrients and water.
- Pest Control: Taro can be susceptible to certain pests, such as aphids and spider mites. Inspect your plants regularly and take action if you see any signs of infestation. Insecticidal soap or neem oil can be effective treatments.
- Disease Prevention: Taro can also be susceptible to certain diseases, such as leaf blight. Ensure good air circulation around your plants and avoid overhead watering to help prevent disease.
Harvesting Your Taro
The time it takes for taro to mature depends on the variety and growing conditions. Generally, you can expect to harvest your taro corms in about 7-12 months. Here’s how to tell when your taro is ready to harvest:
- The leaves will start to turn yellow and die back. This is a sign that the plant is diverting its energy to the corm.
- The corm will feel firm and solid when you squeeze it.
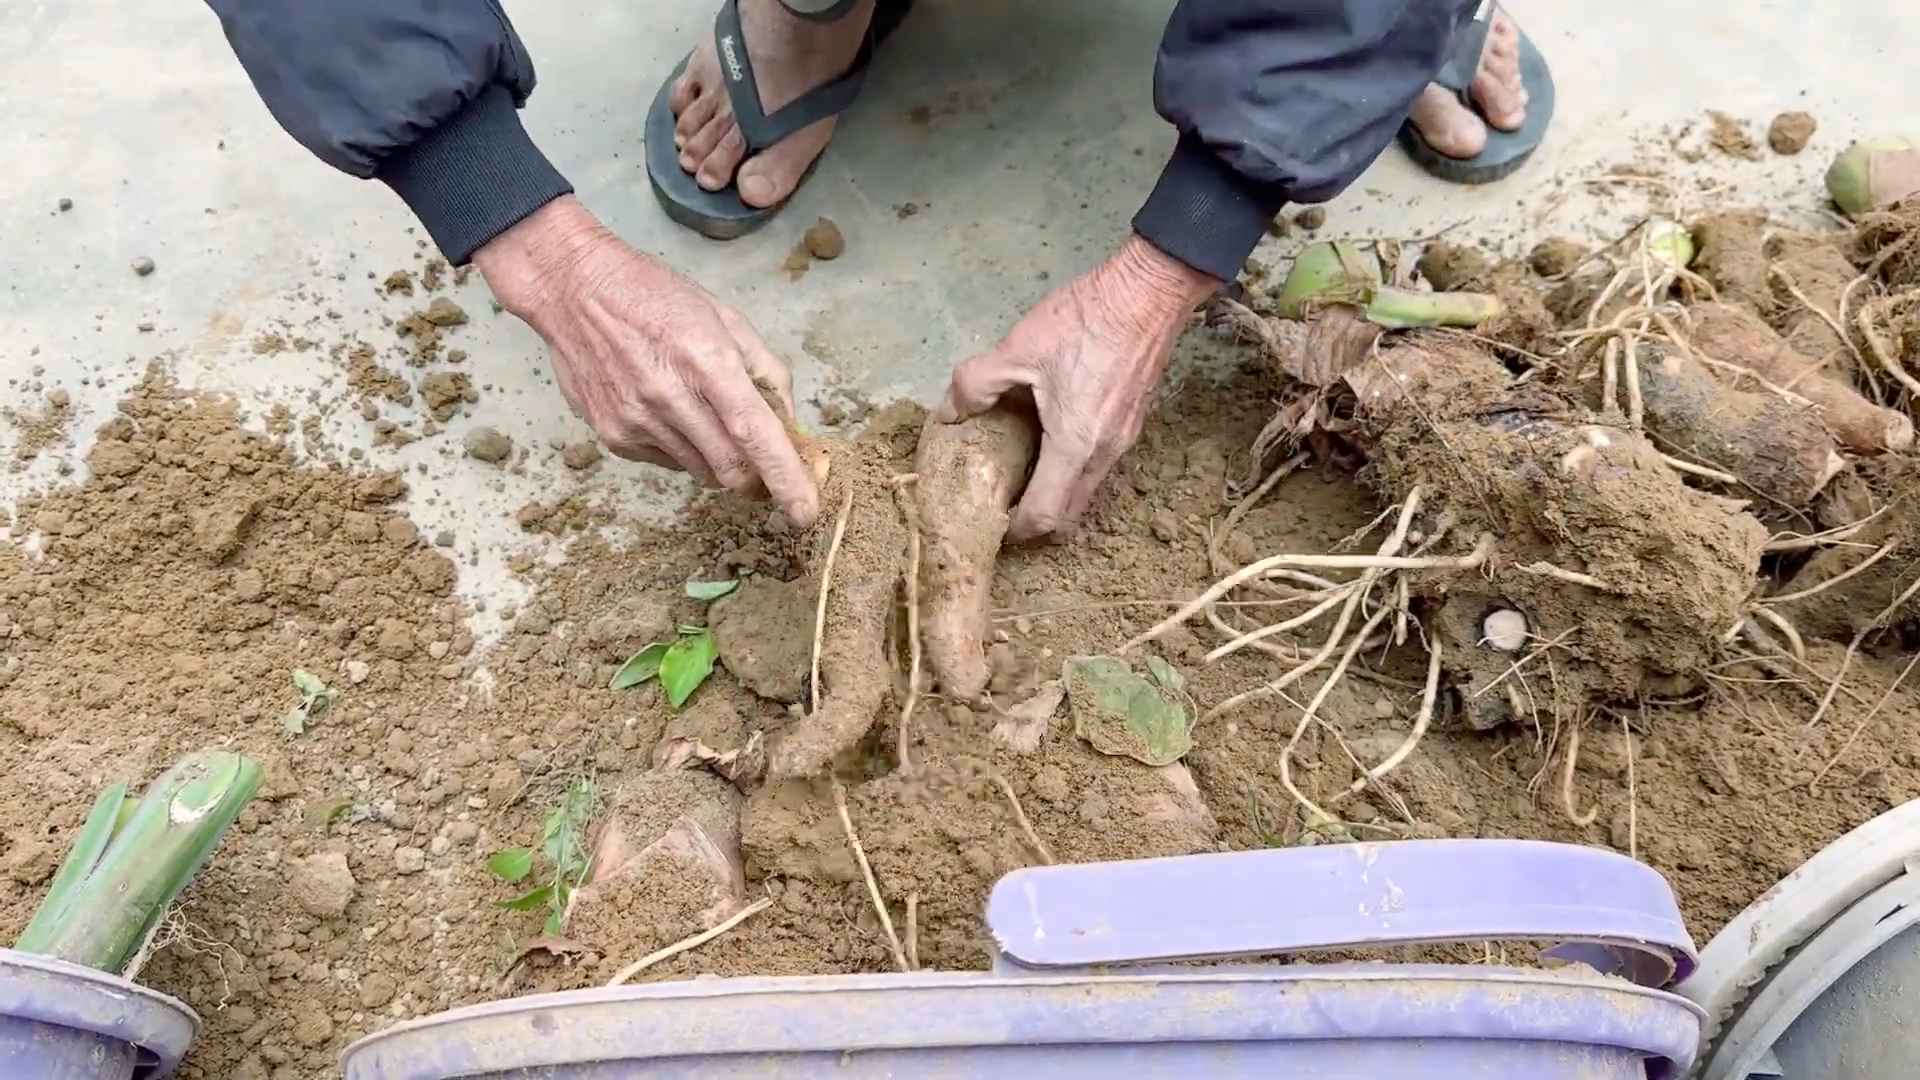
Here’s how to harvest your taro:
- Loosen the soil around the plant with a garden fork. Be careful not to damage the corm.
- Gently lift the plant from the ground.
- Remove the corm from the plant.
- Wash the corm thoroughly to remove any dirt.
You can also harvest the leaves of the taro plant. Choose young, tender leaves for the best flavor. Be sure to cook the leaves thoroughly before eating them, as they contain calcium oxalate crystals that can cause irritation. Boiling or steaming the leaves for at least 30 minutes will break down these crystals.
Propagating Taro
Want to expand your taro patch? Propagating taro is surprisingly easy! Here are a couple of methods you can use:
From Corms
This is the most straightforward method. After harvesting, simply save some of the smaller corms and replant them.
- Select healthy, small corms.
- Prepare your planting site as described above.
- Plant the corms in the prepared soil, ensuring the top is just below the surface.
- Water thoroughly.
From Huli (Cuttings)
This method involves using the top portion of the taro plant with the leaves attached.
- Cut the top portion of the taro plant, leaving about 6-8 inches of stem below the leaves.
- Remove the lower leaves, leaving only a few at the top.
- Place the huli in a container of water, ensuring that the stem is submerged.
- Change the water every few days.
- After a few weeks, roots will begin to form.
- Once the roots are well-developed, plant the huli in the prepared soil.
- Water thoroughly.
Troubleshooting Common Taro Problems
Even with the best care, you might encounter some problems when growing taro. Here are a few common issues and how to address them:
- Yellowing Leaves: This can be caused by a variety of factors, including nutrient deficiencies, overwatering, or underwatering. Check the soil moisture and fertilize if necessary.
- Stunted Growth: This can be caused by poor soil, lack of sunlight, or pest infestations. Amend the soil, move the plant to a sunnier location, and treat any pests.
- Leaf Blight: This is a fungal disease that can cause brown spots on the leaves. Ensure good air circulation and avoid overhead watering. Treat with a fungicide if necessary.
- Pest Infestations: Aphids, spider mites, and other pests can damage taro plants. Inspect your plants regularly and treat with insecticidal soap or neem oil.
Enjoying Your Homegrown Taro
The best part about growing your own taro is enjoying the fruits (or rather, corms and leaves!) of your labor. Taro can be used in a variety of dishes. The corms can be boiled, baked, fried, or mashed. They have a slightly sweet, nutty flavor. The leaves can be used in soups, stews, and stir-fries. They have a slightly spinach-like flavor.
Here are a few ideas to get you started:
- Poi: This is a traditional Hawaiian dish made from mashed taro corms.
- Taro Chips: Thinly slice the corms and fry them until crispy.
- Taro Leaf Stew:
Conclusion
So, there you have it! Planting taro in your backyard isn’t just a gardening project; it’s an invitation to connect with nature, cultivate your own food source, and experience the satisfaction of growing something truly unique. We’ve walked you through the steps, from selecting the right corm to nurturing your plant to a bountiful harvest. But why should you actually take the plunge and dedicate some space to this fascinating plant?
First and foremost, growing your own taro allows you to control the entire process, ensuring that your crop is free from harmful pesticides and herbicides. You know exactly what’s going into your food, which is a huge benefit for health-conscious individuals and families. Beyond the health aspect, there’s the sheer joy of watching something grow from a humble corm into a thriving plant. It’s a rewarding experience that connects you to the earth and provides a sense of accomplishment.
Furthermore, fresh, homegrown taro simply tastes better. The flavor is more vibrant and nuanced than anything you can find in a grocery store. Imagine the delicious dishes you can create with your own harvest – from traditional poi to savory taro chips to creamy taro stews. The possibilities are endless!
But the benefits don’t stop there. Taro plants are also incredibly beautiful, adding a touch of tropical elegance to your backyard. Their large, heart-shaped leaves create a lush and inviting atmosphere, transforming your outdoor space into a tranquil oasis.
Now, let’s talk about variations. While we’ve focused on the traditional method of planting taro in the ground, you can also experiment with growing it in containers. This is a great option if you have limited space or if you want to move your plants indoors during colder months. Just be sure to choose a large container with good drainage and provide plenty of water.
Another variation is to explore different varieties of taro. There are many cultivars available, each with its own unique characteristics in terms of leaf color, corm size, and flavor. Do some research and choose the varieties that best suit your taste and growing conditions. You can even try growing multiple varieties to create a diverse and interesting taro patch.
Don’t be afraid to experiment with different growing techniques as well. Some gardeners have success with hydroponic systems, while others prefer to use raised beds. The key is to find what works best for you and your environment.
We understand that gardening can sometimes seem daunting, but planting taro is actually quite straightforward. With a little bit of preparation and care, you can easily grow your own delicious and nutritious crop. And remember, even if you encounter challenges along the way, don’t give up! Gardening is a learning process, and every mistake is an opportunity to grow (pun intended!).
So, what are you waiting for? Grab a taro corm, find a sunny spot in your backyard, and get planting! We’re confident that you’ll be amazed by the results. And once you’ve harvested your first crop, be sure to share your experience with us. We’d love to hear your stories, see your photos, and learn from your successes (and even your failures!). Share your tips and tricks in the comments section below, and let’s create a community of taro enthusiasts! Remember, mastering the art of planting taro is a journey, not a destination. Embrace the process, enjoy the rewards, and let’s grow together!
Frequently Asked Questions (FAQ)
What is the best time of year to plant taro?
The ideal time to plant taro is during the warm season, typically in late spring or early summer, after the last frost. Taro thrives in warm temperatures and requires a long growing season of at least 7-9 months to produce a good harvest. In regions with mild winters, you may be able to plant taro in early spring. However, in colder climates, it’s best to wait until the soil has warmed up and the risk of frost has passed. Planting too early can stunt the growth of the plant and reduce your yield. Consider your local climate and growing conditions when determining the best time to plant.
How much sunlight does taro need?
Taro plants need at least 6-8 hours of direct sunlight per day to thrive. While they can tolerate some shade, especially during the hottest part of the day, insufficient sunlight can lead to leggy growth, reduced corm size, and lower yields. Choose a planting location that receives plenty of sunlight throughout the day. If you’re growing taro in containers, you can move them around to ensure they get adequate sunlight. If you live in a particularly hot climate, providing some afternoon shade can help prevent the leaves from scorching.
What type of soil is best for growing taro?
Taro prefers rich, well-draining soil that is high in organic matter. The ideal soil pH is between 5.5 and 6.5. Before planting, amend your soil with compost, well-rotted manure, or other organic materials to improve its fertility and drainage. If your soil is heavy clay, consider adding sand or perlite to improve drainage. Taro also benefits from regular fertilization. Use a balanced fertilizer or a fertilizer specifically formulated for root crops.
How often should I water taro?
Taro plants need consistent moisture to thrive. Water deeply and regularly, especially during hot and dry periods. The soil should be kept consistently moist but not waterlogged. Overwatering can lead to root rot, so it’s important to ensure that your soil has good drainage. Check the soil moisture regularly and water when the top inch or two feels dry to the touch. If you’re growing taro in containers, you may need to water more frequently, as containers tend to dry out faster than the ground.
How do I know when my taro is ready to harvest?
Taro is typically ready to harvest 7-9 months after planting. The leaves will start to turn yellow and die back, indicating that the corm is mature. To harvest, carefully dig around the plant and lift the corm out of the ground. Be careful not to damage the corm during harvesting. You can also harvest the smaller corms (hulis) that grow around the main corm. These can be replanted to start new plants.
Are taro leaves edible?
Yes, taro leaves are edible, but they must be cooked thoroughly before consumption. Raw taro leaves contain calcium oxalate crystals, which can cause irritation and a burning sensation in the mouth and throat. Cooking breaks down these crystals, making the leaves safe to eat. Taro leaves can be steamed, boiled, or stir-fried. They are often used in soups, stews, and other dishes.
Can I grow taro indoors?
Yes, you can grow taro indoors, but it requires some extra care. Choose a large container with good drainage and use a well-draining potting mix. Place the container in a sunny location that receives at least 6-8 hours of direct sunlight per day. Water regularly and keep the soil consistently moist. You may also need to provide supplemental humidity, especially during the winter months when indoor air tends to be dry. Consider using a humidifier or placing the container on a tray filled with pebbles and water.
What are some common pests and diseases that affect taro?
Some common pests that can affect taro include aphids, spider mites, and mealybugs. These pests can be controlled with insecticidal soap or neem oil. Taro can also be susceptible to fungal diseases, such as root rot and leaf blight. These diseases can be prevented by ensuring good drainage, avoiding overwatering, and providing adequate air circulation. If you notice signs of disease, treat the affected plants with a fungicide.
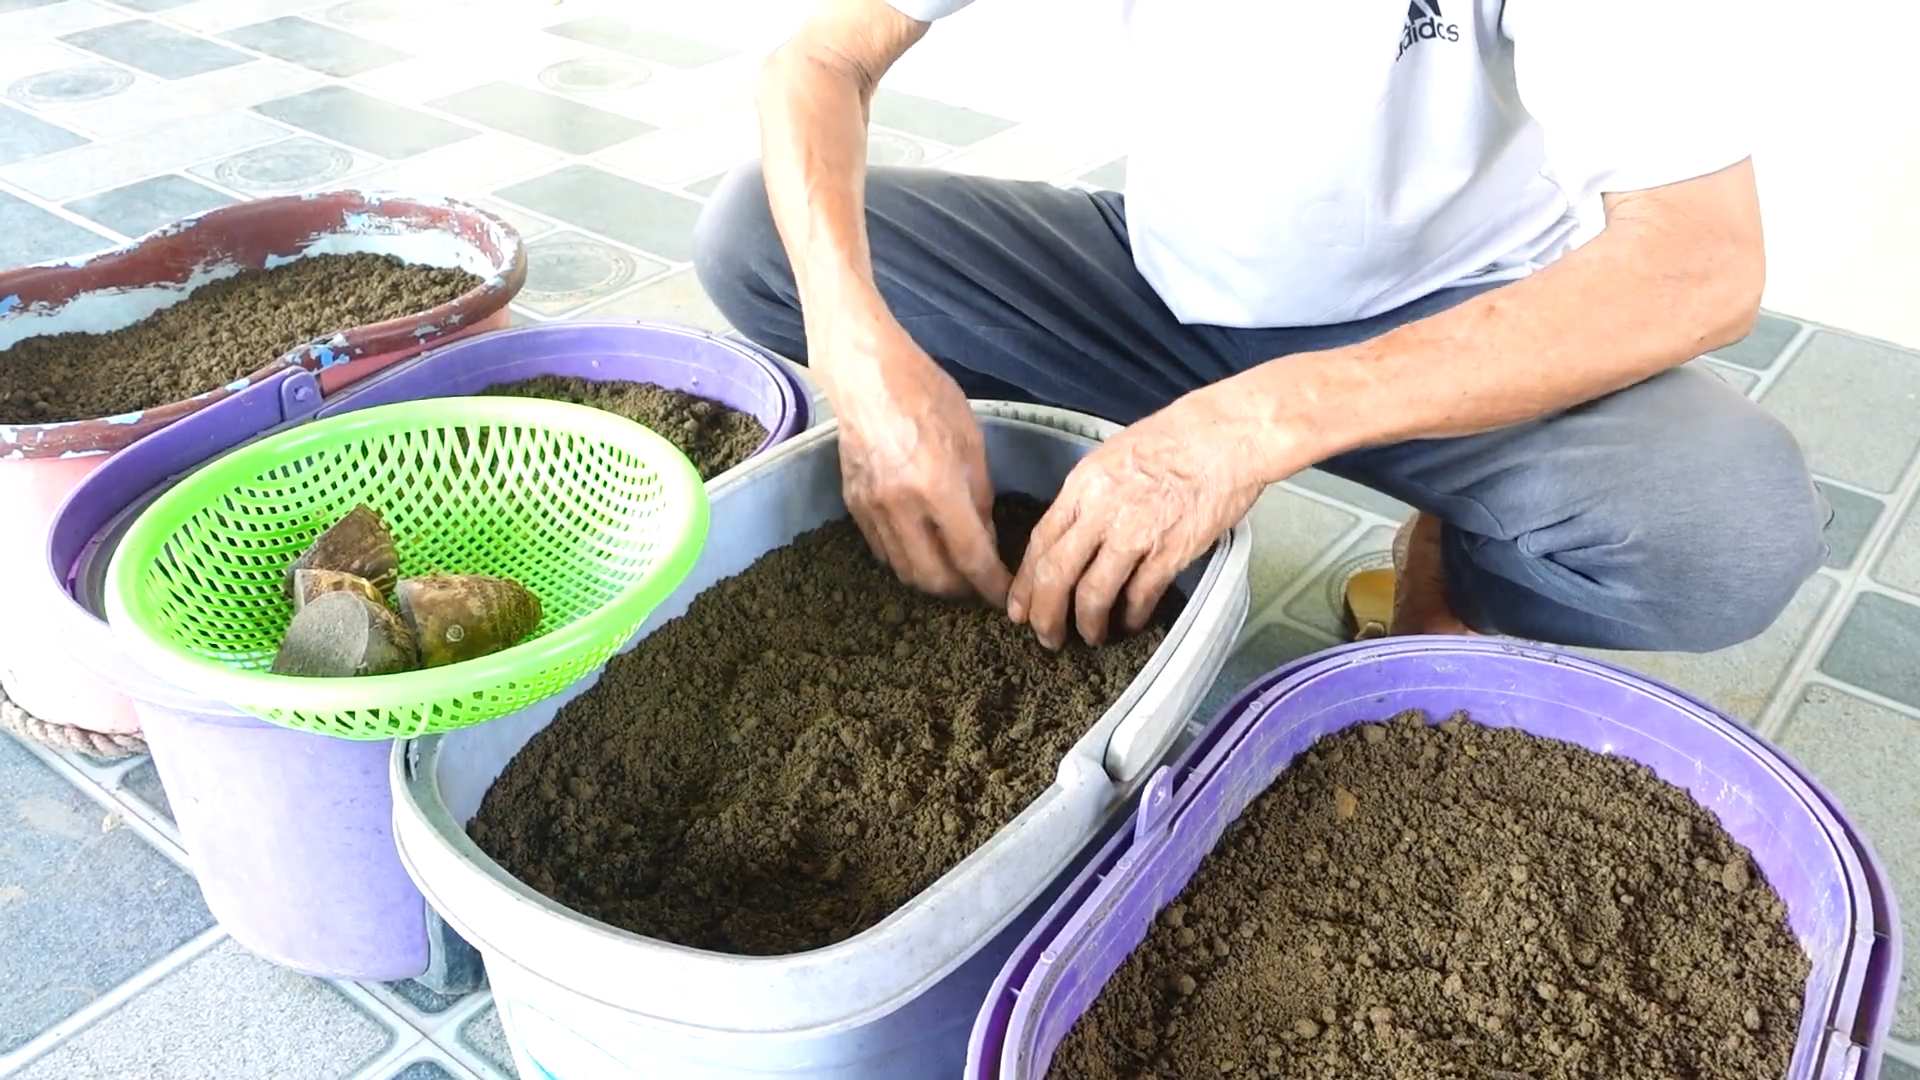
How do I store taro after harvesting?
After harvesting, taro corms can be stored in a cool, dry, and well-ventilated place. They can be stored for several weeks or even months if stored properly. Avoid storing taro in the refrigerator, as this can cause them to become mushy. You can also freeze cooked taro for longer storage. Simply peel and cook the taro, then freeze it in airtight containers or freezer bags.
Is planting taro worth the effort?
Absolutely! While it requires some initial effort and ongoing care, the rewards of growing your own taro are well worth it. You’ll have access to fresh, delicious, and nutritious food that you can’t find in stores. You’ll also enjoy the satisfaction of growing your own food and connecting with nature. Plus, taro plants are beautiful and can add a touch of tropical elegance to your backyard. So, if you’re looking for a rewarding and unique gardening experience, give planting taro a try!
Leave a Comment