
Prevent Mold Cleaning: Nobody enjoys the sight (or smell!) of mold creeping into their homes. It’s not just unsightly; it can also pose serious health risks. I know, I’ve been there, scrubbing away at stubborn mold stains, wishing there was a better way. That’s why I’m so excited to share these simple, yet effective, DIY tricks to help you prevent mold cleaning from becoming a constant chore.
For centuries, cultures around the world have battled mold, using natural remedies and clever techniques to keep their homes healthy and mold-free. From ancient Egyptians using ventilation systems to prevent moisture buildup in tombs, to traditional Japanese homes built with elevated floors to combat humidity, the struggle against mold is a timeless one.
In today’s busy world, who has time for endless cleaning? These DIY hacks are designed to save you time, money, and a whole lot of elbow grease. By implementing these preventative measures, you can create a healthier, happier home environment for yourself and your family. Let’s dive in and discover how to keep mold at bay, so you can spend less time cleaning and more time enjoying your space!
DIY Mold Prevention: A Comprehensive Guide to Keeping Your Home Mold-Free
Mold. Just the word sends shivers down my spine! It’s unsightly, smells awful, and can be a real health hazard. But don’t despair! Preventing mold growth in your home is totally achievable with a little know-how and some proactive steps. I’m going to walk you through everything I’ve learned about keeping those pesky spores at bay.
Understanding Mold and Its Triggers
Before we dive into the how-to, let’s quickly cover the basics. Mold thrives in damp, dark, and poorly ventilated areas. It needs moisture, an organic food source (like wood, drywall, or even dust), and a suitable temperature to grow. Eliminating any of these factors is key to prevention.
Essential Tools and Supplies
You won’t need a ton of fancy equipment for this project. Here’s a list of the essentials:
* Moisture Meter: This is your best friend for detecting hidden moisture.
* Dehumidifier: Crucial for controlling humidity levels, especially in basements and bathrooms.
* Ventilation Fans: Bathroom and kitchen fans are vital for removing moisture-laden air.
* Caulk and Sealant: For sealing cracks and gaps where moisture can seep in.
* Mold-Resistant Paint: A great option for bathrooms and other high-moisture areas.
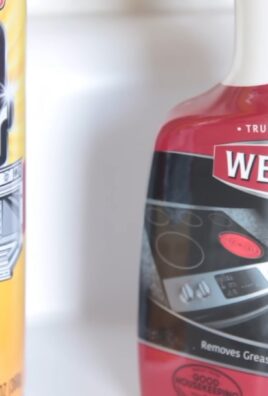
* Cleaning Supplies: White vinegar, baking soda, and a good all-purpose cleaner.
* Spray Bottle: For applying cleaning solutions.
* Gloves and Mask: Protect yourself while cleaning.
* Bleach (Use with Caution!): For disinfecting non-porous surfaces (more on this later).
* Dry cloths and sponges: For cleaning and drying surfaces.
Bathroom Mold Prevention: A Step-by-Step Guide
The bathroom is a mold magnet, thanks to all the steam and moisture. Here’s how I keep mine mold-free:
1. Ventilate, Ventilate, Ventilate! Always turn on the bathroom fan before and during showers and baths. Leave it running for at least 30 minutes after you’re done to remove excess moisture. If you don’t have a fan, consider installing one. Open a window if possible.
2. Wipe Down Surfaces: After each shower or bath, use a dry towel or squeegee to wipe down the shower walls, door, and any other wet surfaces. This simple step significantly reduces moisture buildup.
3. Clean Shower Curtains and Doors Regularly: Shower curtains and doors are prime breeding grounds for mold. Wash your shower curtain in the washing machine every few weeks (check the care label first!). For glass shower doors, use a squeegee after each use and clean them regularly with a mold-killing cleaner.
4. Check and Seal Grout: Grout is porous and can absorb moisture, leading to mold growth. Inspect your grout regularly for cracks and gaps. Re-grout or seal any damaged areas to prevent water from seeping in.
5. Fix Leaks Promptly: Even a small, slow leak can create a breeding ground for mold. Check faucets, showerheads, and toilets for leaks and repair them immediately.
6. Use Mold-Resistant Paint: When repainting your bathroom, opt for mold-resistant paint. It contains additives that inhibit mold growth.
7. Clean Regularly: Regularly clean your bathroom with a mold-killing cleaner. Pay special attention to areas prone to mold growth, such as the shower, tub, and sink.
8. Declutter: Remove unnecessary items from your bathroom to improve ventilation and make cleaning easier.
Kitchen Mold Prevention: Keeping Your Cooking Space Clean
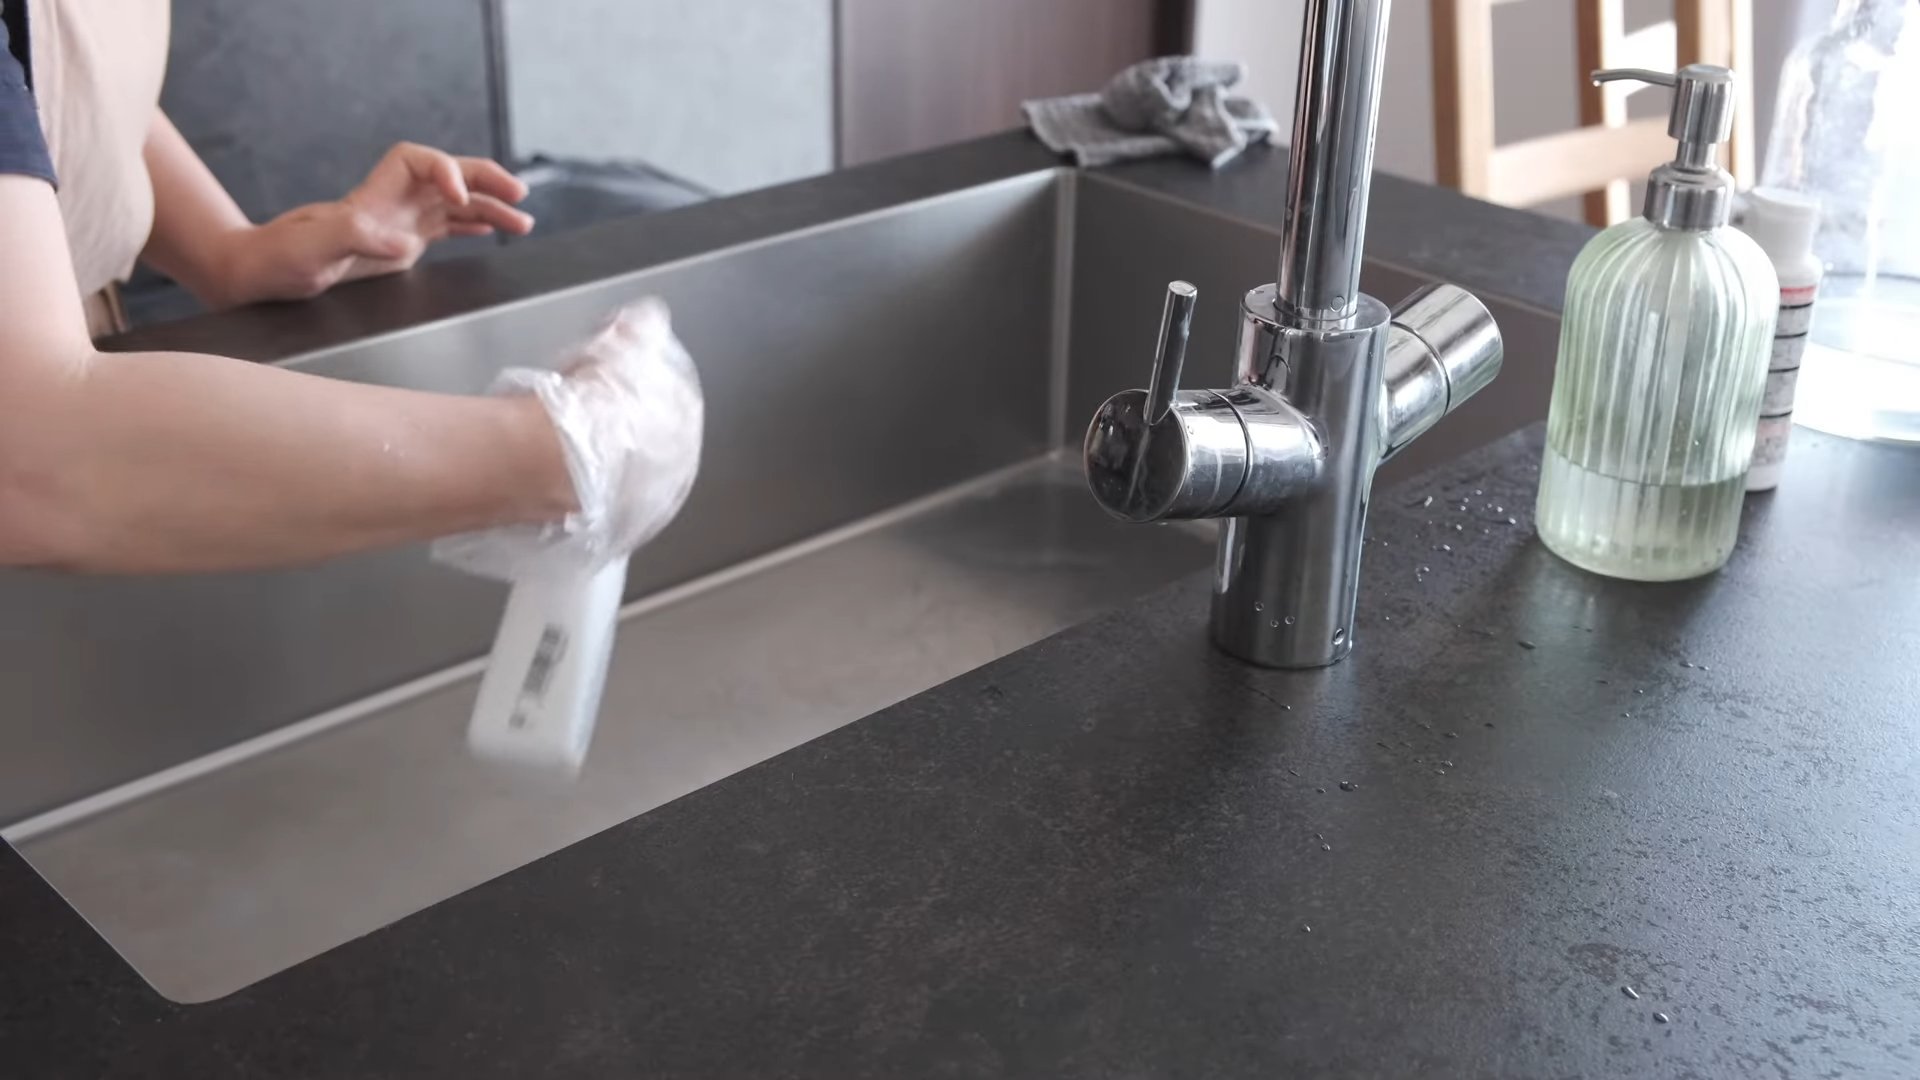
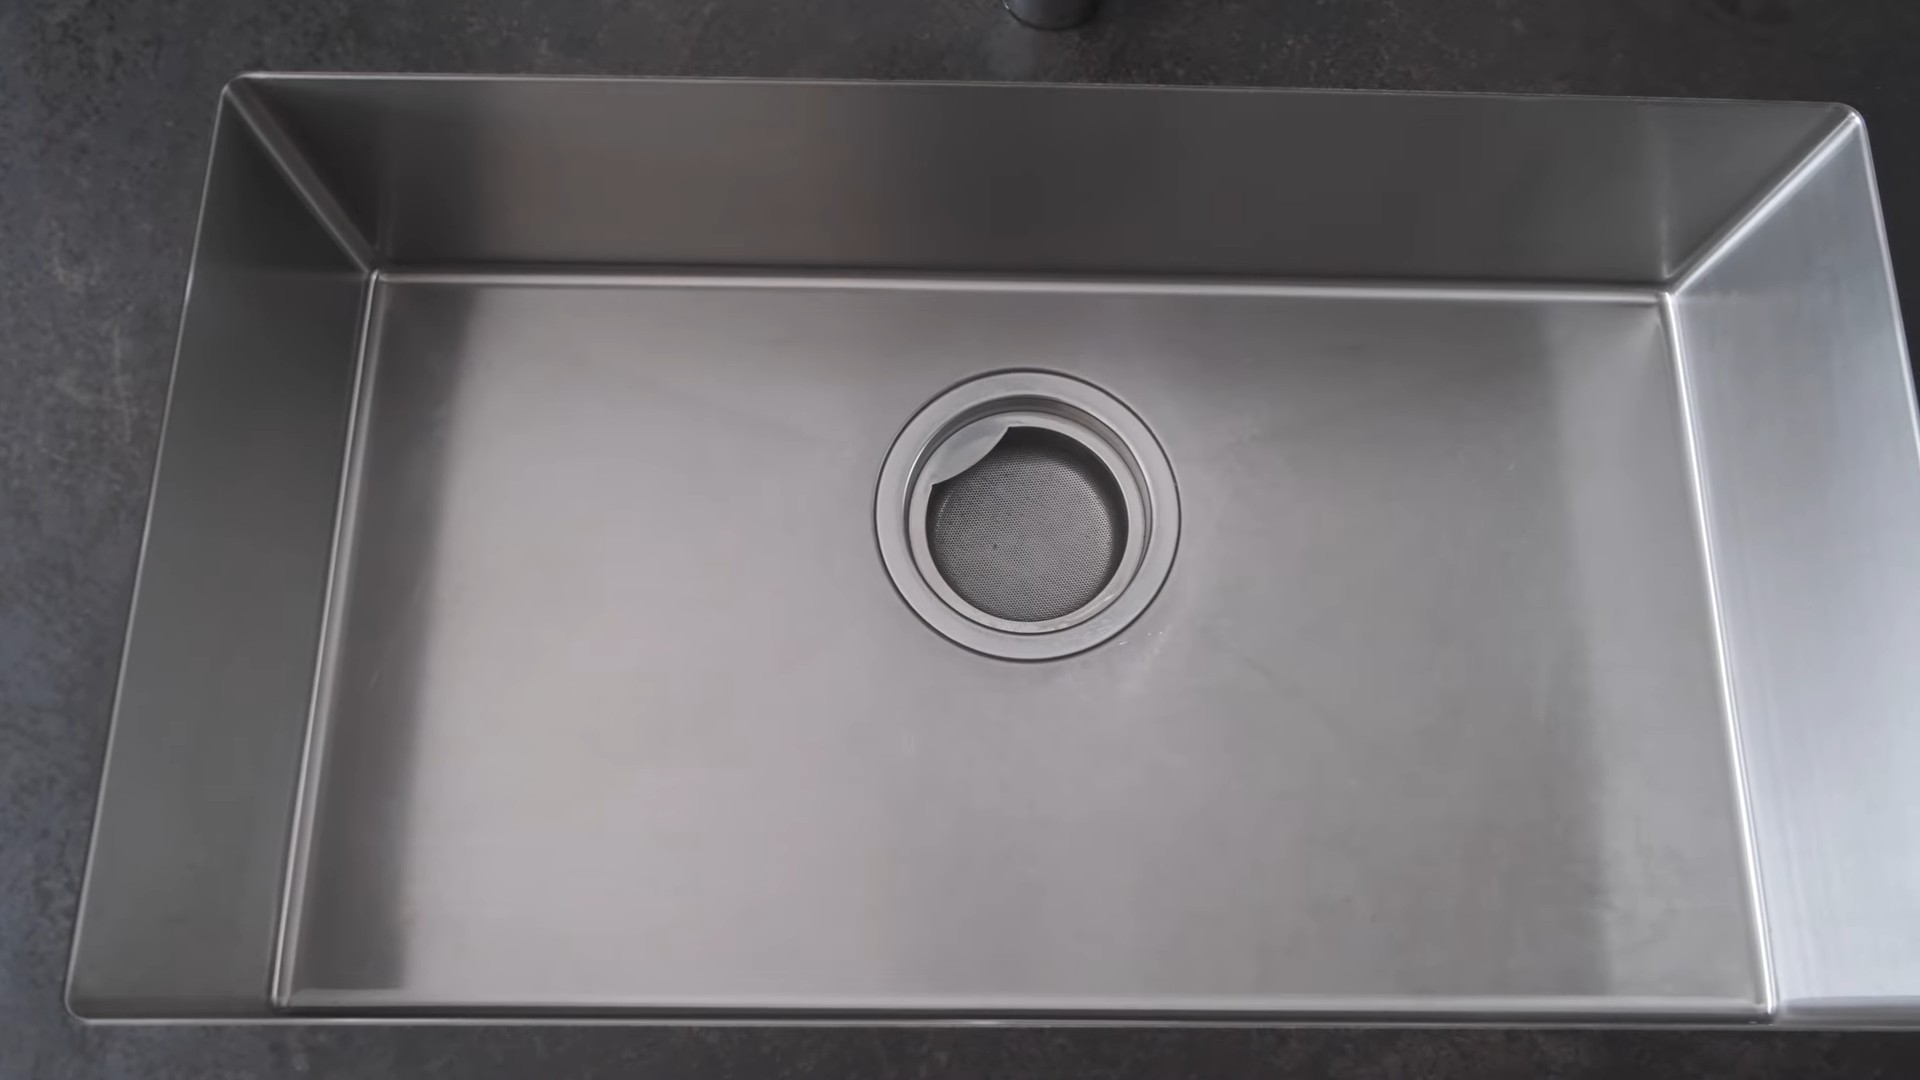
The kitchen is another area prone to mold growth, especially around the sink and refrigerator. Here’s my kitchen mold prevention routine:
1. Ventilate While Cooking: Use your range hood or open a window while cooking to remove steam and moisture.
2. Clean Up Spills Immediately: Food spills can provide a food source for mold. Clean up any spills immediately with a damp cloth and a mild cleaner.
3. Check Under the Sink: The area under the sink is a common spot for leaks and mold growth. Regularly check for leaks and clean up any spills.
4. Clean the Refrigerator Regularly: Clean your refrigerator regularly to remove food debris and prevent mold growth. Pay special attention to the door seals and drip pan.
5. Empty the Dishwasher Promptly: Don’t let dishes sit in the dishwasher for too long after the cycle is complete. The moisture can create a breeding ground for mold.
6. Proper Food Storage: Store food properly to prevent spoilage and mold growth. Use airtight containers and refrigerate perishable items promptly.
7. Clean Garbage Disposal: Regularly clean your garbage disposal to prevent food buildup and odors. You can use ice cubes and lemon peels to freshen it up.
Basement Mold Prevention: Tackling Moisture Head-On
Basements are notorious for being damp and moldy. Here’s how I combat basement mold:
1. Control Humidity: Use a dehumidifier to keep the humidity level in your basement below 50%. This is crucial for preventing mold growth.
2. Improve Ventilation: Open windows or use fans to improve ventilation in your basement.
3. Seal Cracks and Gaps: Seal any cracks and gaps in the foundation walls and floor to prevent water from seeping in.
4. Ensure Proper Drainage: Make sure your gutters and downspouts are functioning properly to direct water away from your foundation.
5. Insulate Pipes: Insulate cold water pipes to prevent condensation, which can contribute to mold growth.
6. Elevate Items Off the Floor: Store items off the floor on shelves or pallets to prevent them from getting wet and moldy.
7. Regular Inspections: Regularly inspect your basement for signs of moisture or mold growth.
8. Address Leaks Immediately: Fix any leaks promptly, whether they’re from plumbing, the roof, or the foundation.
Attic Mold Prevention: Keeping Your Roof Space Dry
Attics can also be susceptible to mold growth, especially if they’re poorly ventilated or have roof leaks. Here’s how I prevent mold in my attic:
1. Ensure Proper Ventilation: Make sure your attic has adequate ventilation to allow moisture to escape. This includes soffit vents, ridge vents, and gable vents.
2. Inspect for Roof Leaks: Regularly inspect your roof for leaks and repair them promptly.
3. Insulate Properly: Proper insulation can help prevent condensation and mold growth.
4. Check for Plumbing Leaks: Check for plumbing leaks in the attic, especially around pipes and vents.
5. Remove Moisture Sources: Remove any sources of moisture from the attic, such as damp insulation or stored items.
General Mold Prevention Tips for the Whole House
These tips apply to all areas of your home:
1. Maintain Proper Humidity Levels: Keep the humidity level in your home between 30% and 50%. Use a dehumidifier or air conditioner to control humidity levels.
2. Improve Ventilation: Open windows and use fans to improve ventilation throughout your home.
3. Fix Leaks Promptly: Repair any leaks immediately, whether they’re from plumbing, the roof, or the foundation.
4. Clean Regularly: Regularly clean your home to remove dust and debris, which can provide a food source for mold.
5. Use Mold-Resistant Products: When renovating or remodeling, use mold-resistant materials, such as mold-resistant drywall and paint.
6. Inspect Regularly: Regularly inspect your home for signs of moisture or mold growth.
7. Properly Store Damp Items: Allow damp items, like towels and clothes, to dry completely before storing them.
8. Consider Air Purifiers: Air purifiers with HEPA filters can help remove mold spores from the air.
Dealing with Existing Mold (Small Areas Only!)
Important Note: If you have a large mold problem (more than 10 square feet), it’s best to call a professional mold remediation company. Dealing with large mold infestations can be dangerous and requires specialized equipment and training.
If you only have a small area of mold (less than 10 square feet), you can try to clean it yourself. Here’s how:
1. Protect Yourself: Wear gloves, a mask, and eye protection to protect yourself from mold spores.
2. Ventilate the Area: Open windows and use fans to ventilate the area.
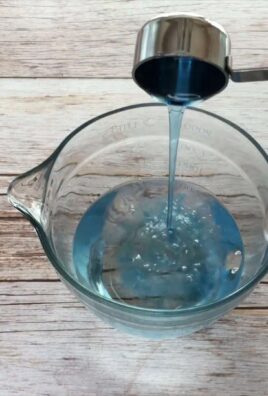
3. Clean the Mold: Use a mold-killing cleaner or a solution of bleach and water (1 part bleach to 10 parts water) to clean the mold. Use bleach with extreme caution and never mix it with ammonia or other cleaning products.
4. Scrub the Surface: Scrub the
Conclusion
So, there you have it! This simple, yet incredibly effective DIY trick to prevent mold cleaning is a game-changer for anyone battling persistent mold issues in their home. We’ve walked you through the steps, highlighted the benefits, and hopefully, dispelled any lingering doubts about its efficacy.
Why is this a must-try? Because it’s proactive, cost-effective, and uses readily available ingredients. Instead of constantly scrubbing away at existing mold, you’re creating an environment that actively discourages its growth in the first place. Think of it as building a fortress against those pesky spores, a long-term solution that saves you time, money, and a whole lot of elbow grease.
But the beauty of DIY lies in its adaptability! Feel free to experiment with variations to suit your specific needs and preferences. For instance, if you’re sensitive to the smell of vinegar, you can dilute it further or add a few drops of your favorite essential oil, like tea tree or lavender, both known for their antifungal properties. Just be sure to test the solution in an inconspicuous area first to ensure it doesn’t stain or damage the surface.
Another variation involves the application method. While we’ve focused on a spray bottle for ease of use, you can also apply the solution with a sponge or cloth, especially for larger surfaces. For particularly stubborn areas, consider leaving the solution to sit for a longer period before wiping it away. Remember, the key is to ensure the surface is thoroughly saturated with the solution to maximize its mold-preventing power.
Furthermore, consider the type of surface you’re treating. For porous surfaces like grout or wood, you might need to apply the solution more frequently. For non-porous surfaces like tile or glass, a less frequent application may suffice. Observe how your surfaces react and adjust your application schedule accordingly.
Don’t be afraid to get creative and tailor this DIY trick to your unique circumstances. The goal is to find a method that works best for you and your home.
We are confident that this DIY trick will make a significant difference in your fight against mold. It’s a simple, sustainable, and effective way to keep your home clean, healthy, and mold-free.
Now, it’s your turn! We encourage you to give this DIY trick a try and see the results for yourself. We’re eager to hear about your experiences, so please share your thoughts, tips, and variations in the comments section below. Let’s build a community of mold-fighting experts and help each other create healthier homes! Your feedback is invaluable and will help us refine and improve this method for everyone.
Remember, a little prevention goes a long way. By incorporating this simple DIY trick into your regular cleaning routine, you can significantly reduce the risk of mold growth and enjoy a cleaner, healthier, and more comfortable living environment. So, grab your ingredients, get to work, and say goodbye to mold cleaning woes!
Frequently Asked Questions (FAQ)
What exactly causes mold to grow in the first place?
Mold thrives in damp, humid environments with poor ventilation. Common culprits include leaky pipes, condensation, inadequate bathroom ventilation, and even humidifiers that aren’t properly maintained. Mold spores are everywhere, but they only germinate and grow when they find the right conditions. Organic materials like wood, drywall, and fabric provide a food source for mold, allowing it to flourish. Understanding the root causes of moisture problems in your home is crucial for effective mold prevention.
How often should I apply this DIY mold prevention solution?
The frequency of application depends on several factors, including the humidity levels in your home, the type of surface you’re treating, and the severity of any existing mold problems. As a general guideline, we recommend applying the solution once a week in areas prone to moisture, such as bathrooms and kitchens. For less humid areas, you can reduce the frequency to once every two weeks or even once a month. Regularly inspect your home for signs of mold growth and adjust your application schedule accordingly. If you notice mold returning quickly, you may need to address underlying moisture issues.
Is this DIY solution safe to use around children and pets?
While the ingredients in this DIY solution are generally considered safe, it’s always best to exercise caution when using any cleaning product around children and pets. Keep the solution out of reach of children and pets, and avoid spraying it directly on them. Ensure adequate ventilation when applying the solution, and allow the treated surfaces to dry completely before allowing children or pets to come into contact with them. If you have any concerns about the safety of the solution, consult with your pediatrician or veterinarian.
Can I use this solution on all types of surfaces?
This DIY solution is generally safe to use on most non-porous surfaces, such as tile, glass, and plastic. However, it’s always a good idea to test the solution in an inconspicuous area first to ensure it doesn’t stain or damage the surface. Avoid using the solution on delicate or sensitive materials, such as painted surfaces, wallpaper, or natural stone. For porous surfaces like wood or grout, you may need to apply the solution more frequently and allow it to soak in for a longer period.
What if I already have a significant mold problem? Will this solution still work?
This DIY solution is primarily designed for mold prevention, not mold removal. If you already have a significant mold problem, it’s best to address it first before using this solution to prevent future growth. For severe mold infestations, it’s recommended to consult with a professional mold remediation company. They have the expertise and equipment to safely and effectively remove mold and address the underlying moisture issues. Once the mold has been removed, you can use this DIY solution to help prevent it from returning.
What are some other ways to prevent mold growth in my home?
In addition to using this DIY solution, there are several other steps you can take to prevent mold growth in your home. These include:
* Improving ventilation by opening windows and using exhaust fans in bathrooms and kitchens.
* Fixing any leaks or water damage promptly.
* Maintaining proper humidity levels by using a dehumidifier.
* Cleaning and drying wet or damp areas immediately.
* Ensuring adequate insulation to prevent condensation.
* Regularly cleaning and disinfecting surfaces prone to mold growth.
* Consider using mold-resistant paint in areas prone to moisture.
Can I add other ingredients to this DIY solution?
While the basic recipe of vinegar and water is effective on its own, you can experiment with adding other ingredients to enhance its mold-preventing properties. Some popular additions include:
* Tea tree oil: A natural antifungal agent. Add a few drops to the solution.
* Lavender oil: Another antifungal agent with a pleasant scent.
* Baking soda: Helps to absorb moisture and neutralize odors. Add a small amount to the solution.
* Hydrogen peroxide: A mild disinfectant that can help to kill mold spores.
Remember to test any new ingredients in an inconspicuous area first to ensure they don’t damage the surface.
How long does this DIY solution last?
The DIY solution is best used fresh. While it doesn’t necessarily “expire,” the effectiveness of the vinegar may diminish over time. We recommend making a new batch of the solution every few weeks to ensure optimal results. Store the solution in a cool, dark place to help preserve its potency.
Is white vinegar the only type of vinegar I can use?
White vinegar is generally recommended for this DIY solution because it’s inexpensive, readily available, and has a high acidity level, which makes it effective at killing mold spores. However, you can also use other types of vinegar, such as apple cider vinegar, although they may not be as effective. Avoid using balsamic vinegar or other flavored vinegars, as they may stain surfaces.
What should I do if I experience an allergic reaction to this DIY solution?
Although rare, some individuals may experience an allergic reaction to vinegar or other ingredients in this DIY solution. If you experience any symptoms of an allergic reaction, such as skin irritation, itching, or difficulty breathing, discontinue use immediately and consult with a doctor.
Leave a Comment