
Professional cleaning tips aren’t just for the pros anymore! Have you ever walked into a hotel room and thought, “Wow, this is spotless! How do they do it?” Or maybe you’ve scrolled through perfectly curated Instagram homes, wondering how they maintain that level of pristine cleanliness. Well, I’m here to let you in on a little secret: achieving a professionally cleaned home is totally within your reach, and it doesn’t require a magic wand (or a hefty cleaning bill!).
The pursuit of a clean and organized home is deeply rooted in human history. From ancient civilizations using natural remedies for cleaning to the Victorian era’s emphasis on domestic order, the desire for a tidy living space has always been a part of our lives. Today, with our busy schedules and ever-growing to-do lists, maintaining a clean home can feel like a daunting task. That’s where these DIY cleaning hacks come in!
Let’s face it, nobody enjoys spending their entire weekend scrubbing and dusting. These professional cleaning tips are designed to save you time, money, and energy. I’m going to share some of the best-kept secrets of professional cleaners, revealing simple yet effective techniques and DIY solutions that will transform your cleaning routine. Get ready to say goodbye to stubborn stains, lingering odors, and endless hours of scrubbing. Let’s dive in and unlock the secrets to a sparkling clean home!
DIY Deep Cleaning: Transform Your Home Like a Pro!
Hey there, fellow cleaning enthusiasts! I’m so excited to share my ultimate guide to deep cleaning your home like a professional. Forget those expensive cleaning services – with a little elbow grease and these insider tips, you can achieve sparkling results yourself. Let’s dive in!
Gather Your Arsenal: Essential Cleaning Supplies
Before we even think about scrubbing, let’s make sure we have all the right tools. Trust me, being prepared will save you time and frustration.
* Microfiber Cloths: These are my absolute go-to! They’re super absorbent, lint-free, and perfect for dusting, wiping, and polishing. Get a bunch!
* Sponges: Opt for non-scratch sponges to avoid damaging delicate surfaces.
* Spray Bottles: Essential for creating your own cleaning solutions. Label them clearly!
* Rubber Gloves: Protect your hands from harsh chemicals and keep them clean.
* Scrub Brushes: A variety of sizes will come in handy for tackling different areas. A grout brush is a must!
* Vacuum Cleaner: A powerful vacuum with various attachments is crucial for removing dust and debris.
* Mop and Bucket: Choose a mop that suits your flooring type.
* Squeegee: Perfect for streak-free windows and shower doors.
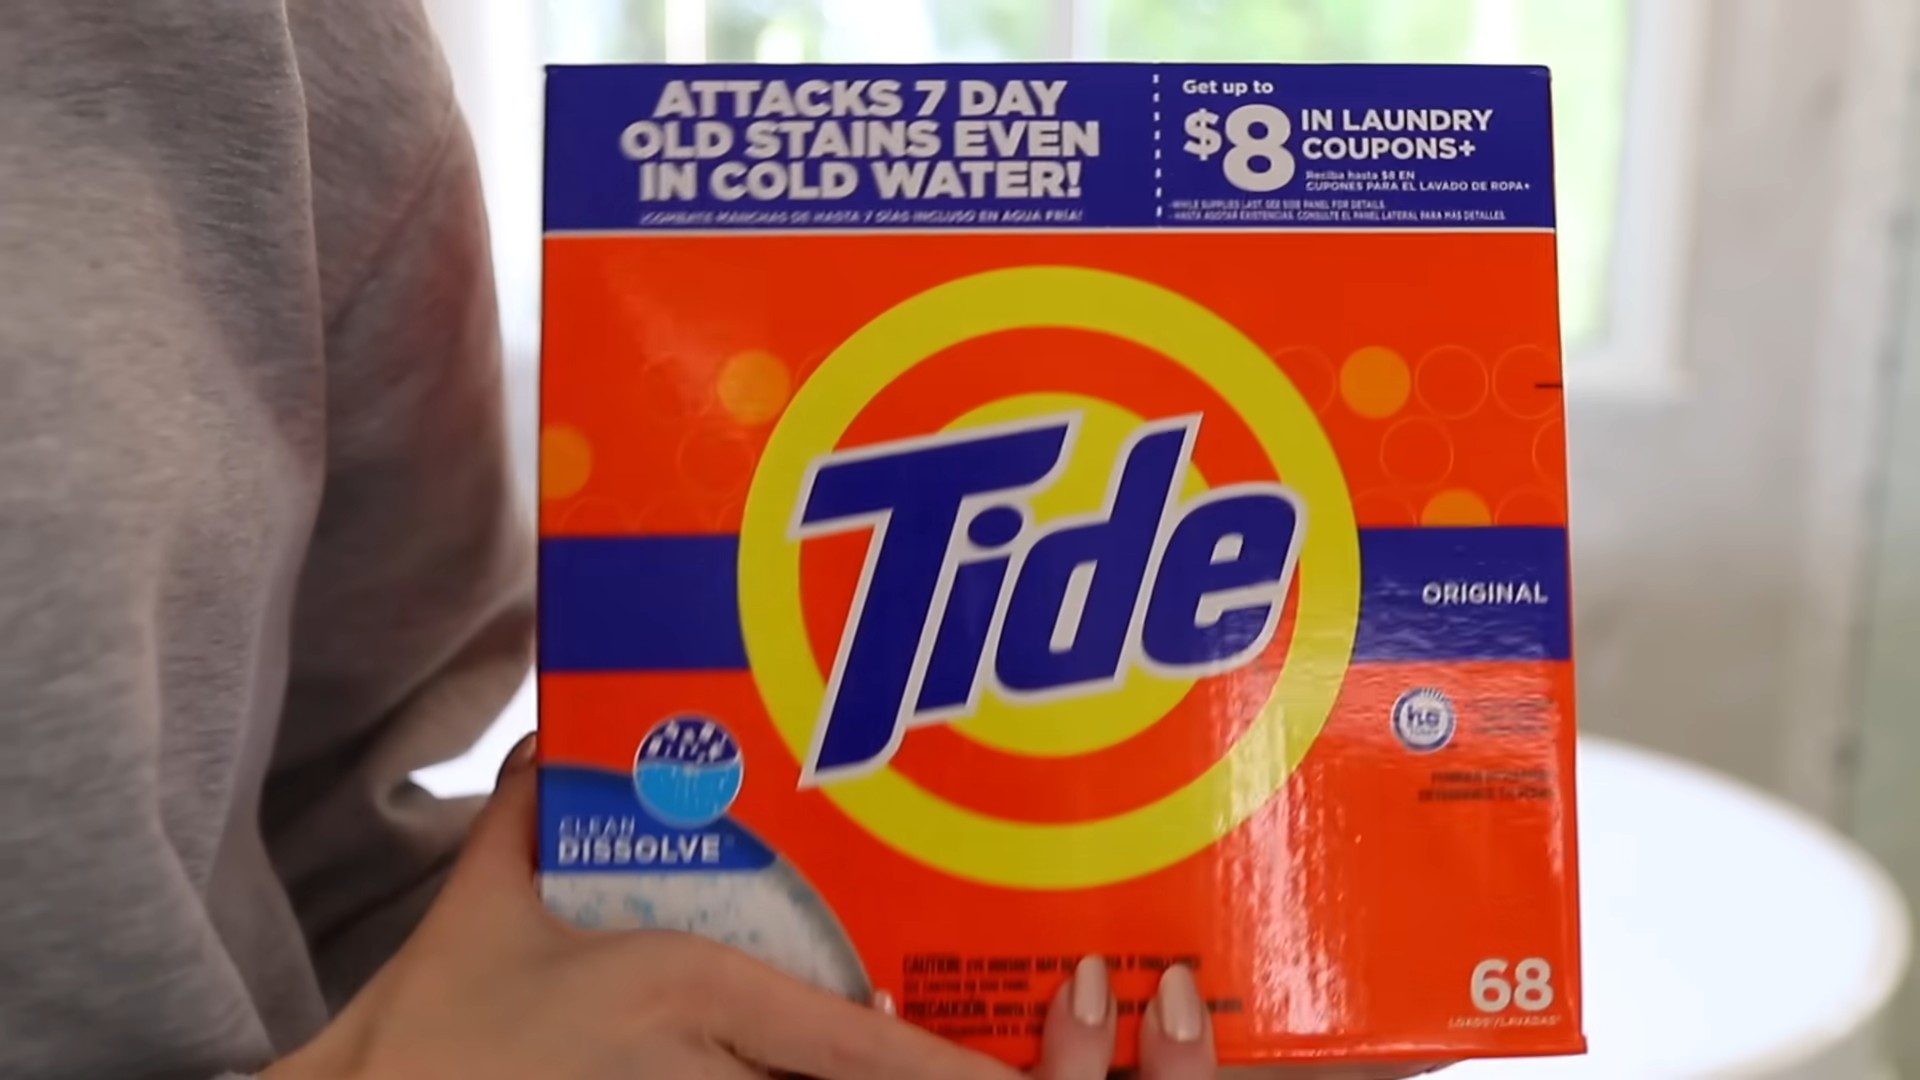
* Cleaning Solutions: We’ll be making some DIY solutions, but also keep these basics on hand:
* All-purpose cleaner
* Glass cleaner
* Bathroom cleaner
* Dish soap
* Baking soda
* White vinegar
* Hydrogen peroxide
* Lemon juice
* Old Toothbrush: An old toothbrush is perfect for getting into those hard-to-reach nooks and crannies.
* Magic Eraser: These are amazing for removing scuff marks and stubborn stains.
* Trash Bags: For decluttering as you clean.
* Ladder or Step Stool: For reaching high places.
DIY Cleaning Solutions: Natural and Effective
I’m a big fan of using natural cleaning solutions whenever possible. They’re safer for your family, pets, and the environment, and they’re often just as effective as store-bought products.
* All-Purpose Cleaner: Mix equal parts white vinegar and water in a spray bottle. Add a few drops of your favorite essential oil for a pleasant scent (lemon, lavender, or tea tree are great choices).
* Glass Cleaner: Mix 1/4 cup white vinegar with 2 cups water in a spray bottle.
* Bathroom Cleaner: Create a paste of baking soda and water for scrubbing tubs, sinks, and toilets. For tougher stains, try a mixture of hydrogen peroxide and baking soda.
* Drain Cleaner: Pour 1/2 cup baking soda down the drain, followed by 1 cup of white vinegar. Let it fizz for 30 minutes, then flush with hot water.
* Oven Cleaner: Make a paste of baking soda and water and coat the inside of your oven. Let it sit overnight, then scrub clean.
The Deep Cleaning Checklist: Room by Room
Now for the main event! I like to tackle deep cleaning room by room to stay organized and avoid feeling overwhelmed.
Kitchen: The Heart of the Home
1. Declutter and Organize: Start by removing everything from your countertops and cabinets. Toss out expired food, donate unwanted items, and organize what’s left.
2. Clean Appliances:
* Oven: Use the DIY oven cleaner paste (baking soda and water) or a commercial oven cleaner. Don’t forget to clean the oven racks!
* Microwave: Heat a cup of water with a few tablespoons of vinegar in the microwave for a few minutes. The steam will loosen grime, making it easy to wipe clean.
* Refrigerator: Remove all shelves and drawers and wash them with warm, soapy water. Wipe down the interior of the refrigerator with a solution of baking soda and water.
* Dishwasher: Run an empty dishwasher with a cup of white vinegar in the top rack.
3. Clean Countertops and Backsplash: Use your all-purpose cleaner to wipe down countertops and backsplash. Pay special attention to areas around the stove and sink.
4. Clean Sink and Faucet: Scrub the sink with a baking soda paste or a commercial sink cleaner. Polish the faucet with a microfiber cloth.
5. Clean Cabinets: Wipe down cabinet doors and drawers with a damp cloth and a mild detergent.
6. Clean Floors: Sweep or vacuum the floors, then mop with a floor cleaner appropriate for your flooring type.
7. Clean Garbage Disposal: Freshen your garbage disposal by grinding lemon or lime peels.
Bathroom: A Sanctuary of Clean
1. Declutter and Organize: Remove everything from your countertops, shelves, and shower. Toss out expired products and organize what’s left.
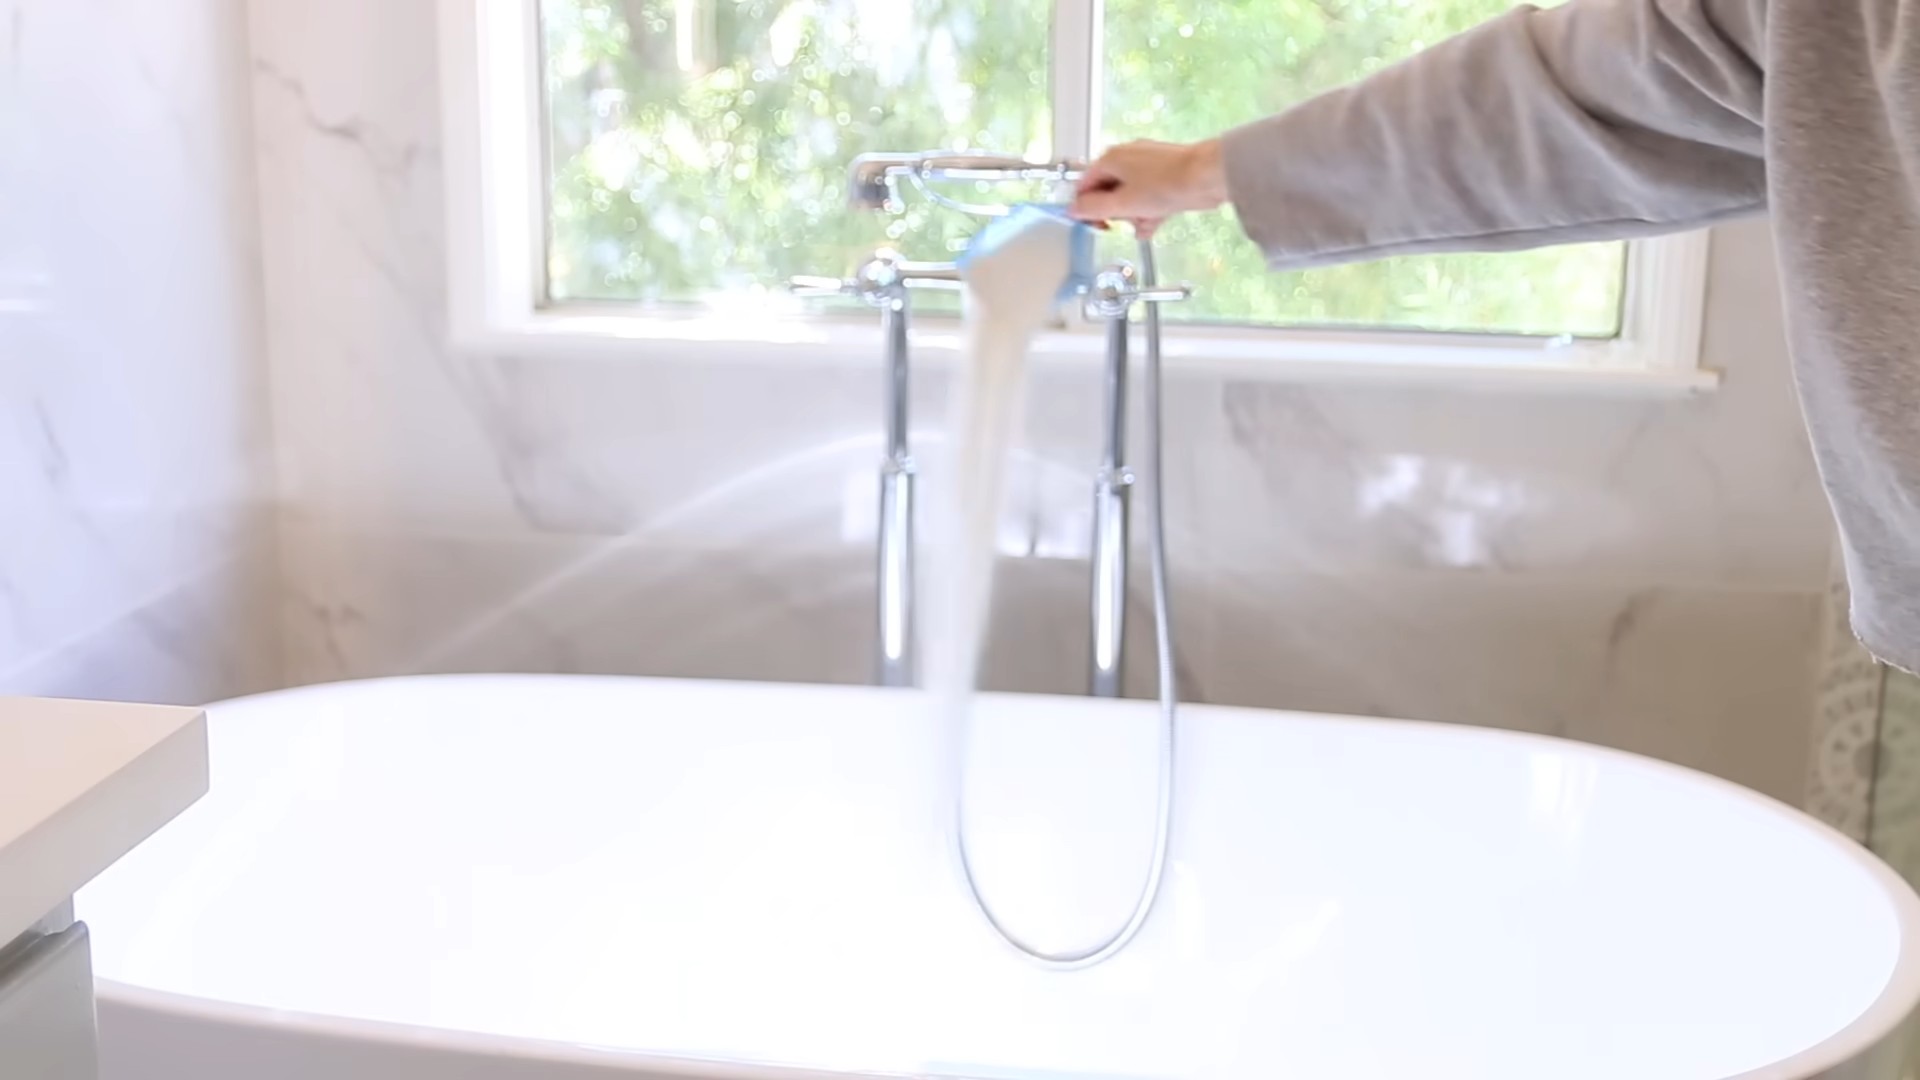
2. Clean Shower and Tub: Use your bathroom cleaner or a baking soda paste to scrub the shower and tub. Pay special attention to grout and mildew. A grout brush will be your best friend here!
3. Clean Toilet: Clean the toilet bowl with a toilet bowl cleaner. Wipe down the exterior of the toilet with a disinfectant wipe.
4. Clean Sink and Faucet: Scrub the sink with a baking soda paste or a commercial sink cleaner. Polish the faucet with a microfiber cloth.
5. Clean Mirror and Windows: Use your glass cleaner to clean the mirror and windows.
6. Clean Floors: Sweep or vacuum the floors, then mop with a floor cleaner appropriate for your flooring type.
7. Clean Shower Curtain or Door: Wash your shower curtain in the washing machine with a few towels to prevent it from sticking to the sides. Clean your shower door with a squeegee after each use to prevent water spots. For tougher stains, use a mixture of vinegar and water.
Bedrooms: A Haven of Rest
1. Declutter and Organize: Remove clutter from your dressers, nightstands, and floors. Donate unwanted items and organize what’s left.
2. Wash Bedding: Wash your sheets, blankets, and pillowcases in hot water.
3. Vacuum Mattress: Vacuum your mattress to remove dust mites and allergens.
4. Dust Furniture: Dust all furniture, including dressers, nightstands, and headboards.
5. Clean Windows and Mirrors: Use your glass cleaner to clean windows and mirrors.
6. Clean Floors: Vacuum or mop the floors.
7. Clean Closets: Organize your closets and donate unwanted clothing.
Living Room: A Space for Relaxation
1. Declutter and Organize: Remove clutter from your coffee table, shelves, and floors. Donate unwanted items and organize what’s left.
2. Dust Furniture: Dust all furniture, including coffee tables, end tables, and shelves.
3. Vacuum Upholstery: Vacuum your upholstery to remove dust and crumbs.
4. Clean Windows and Mirrors: Use your glass cleaner to clean windows and mirrors.
5. Clean Floors: Vacuum or mop the floors.
6. Dust Electronics: Use a microfiber cloth to dust your TV, stereo, and other electronics.
Other Areas: Don’t Forget These Spots!
* Entryway: Clean the entryway by sweeping or vacuuming the floors, wiping down the door, and cleaning the doormat.
* Laundry Room: Clean the laundry room by wiping down the washing machine and dryer, cleaning the lint trap, and sweeping or mopping the floors.
* Hallways: Clean the hallways by vacuuming or mopping the floors and dusting the walls.
* Baseboards: Wipe down all baseboards with a damp cloth.
* Light Fixtures: Dust all light fixtures.
* Doorknobs and Light Switches: Disinfect doorknobs and light switches.
Extra Tips for a Pro-Level Clean
* Work from Top to Bottom: Start by dusting high surfaces and work your way down to the floor. This prevents dust from falling on areas you’ve already cleaned.
* Let Cleaning Solutions Sit: Give cleaning solutions time to work their magic. Spray them on surfaces and let them sit for a few minutes before wiping them away.
* Don’t Forget the Details: Pay attention to small details like cleaning switch plates, doorknobs, and light fixtures.
* Open Windows for Ventilation: Fresh air is your friend! Open windows to ventilate your home while you clean.
* Play Music: Put on some upbeat music to make cleaning more enjoyable.
* Take Breaks: Don’t try to do everything at once. Take breaks to avoid burnout.
*
Conclusion
So, there you have it! This simple yet incredibly effective DIY cleaning trick is a game-changer for anyone looking to maintain a sparkling clean home without breaking the bank or relying on harsh chemicals. We’ve shown you how to harness the power of readily available ingredients to tackle common cleaning challenges, leaving your surfaces gleaming and your home smelling fresh.
Why is this a must-try? Because it’s economical, eco-friendly, and, most importantly, it works! You’ll be amazed at how easily you can remove stubborn stains, eliminate odors, and restore the shine to your belongings with this method. Forget spending a fortune on specialized cleaning products; this DIY solution is your all-in-one answer to a cleaner, healthier living space.
But don’t just take our word for it. We encourage you to experiment with variations to suit your specific needs and preferences. For instance, if you’re dealing with particularly tough grease, consider adding a tablespoon of baking soda to the mixture for extra scrubbing power. Or, if you prefer a different scent, feel free to substitute the lemon essential oil with your favorite fragrance, such as lavender or eucalyptus. Remember to always test any new cleaning solution on an inconspicuous area first to ensure it doesn’t damage the surface.
This professional cleaning tips inspired DIY trick isn’t just about cleaning; it’s about taking control of your home environment and creating a space that feels truly clean and inviting. It’s about reducing your reliance on potentially harmful chemicals and embracing a more sustainable approach to cleaning. It’s about saving money and feeling empowered by your ability to create effective cleaning solutions with simple ingredients.
We’re confident that once you try this DIY cleaning trick, you’ll be hooked. It’s a simple, effective, and rewarding way to keep your home looking its best. So, gather your ingredients, follow the steps, and prepare to be amazed by the results.
And now, we want to hear from you! Have you tried this DIY cleaning trick? What variations did you use? What were your results? Share your experiences, tips, and photos in the comments below. Let’s create a community of DIY cleaning enthusiasts and inspire each other to maintain sparkling clean homes with simple, natural solutions. Your feedback is invaluable and will help us refine and improve this guide for future readers. We can’t wait to hear your success stories! Let us know if these professional cleaning tips have helped you!
Frequently Asked Questions (FAQ)
Q: What types of surfaces can I use this DIY cleaning trick on?
A: This DIY cleaning solution is generally safe for use on a wide variety of surfaces, including countertops (granite, quartz, laminate), sinks (stainless steel, porcelain), tiles, glass, and sealed wood. However, it’s crucial to test the solution on an inconspicuous area first, especially on delicate or antique surfaces, to ensure it doesn’t cause any discoloration or damage. Avoid using it on unsealed wood, as the moisture can cause warping or staining. For porous surfaces like marble, use caution and dilute the solution further.
Q: Can I use this cleaning solution to clean my oven?
A: While this DIY cleaning solution can be used to clean the interior of your oven, it’s best suited for light cleaning and maintenance. For heavily soiled ovens with baked-on grease and grime, a dedicated oven cleaner might be necessary. If you choose to use this solution in your oven, make sure the oven is completely cool and unplugged. Apply the solution, let it sit for a few minutes, and then scrub thoroughly. Rinse well with clean water and dry completely before using the oven again. Be sure to avoid the heating elements.
Q: How long does the DIY cleaning solution last?
A: Due to the natural ingredients, this DIY cleaning solution is best used within one to two weeks. The lemon essential oil can degrade over time, reducing its effectiveness and scent. Store the solution in an airtight container in a cool, dark place to prolong its shelf life. If the solution starts to smell off or becomes cloudy, discard it and make a fresh batch.
Q: Can I use vinegar instead of lemon juice?
A: Yes, you can substitute vinegar for lemon juice in this DIY cleaning solution. Vinegar is another excellent natural cleaner with antibacterial and disinfecting properties. However, vinegar has a stronger odor than lemon juice, so you might want to add a few extra drops of essential oil to mask the smell. Also, be aware that vinegar is acidic and should not be used on certain surfaces, such as marble or granite, as it can etch the stone.
Q: Is this DIY cleaning solution safe for pets and children?
A: While this DIY cleaning solution is made with natural ingredients, it’s still important to exercise caution when using it around pets and children. Keep the solution out of their reach and prevent them from ingesting it. If your pet or child accidentally ingests the solution, contact your veterinarian or a medical professional immediately. Always rinse surfaces thoroughly after cleaning to remove any residue.
Q: Can I use different essential oils in this cleaning solution?
A: Absolutely! Feel free to experiment with different essential oils to create a cleaning solution that suits your preferences. Lavender, tea tree, eucalyptus, and peppermint essential oils are all excellent choices with their own unique cleaning and disinfecting properties. Just be sure to use pure, high-quality essential oils for the best results.
Q: How often should I use this DIY cleaning trick?
A: The frequency of use depends on your cleaning needs and the level of dirt and grime in your home. For general cleaning and maintenance, you can use this solution once or twice a week. For tougher stains or spills, you can use it as needed. Remember to always test the solution on an inconspicuous area first, especially if you’re using it on a new surface.
Q: What if I don’t have essential oils? Can I still make this cleaning solution?
A: Yes, you can still make this cleaning solution without essential oils. The lemon juice and water alone will provide some cleaning power. However, the essential oils add extra cleaning and disinfecting properties, as well as a pleasant scent. If you don’t have essential oils, you can try adding a few drops of your favorite natural fragrance oil or simply use the lemon juice and water mixture as is.
Q: This DIY cleaning trick didn’t work for me. What could I have done wrong?
A: There are several reasons why this DIY cleaning trick might not have worked as expected. First, make sure you’re using the correct proportions of ingredients. Too much water can dilute the solution and reduce its effectiveness. Second, ensure that the surface you’re cleaning is properly prepped. Remove any loose dirt or debris before applying the solution. Third, allow the solution to sit on the surface for a few minutes to allow it to penetrate and loosen the grime. Finally, scrub thoroughly with a clean cloth or sponge. If you’re still having trouble, try adding a tablespoon of baking soda to the mixture for extra scrubbing power. Also, consider the type of stain you’re trying to remove. Some stains, such as permanent marker or dried paint, might require a more specialized cleaning solution.
Leave a Comment