
Shaving Cream Hacks: Who knew that humble can of shaving cream held so much potential beyond just a smooth shave? I’m constantly amazed by the versatility of everyday household items, and shaving cream is definitely a star player! For generations, it’s been a bathroom staple, but its uses extend far beyond softening whiskers. In fact, some believe early forms of shaving cream were even used in ancient civilizations for cosmetic purposes, highlighting its long-standing connection to personal care and cleaning.
Are you tired of stubborn stains, foggy mirrors, or searching for a gentle cleaning solution? Then you’re in the right place! This article is packed with brilliant shaving cream hacks that will simplify your life and save you money. We’ll explore creative ways to use this foamy wonder around your home, from banishing carpet stains to creating mesmerizing marbled paper. I’m excited to share these simple yet effective tricks that will transform the way you think about shaving cream. Get ready to unlock a world of possibilities with this unexpected DIY powerhouse!
Unlock the Magic: Unexpected Shaving Cream Hacks You Need to Know!
Hey there, DIY enthusiasts! I’m about to let you in on a little secret: shaving cream is so much more than just a pre-shave ritual. It’s a surprisingly versatile product that can tackle a whole host of household challenges. Get ready to be amazed by these unexpected shaving cream hacks!
Cleaning Powerhouse: Shaving Cream to the Rescue!
Shaving cream contains ingredients that make it a surprisingly effective cleaner. Its foamy texture helps lift dirt and grime, and it’s gentle enough for many surfaces.
Cleaning Mirrors and Glass
Say goodbye to streaks and hello to sparkling mirrors and windows! This is one of my favorite uses for shaving cream.
What you’ll need:
* Shaving cream (any kind will do, but I prefer the foamy kind)
* A clean, damp cloth
* A dry, lint-free cloth
Step-by-step instructions:
1. Apply the shaving cream: Squirt a small amount of shaving cream onto the mirror or glass surface. You don’t need much!
2. Spread it around: Use your damp cloth to spread the shaving cream evenly over the entire surface. Make sure to cover every inch.
3. Let it sit: Allow the shaving cream to sit for a minute or two. This gives it time to loosen any dirt or grime.
4. Wipe it away: Use the damp cloth to wipe away the shaving cream. You might need to rinse the cloth a few times to remove all the residue.
5. Buff it dry: Use the dry, lint-free cloth to buff the surface until it’s sparkling clean and streak-free.
Why it works: The shaving cream creates a protective layer that helps prevent fogging, especially in bathrooms. Plus, it leaves your mirrors and glass looking incredibly shiny!
Removing Stains from Carpets and Upholstery
Accidents happen! But don’t panic. Shaving cream can be a lifesaver when it comes to removing stains from carpets and upholstery.
What you’ll need:
* Shaving cream (again, the foamy kind works best)
* A clean, damp cloth
* A vacuum cleaner
Step-by-step instructions:
1. Apply the shaving cream: Apply a generous amount of shaving cream directly onto the stain.
2. Let it sit: Allow the shaving cream to sit for at least 30 minutes, or even longer for stubborn stains. This gives it time to penetrate the stain and break it down.
3. Blot the stain: Use the damp cloth to gently blot the stain, working from the outside in. Avoid rubbing, as this can spread the stain.
4. Repeat if necessary: If the stain is still visible, repeat steps 1-3.
5. Vacuum it up: Once the stain is gone, use a vacuum cleaner to remove any remaining shaving cream residue.
Important note: Always test the shaving cream on an inconspicuous area of the carpet or upholstery first to make sure it doesn’t cause any discoloration.
Polishing Chrome Fixtures
Want to make your chrome fixtures shine like new? Shaving cream is your secret weapon!
What you’ll need:
* Shaving cream
* A clean, damp cloth
* A dry, lint-free cloth
Step-by-step instructions:
1. Apply the shaving cream: Apply a small amount of shaving cream to the chrome fixture.
2. Rub it in: Use the damp cloth to rub the shaving cream into the fixture, paying attention to any areas with water spots or tarnish.
3. Rinse it off: Rinse the fixture with water to remove the shaving cream.
4. Buff it dry: Use the dry, lint-free cloth to buff the fixture until it’s shiny and streak-free.
Why it works: The mild abrasives in shaving cream help to remove water spots and tarnish, leaving your chrome fixtures looking sparkling clean.
Creative Crafts and Playtime Fun
Shaving cream isn’t just for cleaning; it can also be used for some fun and creative activities!
Making Marbled Paper
This is a super fun and easy craft that kids (and adults!) will love.
What you’ll need:
* Shaving cream
* Food coloring or liquid watercolors
* A shallow dish or tray
* Paper (cardstock works best)
* A ruler or scraper
Step-by-step instructions:
1. Prepare the shaving cream: Fill the shallow dish or tray with shaving cream. Spread it out evenly.
2. Add the color: Drop small amounts of food coloring or liquid watercolors onto the shaving cream. Use a toothpick or skewer to swirl the colors around, creating a marbled effect. Don’t overmix!
3. Place the paper: Gently place a sheet of paper on top of the shaving cream, pressing down lightly.
4. Lift the paper: Carefully lift the paper off the shaving cream.
5. Scrape off the excess: Use a ruler or scraper to scrape off the excess shaving cream, revealing the marbled design.
6. Let it dry: Allow the paper to dry completely.
Tips and tricks: Experiment with different colors and swirling techniques to create unique marbled designs. You can use this marbled paper for cards, gift tags, or other craft projects.
Shaving Cream Sensory Play
This is a great sensory activity for toddlers and young children. It’s safe, non-toxic, and lots of fun!
What you’ll need:
* Shaving cream
* A large container or tray
* Optional: Food coloring, glitter, small toys
Step-by-step instructions:
1. Prepare the shaving cream: Squirt a generous amount of shaving cream into the container or tray.
2. Add optional ingredients: If desired, add a few drops of food coloring or a sprinkle of glitter to the shaving cream. You can also add small toys for your child to play with.
3. Let them play: Let your child explore the shaving cream with their hands. They can squish it, swirl it, and make shapes.
Safety note: Always supervise children during sensory play. While shaving cream is generally safe, it’s not meant to be eaten.
Other Clever Uses for Shaving Cream
But wait, there’s more! Here are a few other clever ways to use shaving cream around the house:
* Unsticking zippers: Apply a small amount of shaving cream to the zipper teeth and gently work the zipper up and down.
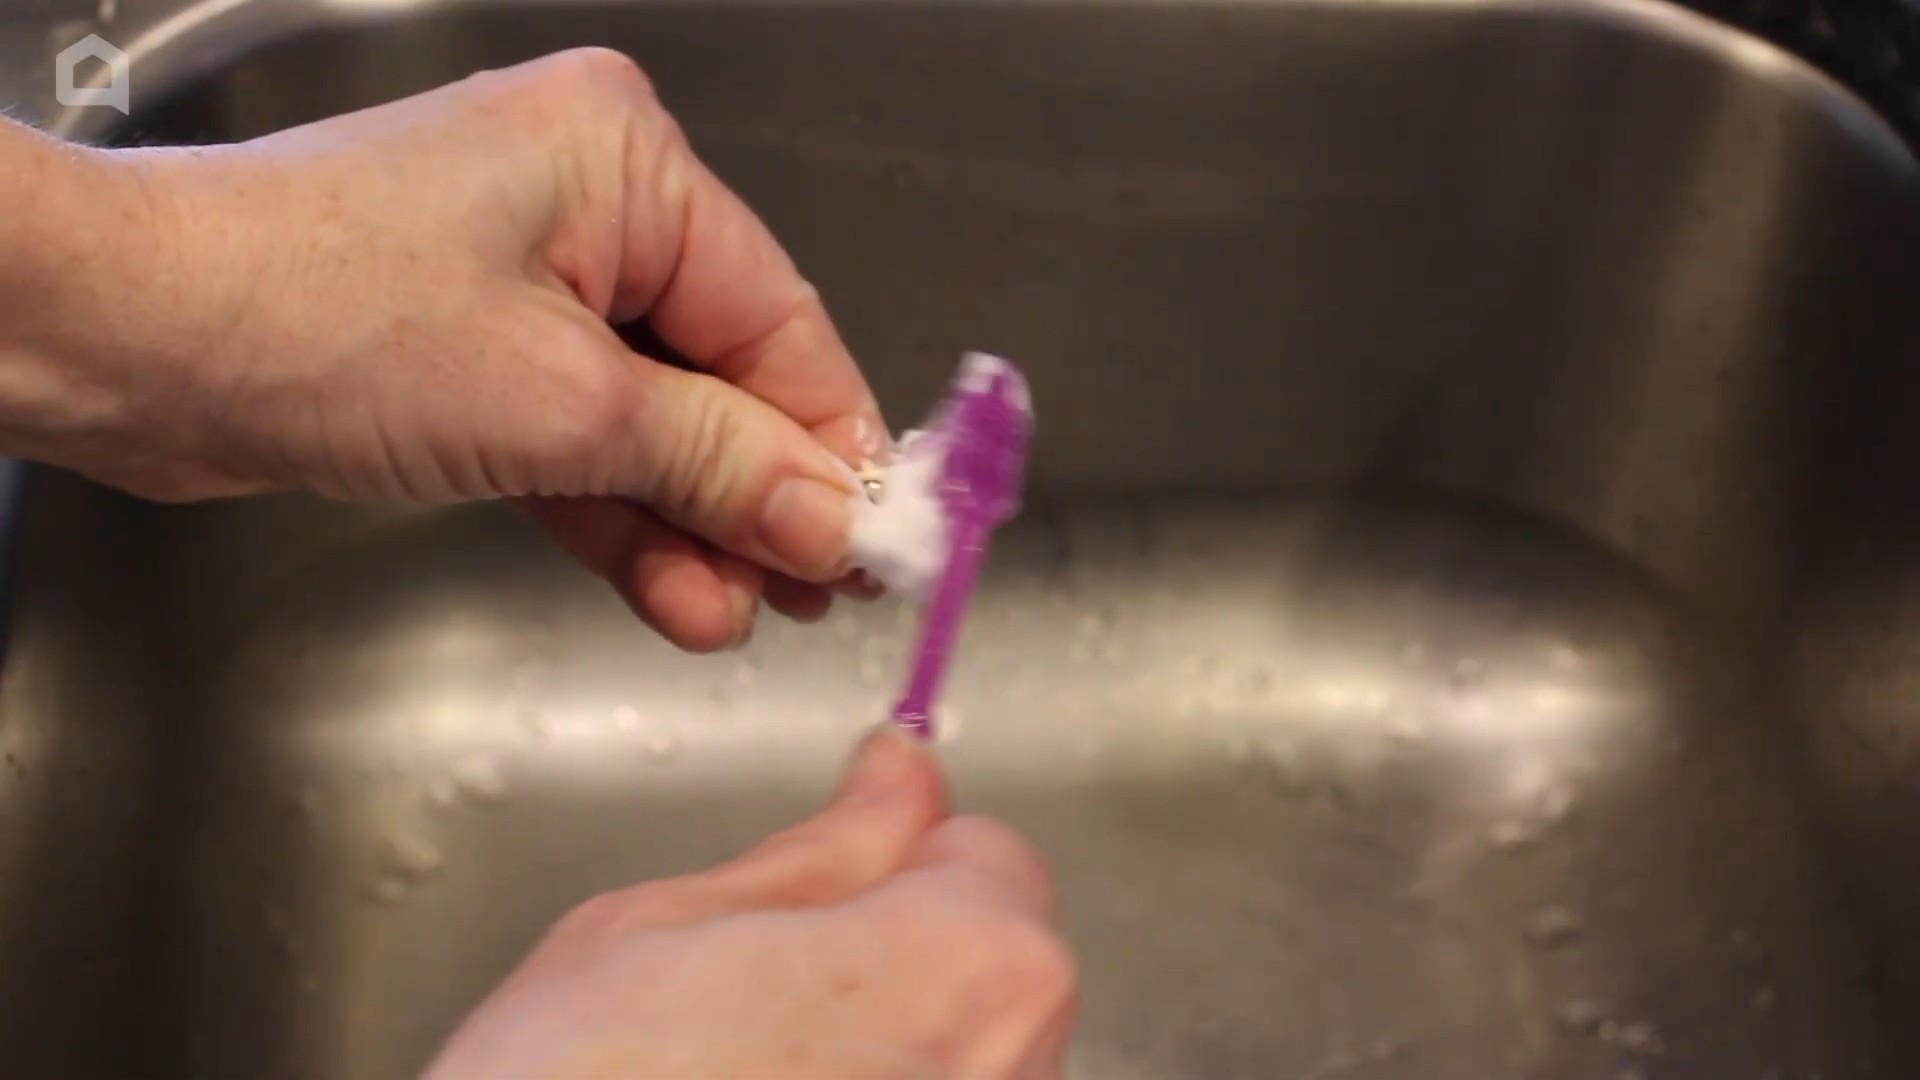
* Cleaning makeup brushes: Use shaving cream to gently clean your makeup brushes. Rinse thoroughly and allow them to air dry.
* Soothing sunburns: The cooling properties of shaving cream can help to soothe mild sunburns. Apply a thin layer to the affected area.
* Preventing foggy goggles: Apply a thin layer of shaving cream to the inside of your swim goggles or ski goggles to prevent them from fogging up. Wipe away the excess with a clean cloth.
* Cleaning stainless steel: Shaving cream can help remove fingerprints and smudges from stainless steel appliances.
I hope you’ve enjoyed learning about these unexpected shaving cream hacks! Give them a try and let me know what you think. You might be surprised at how versatile this everyday product can be. Happy hacking!
Conclusion
So, there you have it! We’ve explored a range of surprising and effective ways to leverage the power of shaving cream beyond its traditional use. From banishing stubborn stains to creating mesmerizing marbled art, the versatility of this everyday product is truly remarkable. But the real star of the show is using shaving cream to create your own DIY puffy paint. It’s not just a fun activity; it’s a fantastic way to unleash your creativity, engage children in sensory play, and add a unique textural element to your artistic projects.
Why is this DIY puffy paint trick a must-try? Because it’s simple, affordable, and yields incredible results. Forget expensive art supplies; with just shaving cream, glue, and a touch of food coloring, you can create vibrant, three-dimensional masterpieces. The light, airy texture of the puffy paint is unlike anything you can buy in a store, and the joy of watching it expand as it dries is simply magical.
But the fun doesn’t stop there! Consider these variations to take your puffy paint creations to the next level:
* **Scented Puffy Paint:** Add a few drops of essential oils to your mixture for an aromatic sensory experience. Lavender, citrus, or peppermint scents can enhance the calming or energizing effects of the activity.
* **Glitter Puffy Paint:** Mix in some glitter for a dazzling, sparkly effect. This is perfect for creating festive decorations or adding a touch of glamour to your artwork.
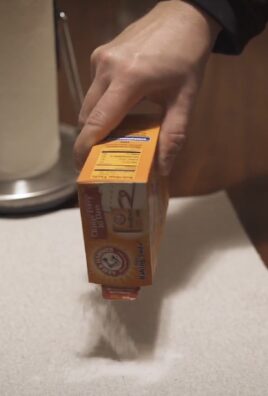
* **Sand Puffy Paint:** Incorporate fine sand into your puffy paint for a gritty, textured finish. This is ideal for creating landscapes, seascapes, or other nature-inspired art.
* **Colored Glue Puffy Paint:** Instead of white glue, experiment with colored glue for a different base tone. This can create interesting effects when combined with food coloring.
* **Edible Puffy Paint:** For very young children who might be tempted to taste the paint, you can create an edible version using whipped cream instead of shaving cream. Just be aware that it won’t have the same puffy effect when dry.
We’ve shown you the potential, now it’s your turn to unleash your inner artist. Gather your supplies, experiment with different colors and textures, and let your imagination run wild. This DIY puffy paint trick is not just about creating art; it’s about having fun, exploring your creativity, and making memories.
We are confident that you will love this shaving cream hack. So, what are you waiting for? Give this DIY puffy paint a try and share your creations with us! We can’t wait to see what you come up with. Tag us in your photos and videos on social media using #DIYPuffyPaint and let us know how it went. Your experiences and feedback are invaluable, and they might even inspire others to embark on their own puffy paint adventures. Happy crafting!
Frequently Asked Questions (FAQ)
What kind of shaving cream should I use?
The best type of shaving cream for DIY puffy paint is the classic, foamy kind. Avoid using gel shaving creams, as they won’t create the desired puffy texture. Look for a basic, inexpensive shaving cream – there’s no need to splurge on fancy brands for this project. The key ingredient is the propellant that creates the foam.
Can I use different types of glue?
While white school glue is the most commonly used and recommended type of glue for puffy paint, you can experiment with other types. Clear glue will give you a slightly different look, and colored glue can add a unique base tone to your paint. However, avoid using super glue or other strong adhesives, as they may not be safe for children and could react unpredictably with the shaving cream.
How long does puffy paint take to dry?
The drying time for puffy paint can vary depending on several factors, including the thickness of the paint, the humidity in the air, and the type of surface you’re painting on. Generally, it takes anywhere from a few hours to overnight for puffy paint to dry completely. To speed up the drying process, you can place your artwork in a warm, well-ventilated area. Avoid using a hairdryer or other direct heat source, as this could cause the paint to crack or melt.
Is puffy paint washable?
Puffy paint made with shaving cream and glue is generally not washable. Once it dries, it becomes relatively permanent. Therefore, it’s important to protect your clothing and work surface before starting your project. Consider using an old t-shirt or apron to protect your clothes, and cover your work surface with newspaper or a plastic tablecloth.
Can I use puffy paint on fabric?
While puffy paint can be used on fabric, it’s important to keep in mind that it’s not designed to be washed. If you apply puffy paint to clothing or other fabric items, it’s likely to crack or peel off after washing. If you want to create permanent designs on fabric, consider using fabric paint specifically designed for that purpose.
Is puffy paint safe for children?
Puffy paint made with shaving cream, glue, and food coloring is generally safe for children to use, but adult supervision is always recommended. Ensure that children do not ingest the paint, and wash their hands thoroughly after use. If you’re concerned about potential allergies, you can use hypoallergenic shaving cream and food coloring. For very young children who might be tempted to taste the paint, consider using an edible version made with whipped cream instead of shaving cream.
How do I store leftover puffy paint?
Leftover puffy paint can be stored in an airtight container for a few days. However, it’s important to note that the paint may start to deflate or separate over time. To prevent this, try to use the paint as soon as possible after mixing it. If you do need to store it, make sure the container is tightly sealed and keep it in a cool, dry place.
Can I use puffy paint on different surfaces?
Puffy paint works well on a variety of surfaces, including paper, cardboard, wood, and canvas. However, it may not adhere as well to slick or non-porous surfaces like plastic or glass. Before starting your project, test the paint on a small, inconspicuous area of the surface to ensure that it adheres properly.
What if my puffy paint is too runny or too thick?
If your puffy paint is too runny, add a little more glue to thicken it up. If it’s too thick, add a small amount of shaving cream to thin it out. Be sure to add the ingredients gradually and mix well after each addition until you achieve the desired consistency.
Can I mix different colors of puffy paint?
Yes, you can definitely mix different colors of puffy paint to create custom shades. Simply mix small amounts of different colored paints together until you achieve the desired color. Keep in mind that the colors may blend together slightly as the paint dries, so it’s best to test the color on a scrap piece of paper before applying it to your final artwork.
Leave a Comment