
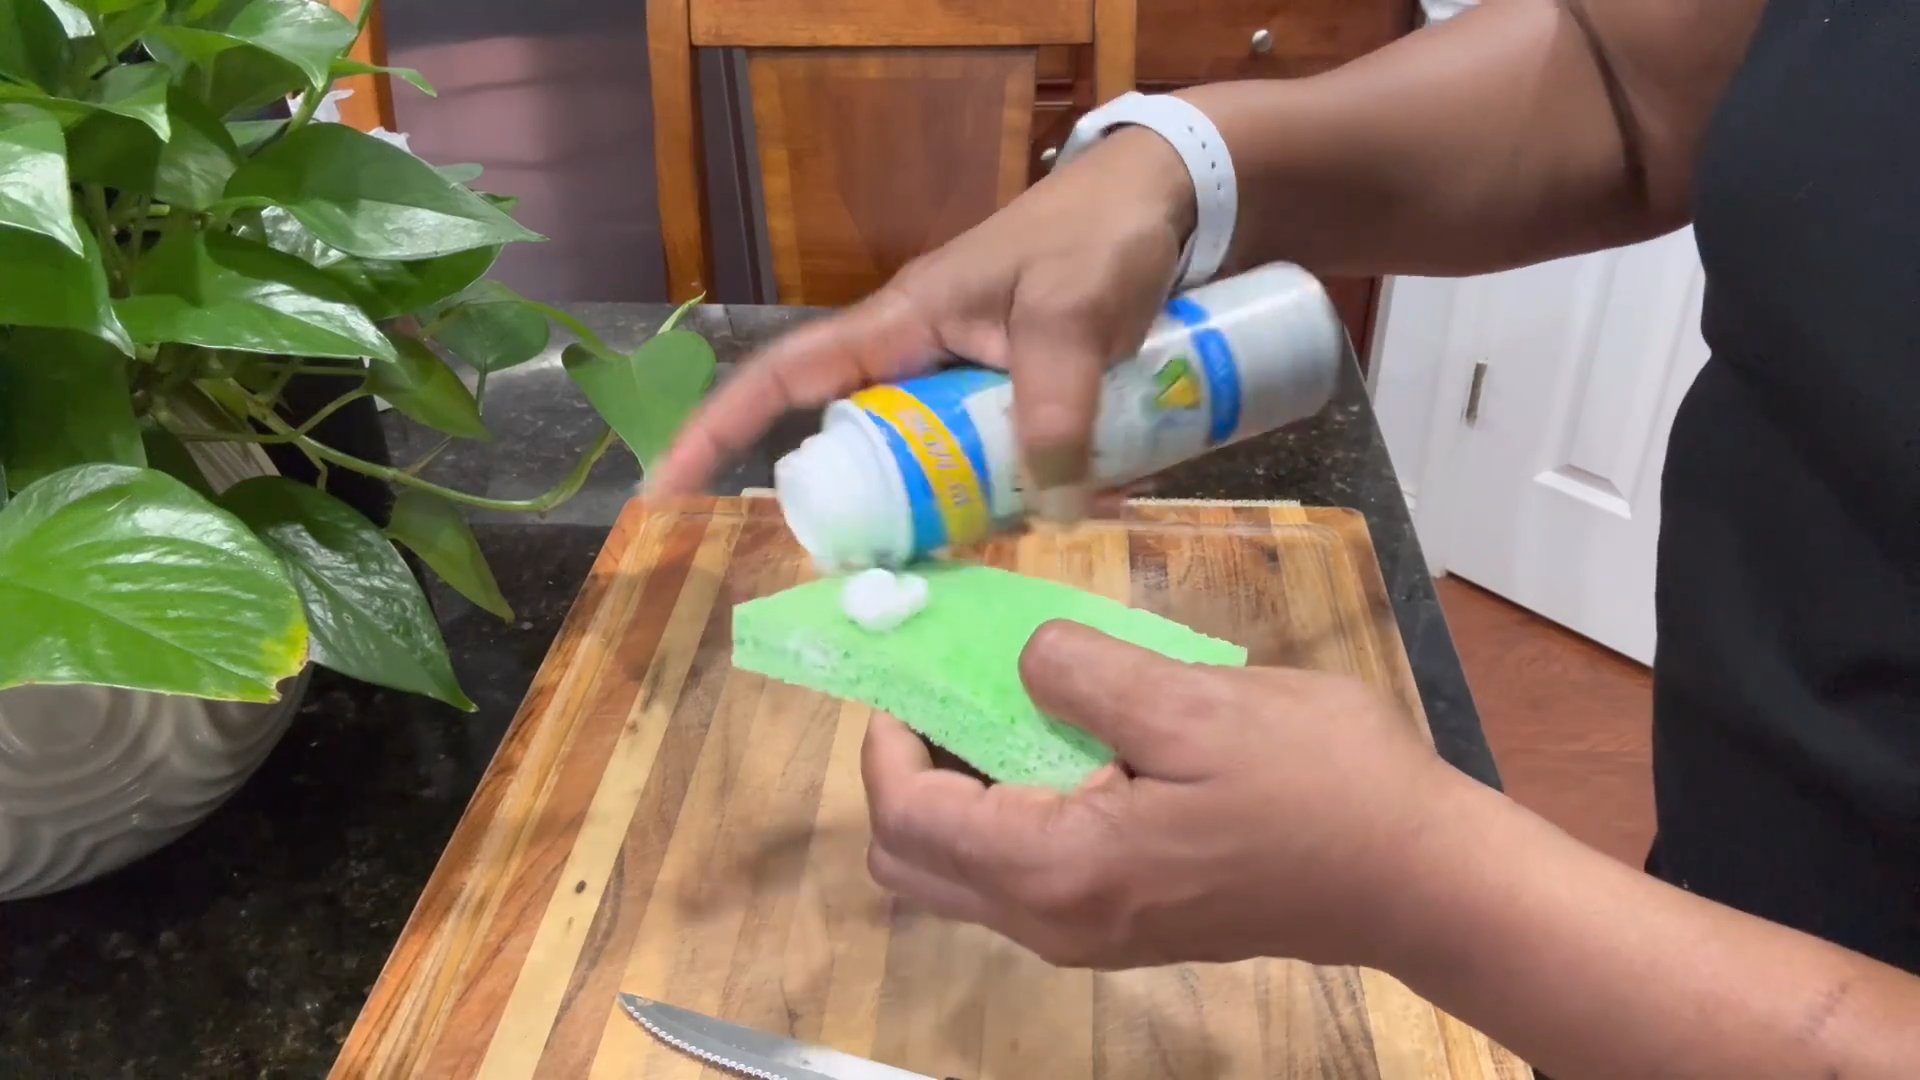
Shaving foam cleaning tricks – who knew something you use on your face could be your new best friend around the house? I’m always on the lookout for clever, budget-friendly ways to keep my home sparkling, and let me tell you, this one is a game-changer! Forget those expensive, chemical-laden cleaners; shaving foam is surprisingly versatile and effective.
While shaving foam’s primary purpose is for grooming, its cleaning potential has been whispered about for years, passed down through generations of savvy homemakers. Think of it as a modern twist on old-fashioned cleaning solutions, a testament to the resourcefulness of finding new uses for everyday items. It’s like your grandma’s secret cleaning weapon, but with a fresh, foamy twist!
Why do you need these shaving foam cleaning tricks in your life? Because life is messy! From stubborn carpet stains to grimy bathroom mirrors, we all face cleaning challenges. This DIY guide will equip you with simple, effective solutions that are gentle on your wallet and the environment. Plus, it’s incredibly satisfying to see how easily shaving foam can tackle tough cleaning tasks. So, grab a can and get ready to be amazed – your home (and your budget) will thank you!
Shaving Foam: Your Unexpected Cleaning Superhero!
Okay, friends, let’s talk about something you probably have sitting in your bathroom right now: shaving foam! Yes, that foamy stuff you (or someone you live with) uses to get a smooth shave is actually a surprisingly versatile cleaning agent. I’m going to let you in on some of my favorite shaving foam cleaning hacks that will save you time and money. Get ready to be amazed!
Why Shaving Foam?
Before we dive in, you might be wondering, “Why shaving foam? What’s so special about it?” Well, it’s all about the ingredients. Shaving foam is designed to lubricate and soften, which makes it excellent at loosening dirt and grime. Plus, it’s gentle enough to use on many surfaces without causing damage. And let’s be honest, it smells pretty good too!
Hack #1: Sparkling Bathroom Mirrors and Windows
Tired of streaks and smudges on your mirrors and windows? Shaving foam to the rescue! This is one of my go-to tricks for a quick and easy shine.
What you’ll need:
* Shaving foam (any kind will do, but I prefer the basic, unscented variety)
* A clean, lint-free cloth or microfiber towel
* Water (optional)
Step-by-step instructions:
1. Apply the shaving foam: Squirt a generous amount of shaving foam directly onto the mirror or window surface. Don’t be shy! You want a nice, even layer.
2. Spread it around: Using your hand or a clean cloth, spread the shaving foam evenly over the entire surface. Make sure to cover all the corners and edges.
3. Let it sit: Allow the shaving foam to sit for a minute or two. This gives it time to work its magic and loosen any dirt or grime.
4. Wipe it away: Using a clean, lint-free cloth or microfiber towel, wipe away the shaving foam in a circular motion. You’ll start to see the streaks and smudges disappear.
5. Buff to a shine: If you notice any residue, use a clean, dry section of the cloth to buff the surface to a sparkling shine. You can also lightly dampen the cloth with water if needed.
Pro Tip: This works wonders on bathroom mirrors that tend to fog up after a hot shower. The shaving foam creates a protective barrier that prevents condensation.
Hack #2: Stain Remover for Carpets and Upholstery
Spilled something on your carpet or couch? Don’t panic! Shaving foam can often lift those pesky stains.
What you’ll need:
* Shaving foam (again, basic and unscented is best)
* A clean, damp cloth or sponge
* A vacuum cleaner
Step-by-step instructions:
1. Act fast: The sooner you treat the stain, the better your chances of removing it completely.
2. Apply the shaving foam: Apply a generous amount of shaving foam directly onto the stain. Make sure to cover the entire affected area.
3. Let it sit: Allow the shaving foam to sit for at least 15-20 minutes. This gives it time to penetrate the stain and break it down. For tougher stains, you can let it sit for up to an hour.
4. Blot the stain: Using a clean, damp cloth or sponge, gently blot the stain from the outside in. Avoid rubbing, as this can spread the stain.
5. Rinse (if necessary): If the shaving foam leaves a residue, you can lightly rinse the area with clean water. Be careful not to over-wet the carpet or upholstery.
6. Dry the area: Use a clean, dry towel to blot up any excess moisture. You can also use a fan or hairdryer to speed up the drying process.
7. Vacuum: Once the area is completely dry, vacuum it thoroughly to restore the pile and remove any remaining residue.
Important Note: Always test the shaving foam on a small, inconspicuous area of the carpet or upholstery first to make sure it doesn’t cause any discoloration or damage.
Hack #3: Cleaning Stainless Steel Appliances
Stainless steel appliances look great, but they can be a pain to keep clean. Fingerprints, smudges, and water spots seem to appear out of nowhere. But guess what? Shaving foam can help with that too!
What you’ll need:
* Shaving foam
* A clean, soft cloth or microfiber towel
Step-by-step instructions:
1. Apply the shaving foam: Apply a small amount of shaving foam to a clean, soft cloth.
2. Wipe the appliance: Gently wipe the stainless steel appliance in the direction of the grain. This will help to remove fingerprints, smudges, and water spots.
3. Buff to a shine: Use a clean, dry section of the cloth to buff the appliance to a sparkling shine.
Why this works: The gentle cleaning action of the shaving foam helps to remove surface dirt and grime without scratching the stainless steel.
Hack #4: Polishing Chrome Fixtures
Chrome fixtures in your bathroom and kitchen can lose their shine over time. Shaving foam can help restore their luster.
What you’ll need:
* Shaving foam
* A clean, soft cloth
Step-by-step instructions:
1. Apply the shaving foam: Apply a small amount of shaving foam directly to the chrome fixture.
2. Rub it in: Gently rub the shaving foam into the chrome using a clean, soft cloth.
3. Rinse and dry: Rinse the fixture with water and dry it thoroughly with a clean cloth.
The result: Shiny, like-new chrome fixtures!
Hack #5: Cleaning Jewelry
Believe it or not, shaving foam can even be used to clean your jewelry! It’s a gentle and effective way to remove dirt and grime and restore the shine.
What you’ll need:
* Shaving foam
* A soft-bristled toothbrush
* Warm water
* A clean, soft cloth
Step-by-step instructions:
1. Apply the shaving foam: Apply a small amount of shaving foam to your jewelry.
2. Gently scrub: Using a soft-bristled toothbrush, gently scrub the jewelry to remove dirt and grime.
3. Rinse thoroughly: Rinse the jewelry thoroughly with warm water.
4. Dry and polish: Dry the jewelry with a clean, soft cloth and polish it to a shine.
Important Note: This method is best for cleaning durable jewelry like gold, silver, and platinum. Avoid using it on delicate gemstones or pearls, as the shaving foam could damage them.
Hack #6: Removing Sticky Residue
Those pesky stickers that leave behind a sticky residue? Shaving foam can help!
What you’ll need:
* Shaving foam
* A clean cloth or sponge
Step-by-step instructions:
1. Apply the shaving foam: Apply a generous amount of shaving foam to the sticky residue.
2. Let it sit: Allow the shaving foam to sit for a few minutes to soften the residue.
3. Wipe it away: Wipe away the shaving foam and the sticky residue with a clean cloth or sponge. You may need to repeat this process a few times for stubborn residue.
Hack #7: Cleaning Computer Screens (Use with Caution!)
This one requires extra caution, but I’ve had success with it. Shaving foam can be used to clean computer screens, but you need to be very careful not to get any liquid inside the screen.
What you’ll need:
* Shaving foam
* A clean, dry microfiber cloth
* A can of compressed air (optional)
Step-by-step instructions:
1. Unplug the device: This is crucial! Always unplug your computer or laptop before cleaning the screen.
2. Apply the shaving foam (sparingly!): Apply a VERY small amount of shaving foam to a clean, dry microfiber cloth. I mean, TINY. You want the cloth to be barely damp.
3. Gently wipe the screen: Gently wipe the screen in a circular motion, being careful not to apply too much pressure.
4. Dry the screen: Use a clean, dry section of the microfiber cloth to dry the screen completely.
5. Use compressed air (optional): If you’re concerned about any residue, you can use a can of compressed air to blow away any remaining particles.
Warning: This method is not recommended by all manufacturers. Use it at your own risk. If you’re not comfortable with this method, stick to a screen cleaner specifically designed for electronics.
General Tips for Using Shaving Foam as a Cleaner
* Always test in
Conclusion
So, there you have it! Shaving foam, that humble bathroom staple, is secretly a cleaning powerhouse just waiting to be unleashed. We’ve explored a range of surprising and effective uses, from banishing stubborn stains on carpets and upholstery to giving your stainless steel appliances a gleaming, streak-free shine. But why is this DIY trick a must-try? Because it’s simple, affordable, readily available, and, most importantly, it works!
Think about the time and money you spend on specialized cleaning products, each designed for a specific task. Shaving foam offers a versatile, all-in-one solution that can tackle a multitude of cleaning challenges. It’s a budget-friendly alternative that delivers impressive results, often surpassing the performance of its pricier counterparts. Plus, the mild formulation of most shaving foams makes it gentle enough for use on a variety of surfaces, reducing the risk of damage or discoloration.
Beyond the uses we’ve already discussed, consider these variations to further expand your shaving foam cleaning arsenal:
* **Leather Care:** A small amount of shaving foam can help clean and condition leather shoes, bags, and furniture. Test in an inconspicuous area first, and always follow up with a leather conditioner.
* **Jewelry Cleaner:** Gently rub shaving foam onto your jewelry with a soft cloth to remove tarnish and grime. Rinse thoroughly and dry with a clean cloth.
* **Bathroom Mirror Defogger:** Apply a thin layer of shaving foam to your bathroom mirror, let it sit for a minute, and then wipe it clean. This will prevent fogging after a hot shower.
* **Stubborn Soap Scum Remover:** For particularly stubborn soap scum, let the shaving foam sit for a longer period, perhaps 15-20 minutes, before scrubbing and rinsing.
The possibilities are truly endless! The key is to experiment and discover new ways to incorporate this amazing cleaning agent into your routine.
We’re confident that once you experience the cleaning magic of shaving foam, you’ll be hooked. It’s a game-changer that simplifies your cleaning routine and saves you money. So, ditch the expensive specialty cleaners and embrace the power of this unexpected cleaning hero.
Now, it’s your turn! We encourage you to try these shaving foam cleaning tricks and share your experiences with us. Did you discover a new use for shaving foam? Did you find a particular technique that worked exceptionally well? We’d love to hear your stories and learn from your successes. Share your tips, tricks, and photos in the comments section below. Let’s build a community of shaving foam cleaning enthusiasts and unlock the full potential of this amazing product! Don’t forget to use the hashtag #ShavingFoamCleaning when you share your results on social media. We can’t wait to see what you discover!
Frequently Asked Questions (FAQ)
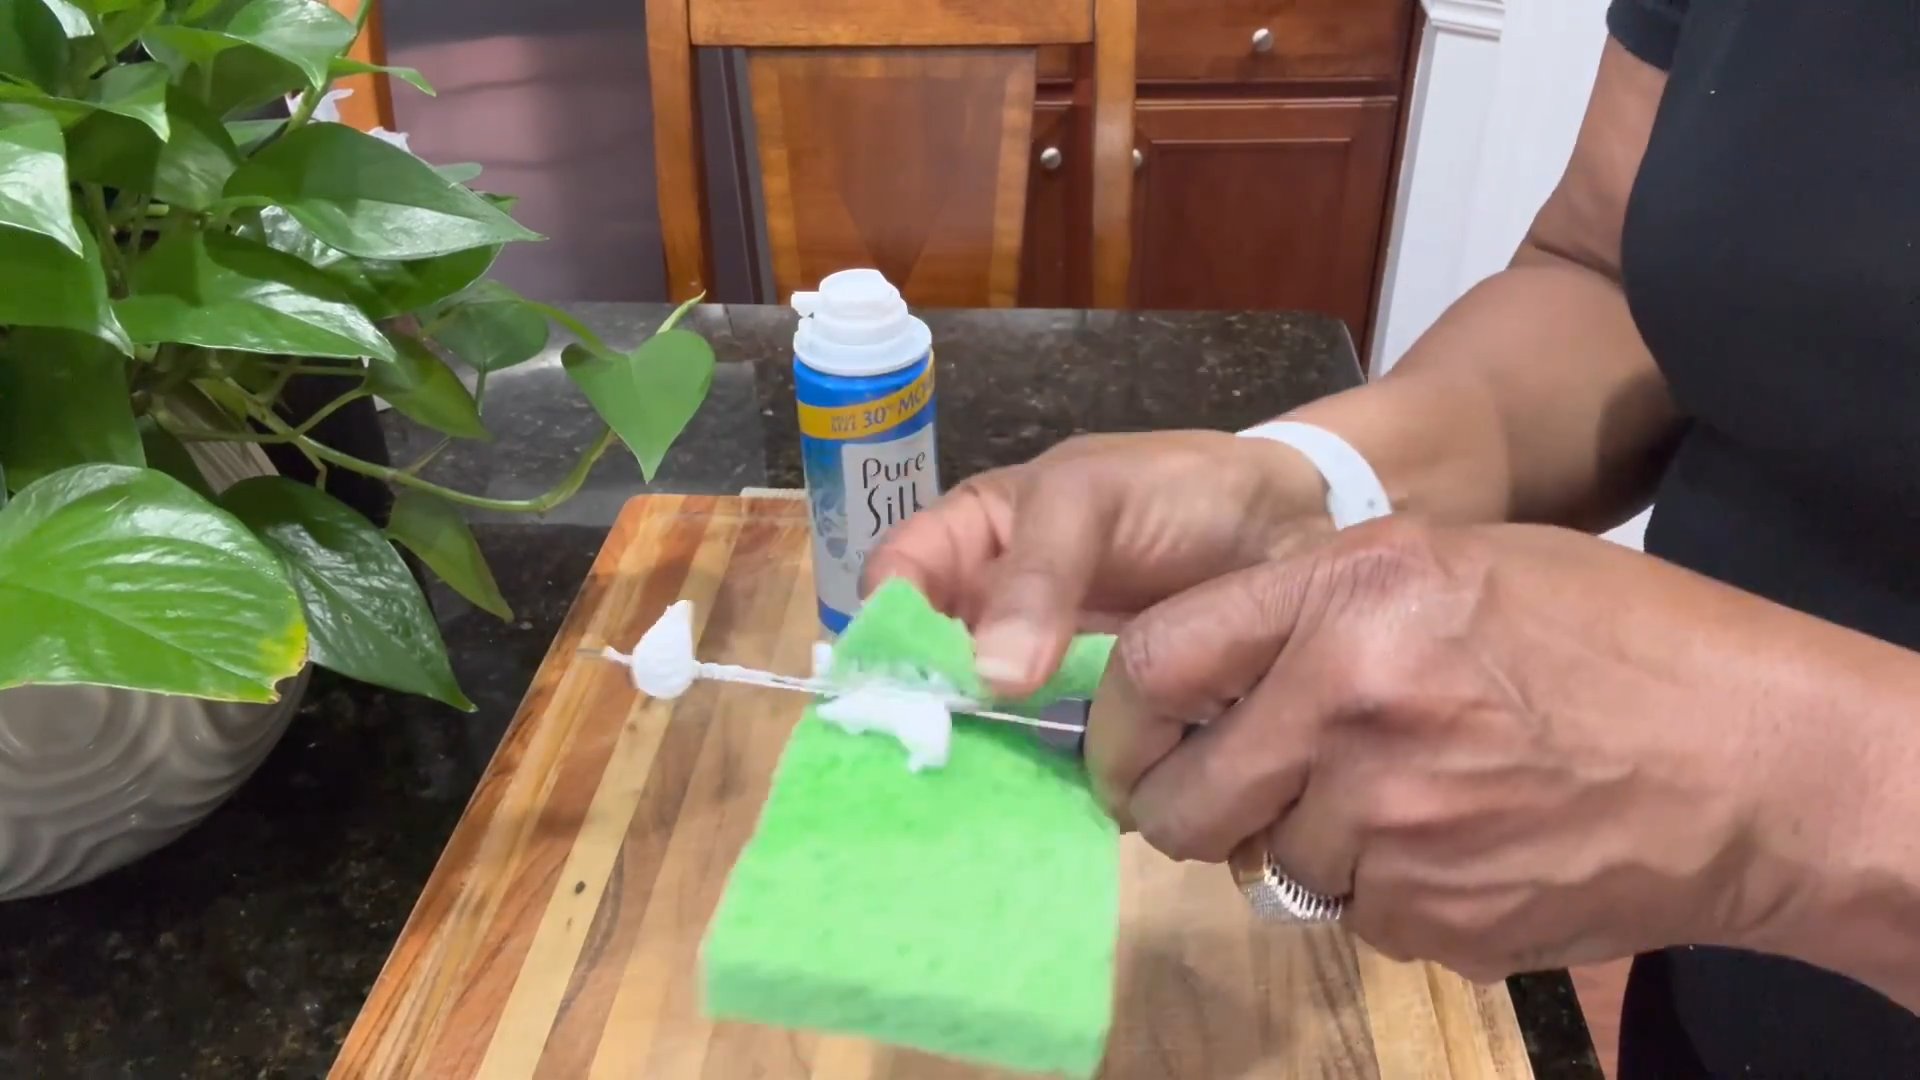
1. What kind of shaving foam should I use for cleaning?
The best type of shaving foam to use for cleaning is a basic, non-gel, non-fragranced variety. Look for a simple formula that contains mainly water, soap, and propellant. Avoid shaving foams that contain added moisturizers, oils, or dyes, as these can leave a residue on surfaces. A plain white shaving foam is generally the safest and most effective option. Many people find that the cheaper, more basic shaving foams work just as well, if not better, than the more expensive brands for cleaning purposes. Experiment with different brands to find one that you like and that works well for your specific cleaning needs.
2. Is shaving foam safe to use on all surfaces?
While shaving foam is generally safe for most surfaces, it’s always a good idea to test it in an inconspicuous area first, especially on delicate or sensitive materials like leather, wood, or painted surfaces. Apply a small amount of shaving foam to the test area, let it sit for a few minutes, and then wipe it clean. Check for any discoloration, damage, or residue. If you don’t see any adverse effects, you can proceed with cleaning the entire surface. Avoid using shaving foam on electronic devices or surfaces that are sensitive to moisture.
3. Can shaving foam remove tough stains like grease or ink?
Yes, shaving foam can be surprisingly effective at removing tough stains like grease, ink, and even some types of food stains. The key is to act quickly and apply the shaving foam to the stain as soon as possible. Gently rub the shaving foam into the stain with a soft cloth or sponge, and then let it sit for a few minutes to allow the foam to penetrate the stain. After a few minutes, wipe away the shaving foam with a clean, damp cloth. You may need to repeat the process a few times for particularly stubborn stains. For ink stains on fabric, try blotting the stain with a clean cloth before applying the shaving foam.
4. Will shaving foam damage my carpets or upholstery?
When used correctly, shaving foam is unlikely to damage carpets or upholstery. However, it’s important to use a non-gel, non-fragranced variety and to test it in an inconspicuous area first. Avoid using excessive amounts of shaving foam, as this can make it difficult to remove and may leave a residue. After applying the shaving foam to the stain, gently rub it in with a soft cloth or sponge and then blot it with a clean, damp cloth. Be sure to remove all traces of the shaving foam to prevent any potential discoloration or damage. If you’re concerned about damaging your carpets or upholstery, consider hiring a professional cleaning service.
5. How long should I leave shaving foam on a surface before wiping it off?
The amount of time you should leave shaving foam on a surface before wiping it off depends on the type of surface and the severity of the stain. For general cleaning, a few minutes is usually sufficient. For tougher stains, you may need to let the shaving foam sit for a longer period, perhaps 10-15 minutes. However, it’s important to avoid letting the shaving foam dry completely on the surface, as this can make it more difficult to remove and may leave a residue. Always test in an inconspicuous area first to determine the optimal dwell time for your specific surface and stain.
6. Can I use shaving cream instead of shaving foam?
While shaving cream and shaving foam are similar products, shaving foam is generally preferred for cleaning purposes. Shaving cream tends to be thicker and more moisturizing than shaving foam, which can make it more difficult to remove and may leave a residue on surfaces. Shaving foam is also typically less expensive than shaving cream, making it a more budget-friendly option for cleaning. If you only have shaving cream on hand, you can try using it, but be sure to use a small amount and to remove it thoroughly with a clean, damp cloth.
7. Does shaving foam have a strong odor?
Most basic shaving foams have a mild, soapy odor that is not overpowering. However, some shaving foams may contain added fragrances that can be quite strong. If you’re sensitive to smells, it’s best to choose a non-fragranced shaving foam for cleaning. You can also add a few drops of essential oil to the shaving foam to create a more pleasant scent. Lavender, lemon, and tea tree oil are all popular choices for cleaning.
8. Where can I buy shaving foam?
Shaving foam is readily available at most drugstores, supermarkets, and online retailers. You can typically find a variety of brands and types of shaving foam to choose from. Look for a basic, non-gel, non-fragranced variety for cleaning purposes.
9. Is shaving foam cleaning environmentally friendly?
While shaving foam is not necessarily the most environmentally friendly cleaning product, it can be a more sustainable option than some specialized cleaning products that contain harsh chemicals. Look for shaving foams that are made with natural ingredients and that are packaged in recyclable containers. You can also make your own DIY shaving foam using natural ingredients like castile soap, water, and essential oils.
10. Can shaving foam be used to clean car interiors?
Yes, shaving foam can be used to clean car interiors, particularly fabric seats and carpets. It can help remove stains and odors, leaving your car smelling fresh and clean. Test in an inconspicuous area first. Apply a small amount of shaving foam to the affected area, gently rub it in with a soft cloth or sponge, and then blot it with a clean, damp cloth. Be sure to remove all traces of the shaving foam to prevent any potential damage or discoloration. Avoid using shaving foam on leather or vinyl surfaces, as it can dry them out.
Leave a Comment