
Simple cleaning hacks that work are like little secrets whispered from generations past, aren’t they? I’ve always been fascinated by the ingenuity of folks who found clever ways to tackle messes with everyday items. Think about it – before the age of specialized cleaning products lining every store aisle, resourcefulness was key! Our grandmothers and great-grandmothers relied on simple, readily available ingredients to keep their homes sparkling. This tradition of DIY cleaning isn’t just about saving money; it’s about connecting with a heritage of sustainable living and clever problem-solving.
But let’s be honest, in today’s busy world, who has time to spend hours scrubbing? That’s where these simple cleaning hacks that work truly shine! They’re designed to be quick, efficient, and use items you probably already have in your pantry. Imagine tackling that stubborn stain on your favorite rug in minutes, or effortlessly removing grime from your shower without harsh chemicals. This article is your guide to reclaiming your weekends and enjoying a cleaner, fresher home with minimal effort. I’m excited to share these time-saving tips that will revolutionize your cleaning routine!

DIY Cleaning Hacks That Will Blow Your Mind (and Save You Time!)
Okay, let’s be honest, cleaning isn’t exactly anyone’s favorite pastime. But a clean home is a happy home, right? So, I’m going to share some of my absolute favorite DIY cleaning hacks that are not only super effective but also use ingredients you probably already have in your pantry! Get ready to ditch those harsh chemicals and embrace some seriously clever cleaning solutions.
Cleaning Your Microwave Like a Pro (Without Scrubbing!)
This is a game-changer. I used to dread cleaning the microwave, but now it’s a breeze. This hack uses the power of steam to loosen all that stuck-on food.
What you’ll need:
* 1 cup water
* 1/4 cup white vinegar
* Microwave-safe bowl
* Sponge or cloth
Step-by-step instructions:
1. Mix it up: In your microwave-safe bowl, combine the water and white vinegar.
2. Microwave magic: Place the bowl in the microwave and heat on high for 5-7 minutes. You want the mixture to boil and create steam.
3. Let it sit: Don’t open the microwave immediately! Let the steam work its magic for another 2-3 minutes. This is crucial for loosening all the grime.
4. Wipe it clean: Carefully remove the bowl (it will be hot!). Use a sponge or cloth to easily wipe away all the loosened food particles. You’ll be amazed at how easily everything comes off!
5. Extra stubborn spots: If you have any particularly stubborn spots, dip your sponge in the remaining vinegar water and give them a little extra attention.
Unclogging Drains the Natural Way
Forget those harsh chemical drain cleaners! They’re bad for the environment and can even damage your pipes. This natural method is just as effective and much safer.
What you’ll need:
* 1/2 cup baking soda
* 1 cup white vinegar
* Boiling water
Step-by-step instructions:
1. Baking soda first: Pour the baking soda down the drain.
2. Vinegar power: Follow with the white vinegar. You’ll hear a fizzing sound – that’s the chemical reaction working to break down the clog.
3. Let it fizz: Let the mixture sit for at least 30 minutes, or even better, overnight. This gives it plenty of time to work its magic.
4. Boiling water flush: Carefully pour a pot of boiling water down the drain to flush away the clog.
5. Repeat if necessary: If the drain is still slow, repeat the process. For really stubborn clogs, you might need to do it a couple of times.
Making Your Own All-Purpose Cleaner
This is my go-to cleaner for almost everything! It’s safe, effective, and smells amazing. Plus, you can customize the scent with your favorite essential oils.
What you’ll need:
* Spray bottle
* 1/4 cup white vinegar
* 1 tablespoon baking soda
* Water
* 10-20 drops of your favorite essential oil (optional, but I love lemon, lavender, or tea tree)
Step-by-step instructions:
1. Baking soda base: Add the baking soda to the spray bottle.
2. Vinegar carefully: Slowly pour in the white vinegar. It will fizz up, so do it gradually to avoid overflowing.
3. Fill with water: Fill the rest of the bottle with water.
4. Essential oil boost: Add your essential oils, if using.
5. Shake it up: Secure the spray nozzle and shake well to combine all the ingredients.
6. Spray and wipe: Spray the cleaner onto surfaces and wipe clean with a cloth.
Cleaning Your Grout Like a Boss
Grungy grout can make your whole bathroom look dirty. This simple paste will brighten your grout and make your tiles sparkle.
What you’ll need:
* Baking soda
* Water
* Old toothbrush or grout brush
Step-by-step instructions:
1. Make a paste: Mix baking soda and water to form a thick paste.
2. Apply to grout: Apply the paste to the grout lines.
3. Scrub-a-dub-dub: Use an old toothbrush or grout brush to scrub the grout lines. You’ll see the dirt and grime start to lift away.
4. Rinse thoroughly: Rinse the area with water to remove the baking soda paste.
5. Dry and admire: Dry the area with a clean cloth and admire your sparkling clean grout!
Freshening Up Your Mattress
We spend a lot of time on our mattresses, so it’s important to keep them clean and fresh. This simple trick will eliminate odors and leave your mattress smelling great.
What you’ll need:
* Baking soda
* Essential oil (optional, lavender is great for relaxation)
* Vacuum cleaner with upholstery attachment
Step-by-step instructions:
1. Strip the bed: Remove all bedding from the mattress.
2. Baking soda blanket: Sprinkle a generous layer of baking soda over the entire surface of the mattress.
3. Essential oil boost (optional): If using essential oil, add a few drops to the baking soda before sprinkling it on the mattress.
4. Let it sit: Let the baking soda sit on the mattress for at least 30 minutes, or even better, a few hours. This allows it to absorb odors and moisture.
5. Vacuum it up: Use the upholstery attachment on your vacuum cleaner to thoroughly vacuum up all the baking soda.
6. Flip and repeat: Flip the mattress and repeat the process on the other side.
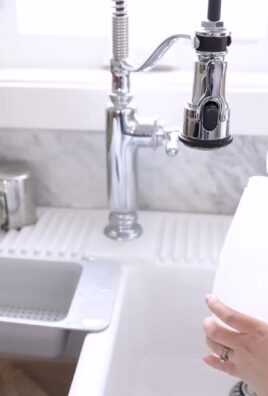
Cleaning Your Showerhead for Better Water Pressure
A clogged showerhead can significantly reduce water pressure. This simple vinegar soak will dissolve mineral deposits and restore your showerhead to its former glory.
What you’ll need:
* White vinegar
* Plastic bag
* Rubber band or twist tie
Step-by-step instructions:
1. Vinegar bath: Fill the plastic bag with white vinegar.
2. Secure the bag: Place the bag over the showerhead, ensuring that the showerhead is completely submerged in the vinegar. Use a rubber band or twist tie to secure the bag in place.
3. Soak overnight: Let the showerhead soak in the vinegar overnight.
4. Remove and rinse: Remove the bag and rinse the showerhead thoroughly with water.
5. Wipe clean: Wipe the showerhead clean with a cloth.
6. Run the water: Run the shower for a few minutes to flush out any remaining vinegar or mineral deposits.
Polishing Furniture with Olive Oil and Lemon Juice
This is a fantastic natural alternative to commercial furniture polish. It will leave your wood furniture looking shiny and new.
What you’ll need:
* 1/4 cup olive oil
* 1 tablespoon lemon juice
* Soft cloth
Step-by-step instructions:
1. Mix the polish: Combine the olive oil and lemon juice in a small bowl.
2. Apply sparingly: Dip a soft cloth into the mixture and apply a small amount to your furniture.
3. Buff it in: Buff the furniture with the cloth until it shines.
4. Remove excess: Use a clean, dry cloth to remove any excess polish.
Cleaning Blinds Like a Pro
Cleaning blinds can be tedious, but this simple hack makes it much easier.
What you’ll need:
* Old sock
* White vinegar
* Spray bottle
Step-by-step instructions:
1. Vinegar solution: Dilute white vinegar with water in a spray bottle (about a 50/50 mix).
2. Sock puppet: Put the sock on your hand.
3. Spray the sock: Lightly spray the sock with the vinegar solution.
4. Wipe the blinds: Use your sock-covered hand to wipe each slat of the blinds. The sock will trap the dust and dirt.
5. Rinse and repeat: If the sock gets too dirty, rinse it with water and re-spray with the vinegar solution.
Removing Hard Water Stains from Shower Doors
Hard water stains can be a real pain to remove. This simple trick using vinegar will make your shower doors sparkle again.
What you’ll need:
* White vinegar
* Spray bottle
* Cloth or sponge
Step-by-step instructions:
1. Vinegar spray: Fill
Conclusion
So, there you have it! These simple cleaning hacks aren’t just about saving money; they’re about reclaiming your time and creating a healthier, happier home. We’ve explored how everyday items can become powerful cleaning agents, tackling grime and dirt with surprising effectiveness. From the fizzing power of baking soda and vinegar to the degreasing prowess of lemon juice, these DIY solutions offer a natural and budget-friendly alternative to harsh chemical cleaners.
Why is this a must-try? Because it’s empowering! You’re taking control of your cleaning routine, knowing exactly what ingredients you’re using and minimizing your exposure to potentially harmful chemicals. Plus, it’s incredibly satisfying to see how well these simple solutions work. Imagine the satisfaction of effortlessly removing stubborn stains or restoring shine to your surfaces using ingredients you already have in your pantry.
But don’t stop there! Experiment with these cleaning hacks and discover what works best for you. For instance, try adding a few drops of your favorite essential oil to your vinegar solution for a pleasant scent. Lavender, lemon, and tea tree oil not only smell great but also possess antibacterial properties, adding an extra layer of cleaning power. You can also infuse your cleaning vinegar with citrus peels for a more potent and fragrant cleaner. Simply place citrus peels in a jar, cover with white vinegar, and let it steep for a week or two before straining and using.
Another variation to consider is using castile soap as a base for many of these cleaning solutions. Castile soap is a gentle, plant-based soap that can be used for a variety of cleaning tasks. Combine it with water, essential oils, and other natural ingredients to create your own custom cleaning solutions.
Remember, the key to success with these DIY cleaning hacks is to experiment and find what works best for your specific needs and surfaces. Always test a small, inconspicuous area first to ensure the solution doesn’t damage the material.
We wholeheartedly encourage you to give these simple cleaning hacks a try. Ditch the expensive, chemical-laden cleaners and embrace the power of natural ingredients. You’ll be amazed at the results!
And most importantly, we want to hear about your experience! Share your successes, your failures, and any variations you’ve discovered in the comments below. Let’s create a community of DIY cleaning enthusiasts who are passionate about creating clean, healthy homes without breaking the bank. Your insights could help others discover their new favorite cleaning hack! Let’s revolutionize the way we clean, one simple hack at a time.
Frequently Asked Questions (FAQs)
What are the benefits of using DIY cleaning hacks compared to commercial cleaners?
DIY cleaning hacks offer a multitude of benefits. Firstly, they are significantly more cost-effective. You’re using ingredients you likely already have in your pantry, such as baking soda, vinegar, lemon juice, and salt, which are far cheaper than specialized cleaning products. Secondly, they are environmentally friendly. By using natural ingredients, you’re reducing your reliance on harsh chemicals that can pollute waterways and harm the environment. Thirdly, they are safer for your health. Commercial cleaners often contain volatile organic compounds (VOCs) and other chemicals that can irritate your skin, eyes, and respiratory system. DIY cleaning solutions are generally gentler and less likely to cause adverse reactions. Finally, you have complete control over the ingredients you’re using, allowing you to customize your cleaning solutions to your specific needs and preferences.
Are DIY cleaning hacks as effective as commercial cleaners?
In many cases, yes! While some heavy-duty cleaning tasks might require specialized products, DIY cleaning hacks are surprisingly effective for everyday cleaning. Baking soda, for example, is a fantastic abrasive cleaner that can scrub away grime and deodorize surfaces. Vinegar is a powerful disinfectant and degreaser that can cut through grease and remove hard water stains. Lemon juice is a natural bleaching agent that can brighten surfaces and remove stains. The key is to use the right ingredients for the right task and to allow the solutions to sit for a few minutes to work their magic.
What surfaces should I avoid using vinegar on?
While vinegar is a versatile cleaner, it’s not suitable for all surfaces. Avoid using vinegar on natural stone surfaces like marble, granite, and limestone, as the acidity can etch and damage them. It’s also best to avoid using vinegar on waxed wood floors, as it can strip the wax finish. Additionally, avoid using vinegar on cast iron cookware, as it can cause rust. Always test a small, inconspicuous area before using vinegar on any surface to ensure it doesn’t cause damage.
Can I mix baking soda and vinegar together for cleaning?
While baking soda and vinegar react to create a fizzing action that can help loosen dirt and grime, it’s generally not recommended to mix them in a closed container. The reaction produces carbon dioxide gas, which can build up pressure and potentially cause the container to explode. It’s better to use them separately. For example, you can sprinkle baking soda on a surface and then spray it with vinegar to create a fizzing action.
How can I make my DIY cleaning solutions smell better?
One of the common concerns about DIY cleaning solutions is their smell, particularly vinegar. However, there are several ways to make them smell more pleasant. You can add a few drops of your favorite essential oils to your cleaning solutions. Lavender, lemon, tea tree, and eucalyptus oils are popular choices for their pleasant scents and antibacterial properties. You can also infuse your cleaning vinegar with citrus peels or herbs for a more fragrant cleaner. Simply place citrus peels or herbs in a jar, cover with white vinegar, and let it steep for a week or two before straining and using.
How long can I store DIY cleaning solutions?
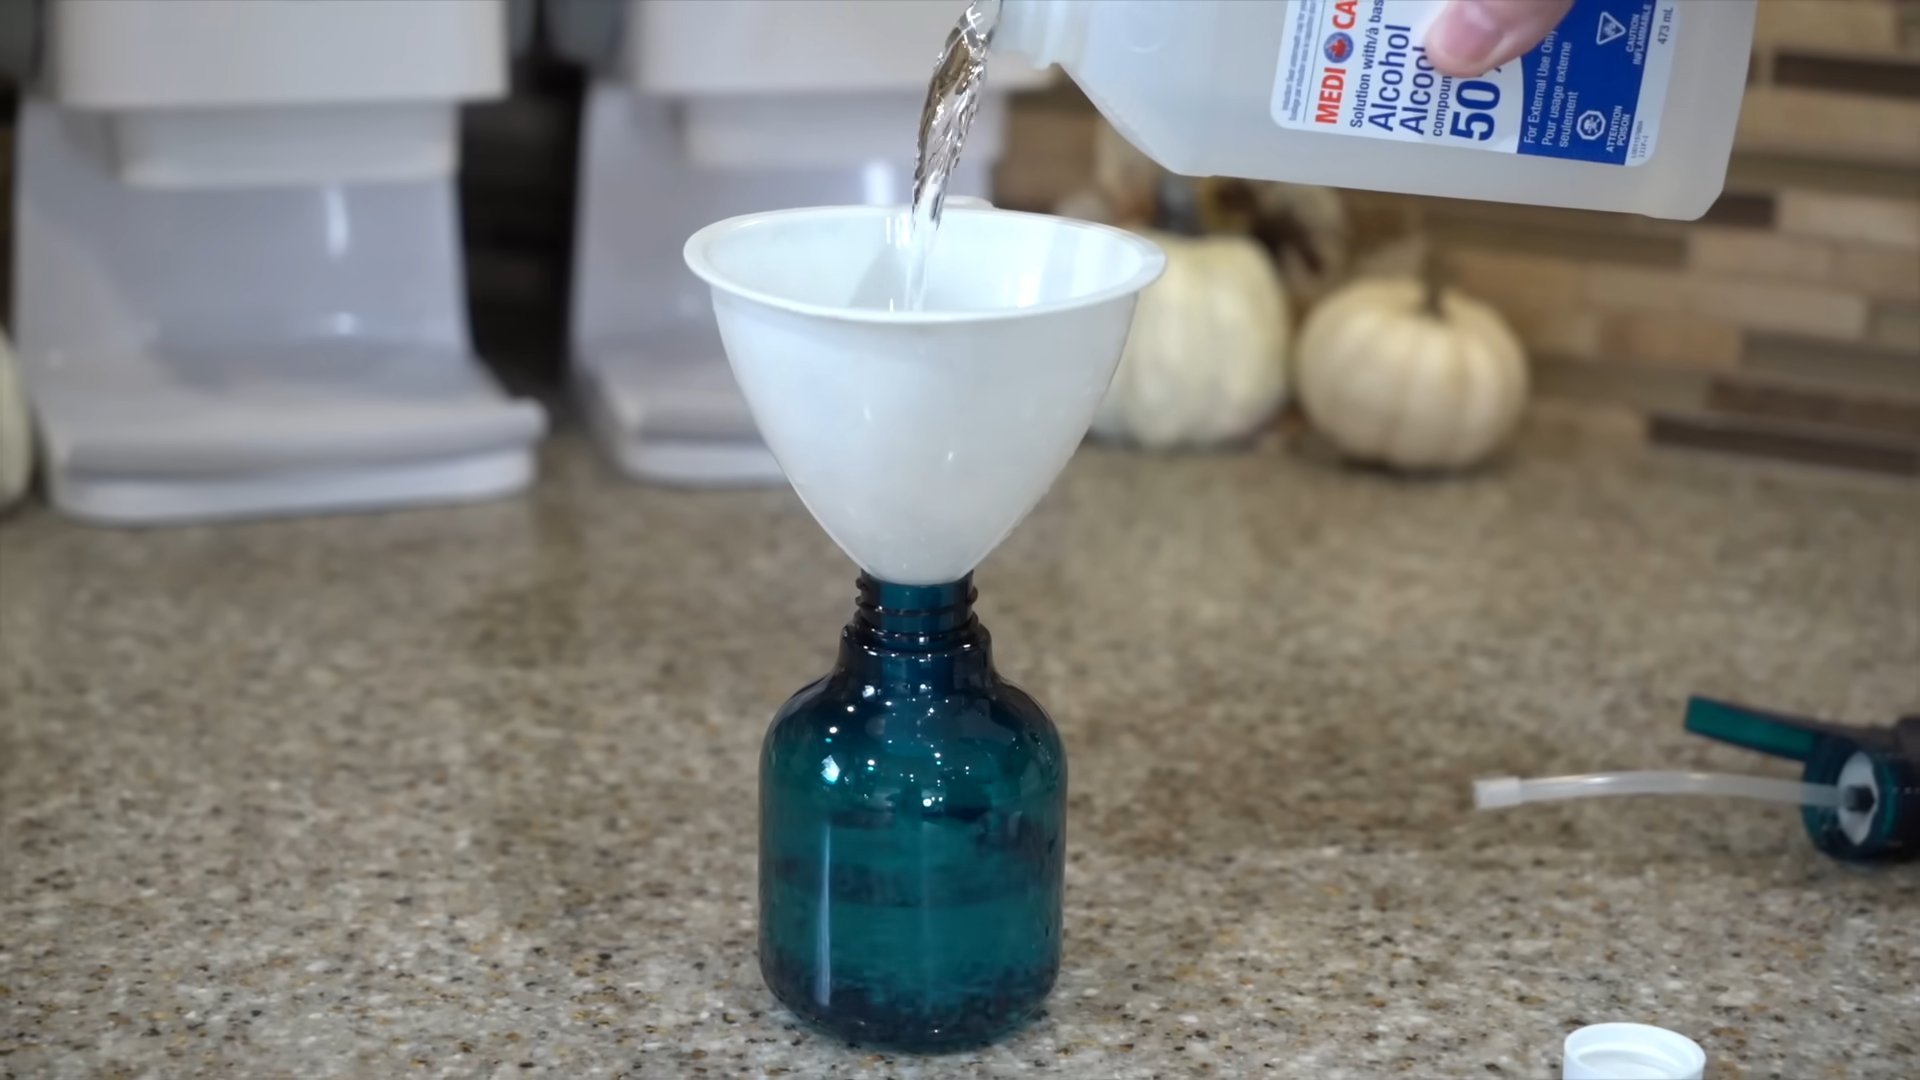
The shelf life of DIY cleaning solutions depends on the ingredients used. Solutions made with water should be used within a few weeks to prevent bacterial growth. Solutions made with vinegar or alcohol can last longer, typically for several months. Store your DIY cleaning solutions in airtight containers in a cool, dark place. Label the containers clearly with the ingredients and the date they were made.
Are these simple cleaning hacks safe for pets and children?
While DIY cleaning hacks are generally safer than commercial cleaners, it’s still important to take precautions when using them around pets and children. Keep cleaning solutions out of reach of children and pets. Avoid using essential oils that are toxic to pets, such as tea tree oil. When cleaning, ensure the area is well-ventilated to prevent inhalation of fumes. After cleaning, rinse surfaces thoroughly with water to remove any residue. If you’re concerned about the safety of a particular ingredient, consult with your veterinarian or pediatrician.
What are some other simple cleaning hacks I can try?
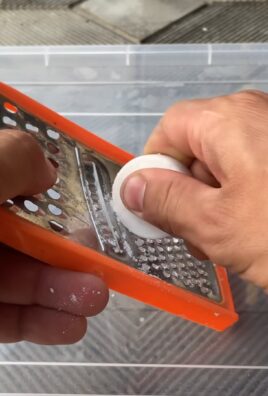
Beyond the baking soda, vinegar, and lemon juice hacks, there are many other simple cleaning hacks you can try. Use coffee filters to clean windows and mirrors for a streak-free shine. Use dryer sheets to remove static cling from clothes and dust furniture. Use toothpaste to polish silver and remove scuff marks from shoes. Use a toothbrush to clean grout and hard-to-reach areas. The possibilities are endless!
Leave a Comment