
Stain removal easy DIY trick – sounds like magic, right? Well, it’s not quite magic, but these simple, do-it-yourself stain removal solutions will feel pretty close! Let’s face it, we’ve all been there: that moment of horror when a splash of coffee, a rogue pen, or a dollop of sauce lands squarely on our favorite shirt, rug, or even our precious furniture. For centuries, people have been battling stains, from ancient Romans using lye to modern-day stain sticks.
But before you reach for those harsh chemicals, consider this: many of the most effective stain removers are already hiding in your pantry! I’m going to share some of my favorite, tried-and-true methods for tackling those pesky blemishes using everyday ingredients. These aren’t just any stain removal easy DIY trick; they’re gentle on your fabrics, kinder to the environment, and easier on your wallet.
Why do you need these tricks? Because life is messy! And instead of stressing over every spill and splatter, you can confidently conquer those stains and keep your belongings looking their best. Plus, knowing these simple solutions empowers you to be more sustainable and resourceful in your home. So, let’s dive in and unlock the secrets to a stain-free life!
DIY Waterless Tomato Growing: A Guide to Self-Sufficient Gardening
Hey there, fellow gardening enthusiasts! Are you tired of constantly watering your tomato plants, especially during those scorching summer months? Do you dream of a low-maintenance garden that practically takes care of itself? Well, you’ve come to the right place! I’m going to walk you through a fantastic method for growing tomatoes with minimal watering – sometimes even *no* watering after the initial planting! This technique focuses on creating a self-sustaining ecosystem around your tomato plants, allowing them to thrive even in dry conditions.
Understanding the Waterless Tomato Growing Method
Before we dive into the nitty-gritty, let’s understand the core principles behind this method. It’s all about:
* Deep Planting: Encouraging a robust root system that can access moisture deep within the soil.
* Soil Amendment: Creating a water-retentive and nutrient-rich soil environment.
* Mulching: Conserving moisture and suppressing weeds.
* Choosing the Right Varieties: Selecting drought-tolerant tomato varieties.
Materials You’ll Need
To get started, gather these essential materials:
* Tomato seedlings (drought-tolerant varieties are best, like Roma, San Marzano, or Celebrity)
* Large containers (at least 15-20 gallons) or a prepared garden bed
* Potting mix (a high-quality blend is crucial)
* Compost (well-rotted and nutrient-rich)
* Peat moss or coco coir (for water retention)
* Worm castings (a fantastic soil amendment)
* Mycorrhizal fungi (to enhance root development)
* Slow-release fertilizer (organic is preferred)
* Mulch (straw, wood chips, or shredded leaves)
* Gardening gloves
* Trowel or shovel
* Watering can or hose (for initial watering)
* Optional: Tomato cages or stakes for support
Step-by-Step Instructions: Planting Your Waterless Tomatoes
Alright, let’s get our hands dirty! Follow these steps to plant your tomatoes using the waterless method:
1. Prepare Your Container or Garden Bed: If you’re using containers, make sure they have adequate drainage holes. For a garden bed, loosen the soil to a depth of at least 12 inches. Remove any rocks, weeds, or debris.
2. Create Your Super Soil Mix: This is where the magic happens! We’re going to create a soil mix that’s both water-retentive and packed with nutrients. In a large container or wheelbarrow, combine the following:
* 50% High-quality potting mix
* 25% Compost
* 15% Peat moss or coco coir
* 5% Worm castings
* 5% Slow-release fertilizer
Mix everything thoroughly until well combined. This mixture will provide your tomato plants with the nutrients and moisture they need to thrive.
3. Dig a Deep Hole: Now, dig a hole that’s much deeper than you normally would for a tomato plant. Aim for a hole that’s at least 12-18 inches deep. This deep planting is crucial for encouraging a strong root system.
4. Amend the Planting Hole: Before placing the tomato seedling in the hole, add a handful of mycorrhizal fungi to the bottom. This will help the roots establish quickly and efficiently.
5. Plant Deeply: Gently remove the tomato seedling from its container. Pinch off the lower leaves, leaving only the top few sets of leaves. This is important because the buried stem will develop into roots, giving your plant a larger and more robust root system. Place the seedling in the hole, ensuring that the lowest set of leaves is just above the soil surface.
6. Backfill with Your Super Soil Mix: Carefully backfill the hole with the soil mixture you prepared earlier. Gently pat the soil around the plant to ensure good contact.
7. Water Thoroughly (The First and Maybe Last Time!): This is the most important watering you’ll do. Water the newly planted tomato deeply, saturating the soil around the plant. This will help settle the soil and encourage root growth.
8. Mulch Generously: Apply a thick layer of mulch (3-4 inches) around the base of the plant, keeping it a few inches away from the stem. Mulch helps retain moisture, suppress weeds, and regulate soil temperature. Straw, wood chips, or shredded leaves are all excellent choices.
9. Provide Support: Install a tomato cage or stakes to support the plant as it grows. This will prevent the branches from breaking under the weight of the tomatoes.
Caring for Your Waterless Tomatoes
Okay, so you’ve planted your tomatoes. Now what? Here’s how to care for them with minimal watering:
* Monitor Soil Moisture: After the initial watering, check the soil moisture regularly. Stick your finger into the soil to a depth of a few inches. If the soil feels dry, water lightly. However, resist the urge to overwater. The goal is to encourage the roots to grow deeper in search of moisture.
* Water Sparingly (If Needed): In most cases, you shouldn’t need to water your tomatoes after the initial planting, especially if you’ve used a good soil mix and mulch. However, during extremely hot and dry periods, you may need to water lightly every few weeks.
* Fertilize as Needed: Even with a nutrient-rich soil mix, your tomatoes may need additional fertilizer as they grow. Use a balanced organic fertilizer according to the package directions.
* Prune Regularly: Prune your tomato plants regularly to remove suckers (the small shoots that grow between the main stem and the branches). This will help improve air circulation and prevent disease.
* Watch for Pests and Diseases: Keep an eye out for common tomato pests and diseases, such as aphids, whiteflies, and blight. Treat any problems promptly with organic pest control methods.
Choosing the Right Tomato Varieties
Selecting the right tomato varieties is crucial for success with the waterless growing method. Look for varieties that are known for their drought tolerance and disease resistance. Here are a few excellent choices:
* Roma: A classic paste tomato that’s very drought-tolerant.
* San Marzano: Another excellent paste tomato with a rich flavor.
* Celebrity: A popular hybrid tomato that’s known for its disease resistance and productivity.
* Black Krim: An heirloom tomato with a unique flavor and good drought tolerance.
* Mortgage Lifter: A large heirloom tomato that’s surprisingly drought-tolerant.
Troubleshooting Tips
Even with the best planning, you might encounter some challenges along the way. Here are a few troubleshooting tips:
* Yellowing Leaves: Yellowing leaves can indicate a nutrient deficiency or overwatering. Check the soil moisture and fertilize if necessary.
* Blossom End Rot: Blossom end rot is caused by a calcium deficiency. Add calcium to the soil or use a calcium-rich foliar spray.
* Pest Infestations: Treat pest infestations promptly with organic pest control methods.
* Slow Growth: Slow growth can be caused by poor soil, lack of sunlight, or cold temperatures. Ensure your plants are getting enough sunlight and warmth, and amend the soil if necessary.
Advanced Techniques for Waterless Tomato Growing
Once you’ve mastered the basics, you can try some advanced techniques to further improve your waterless tomato growing:
* Hugelkultur Beds: Hugelkultur beds are raised beds filled with decaying wood and organic matter. They’re incredibly water-retentive and nutrient-rich.
* Swales: Swales are shallow ditches that capture rainwater and allow it to slowly infiltrate the soil.
* Rainwater Harvesting: Collect rainwater in barrels or tanks and use it to water your tomatoes during dry periods.
* Companion Planting: Plant companion plants, such as basil, marigolds, and onions, to attract beneficial insects and repel pests.
Enjoy Your Waterless Tomato Harvest!
Congratulations! You’ve successfully grown tomatoes using the waterless method. Now it’s time to enjoy the fruits (or vegetables!) of your labor. Harvest your tomatoes when they’re fully ripe and enjoy them fresh, in salads, sauces, or your favorite recipes.
I hope this guide has been helpful. With a little planning and effort, you can grow delicious, juicy tomatoes with minimal watering. Happy gardening!
Conclusion
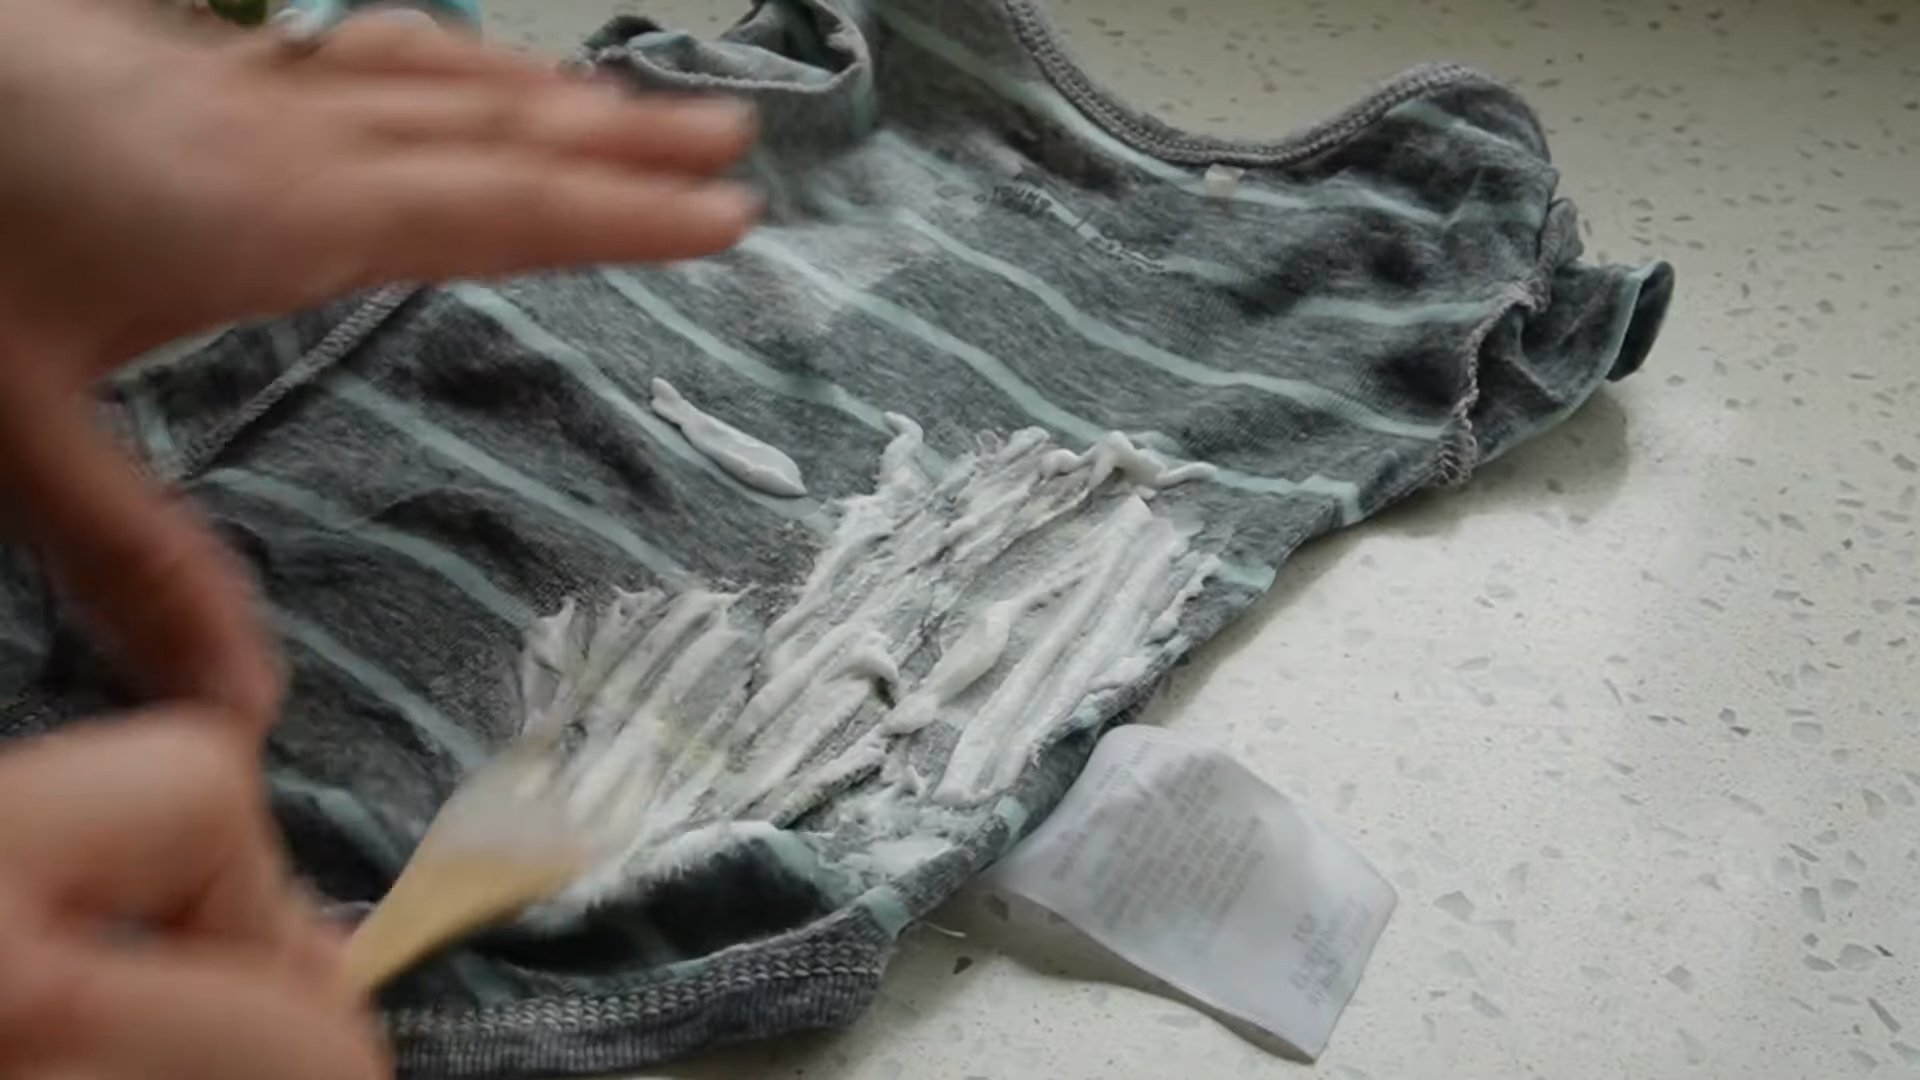
So there you have it! This simple, yet incredibly effective, stain removal easy DIY trick is a game-changer for anyone tired of battling stubborn stains with harsh chemicals and expensive store-bought products. We’ve shown you how to harness the power of readily available household ingredients to tackle those frustrating blemishes on your clothes, carpets, and upholstery.
Why is this a must-try? Because it’s not just about saving money (although that’s a definite perk!). It’s about embracing a more sustainable and gentle approach to cleaning. Many commercial stain removers are packed with harsh chemicals that can be harmful to your health and the environment. This DIY method offers a safer, more natural alternative without sacrificing effectiveness. Plus, the satisfaction of removing a seemingly impossible stain with your own homemade solution is truly rewarding.
But the beauty of this DIY trick lies in its adaptability. Feel free to experiment with variations to suit your specific needs and the type of stain you’re dealing with. For instance, for particularly stubborn grease stains, you might consider adding a small amount of dish soap to the mixture. For delicate fabrics, test the solution on an inconspicuous area first to ensure colorfastness. If you’re tackling a protein-based stain like blood or milk, remember to use cold water to prevent the stain from setting further. You can also add a few drops of essential oil, like lemon or lavender, for a fresh, clean scent.
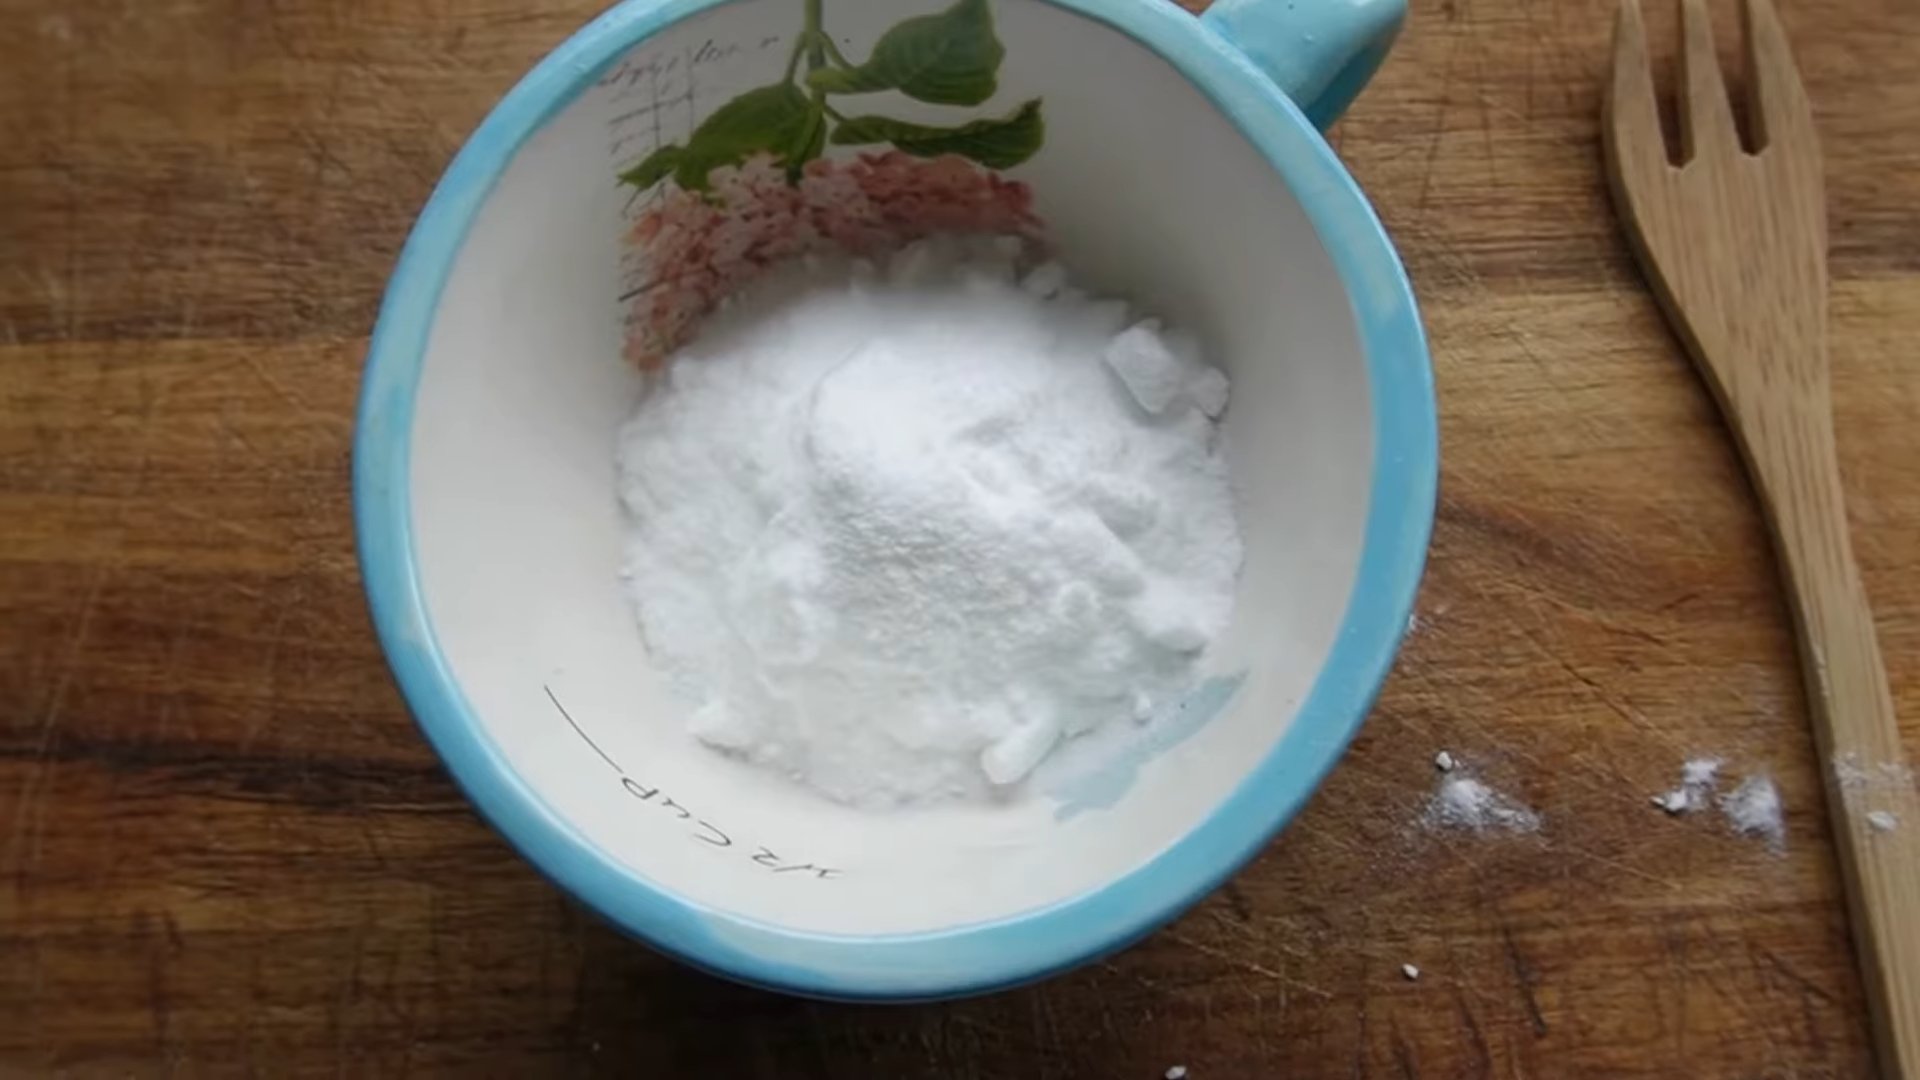
Consider pre-treating heavily soiled areas with a paste of baking soda and water before applying the stain removal solution. This can help to lift the stain and make it easier to remove. For older, set-in stains, you may need to repeat the process several times, allowing the solution to sit for a longer period each time. Patience is key!
Don’t be afraid to get creative and tailor this stain removal easy DIY trick to your specific needs. The possibilities are endless!
We are confident that once you try this method, you’ll be amazed by the results. It’s a simple, effective, and eco-friendly way to keep your home looking its best.
Now, it’s your turn! We encourage you to give this DIY stain removal trick a try and see the magic for yourself. And most importantly, we want to hear about your experiences! Share your before-and-after photos, your tips and tricks, and any variations you’ve discovered in the comments section below. Let’s build a community of stain-fighting experts and help each other conquer those pesky blemishes once and for all. Your feedback will not only help other readers but also inspire us to continue sharing valuable DIY solutions. So, go ahead, unleash your inner stain-fighting superhero and let us know how it goes! We can’t wait to hear from you!
Frequently Asked Questions (FAQs)
What types of stains does this DIY stain remover work best on?
This DIY stain remover is effective on a wide range of common household stains, including food spills (like coffee, tea, wine, and sauces), dirt, grass, and some types of grease. However, its effectiveness can vary depending on the age and severity of the stain, as well as the type of fabric. For particularly stubborn or set-in stains, you may need to repeat the process or try a different approach. It’s always a good idea to test the solution on an inconspicuous area first to ensure it doesn’t damage the fabric.
Can I use this stain remover on all types of fabrics?
While this DIY stain remover is generally safe for most fabrics, it’s crucial to exercise caution, especially with delicate materials like silk, wool, or linen. Always test the solution on a hidden area first to check for colorfastness and any adverse reactions. Avoid using it on fabrics that are labeled “dry clean only.” For delicate fabrics, you may want to dilute the solution further or use a gentler application method, such as blotting instead of rubbing.
How long should I let the stain remover sit on the stain?
The amount of time you should let the stain remover sit on the stain depends on the severity of the stain and the type of fabric. For fresh, light stains, 15-30 minutes may be sufficient. For older, more stubborn stains, you may need to let it sit for several hours or even overnight. However, it’s important to monitor the stain and the fabric closely to ensure that the solution doesn’t cause any damage or discoloration. If you’re unsure, start with a shorter period and gradually increase it as needed.
What if the stain doesn’t come out after the first try?
Don’t give up! Sometimes, stubborn stains require multiple treatments. If the stain doesn’t come out after the first try, repeat the process, allowing the solution to sit for a longer period each time. You can also try gently scrubbing the stain with a soft brush or cloth. For particularly difficult stains, consider pre-treating the area with a paste of baking soda and water before applying the stain remover. If all else fails, you may need to consult a professional cleaner.
Can I use this stain remover on carpets and upholstery?
Yes, this DIY stain remover can be used on carpets and upholstery, but it’s essential to test it on a hidden area first to ensure it doesn’t damage the fabric or cause discoloration. When applying the solution to carpets or upholstery, avoid saturating the area. Instead, use a spray bottle to lightly mist the stain and then blot it with a clean cloth. After removing the stain, be sure to rinse the area with clean water and blot it dry to remove any residue.
What are some alternative ingredients I can use in this DIY stain remover?
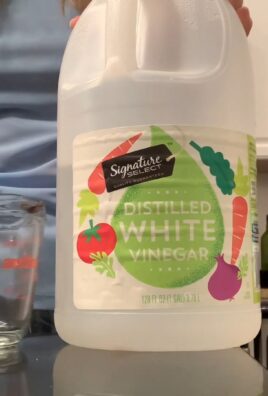
While the specific ingredients mentioned in the article are generally effective, you can experiment with other household items to create your own variations. For example, you can try using white vinegar instead of lemon juice, or club soda instead of water. Baking soda is also a versatile ingredient that can be used to pre-treat stains or to create a paste for scrubbing. For grease stains, you can add a small amount of dish soap to the mixture.
Is this stain remover safe for colored fabrics?
While this DIY stain remover is generally safe for colored fabrics, it’s always a good idea to test it on an inconspicuous area first to ensure colorfastness. If you’re concerned about fading, you can dilute the solution further or use a gentler application method. Avoid rubbing the stain vigorously, as this can damage the fabric and cause the color to bleed.
How should I store the leftover stain remover?
Store any leftover stain remover in a clean, airtight container in a cool, dark place. Be sure to label the container clearly so you don’t accidentally mistake it for something else. The shelf life of the stain remover will depend on the ingredients you used, but it’s generally best to use it within a few weeks for optimal effectiveness.
Can this DIY stain removal easy DIY trick remove old, set-in stains?
Removing old, set-in stains can be challenging, but this DIY trick can still be effective, especially with repeated applications and longer soaking times. For older stains, consider pre-treating the area with a paste of baking soda and water or a commercial stain pre-treatment product before applying the DIY solution. You may also need to gently scrub the stain with a soft brush or cloth. Remember that some stains may be impossible to remove completely, especially if they have been set in for a long time.
Is this DIY stain remover environmentally friendly?
Yes, this DIY stain remover is generally more environmentally friendly than commercial stain removers, as it uses natural, readily available ingredients that are less likely to harm the environment. However, it’s still important to use the solution responsibly and avoid excessive use. When disposing of any leftover solution, dilute it with water and pour it down the drain.

Leave a Comment