
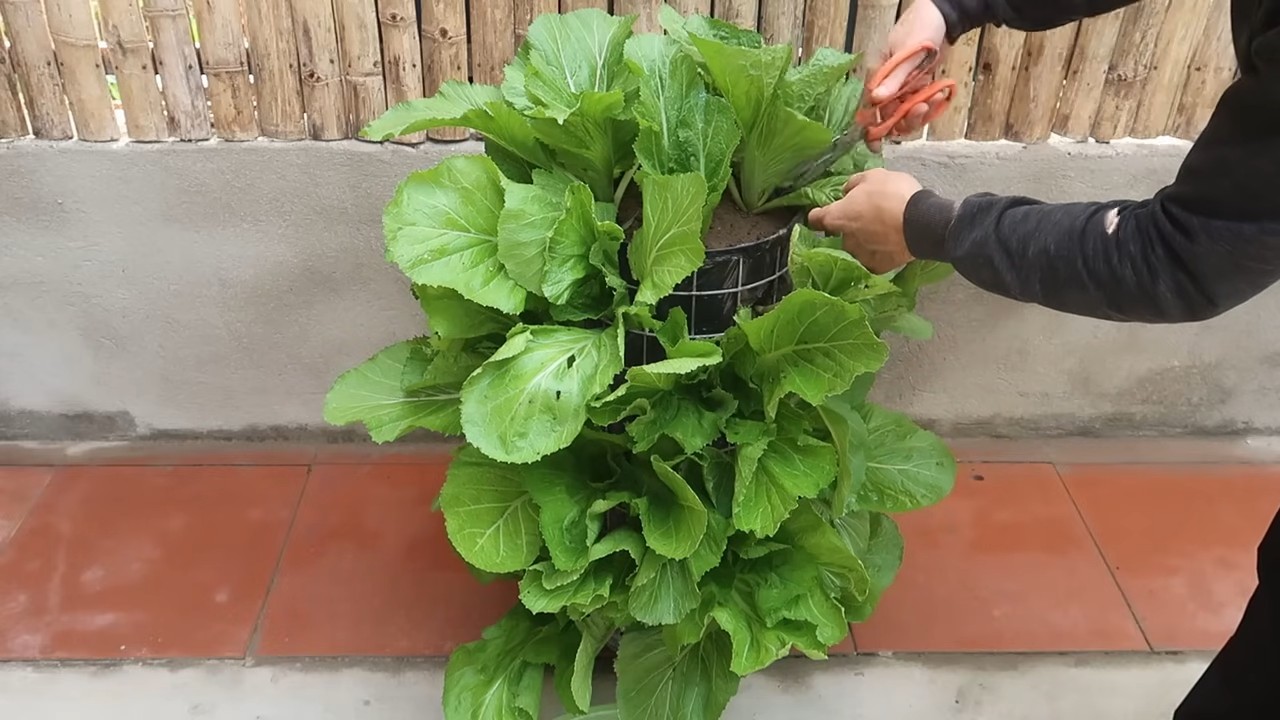
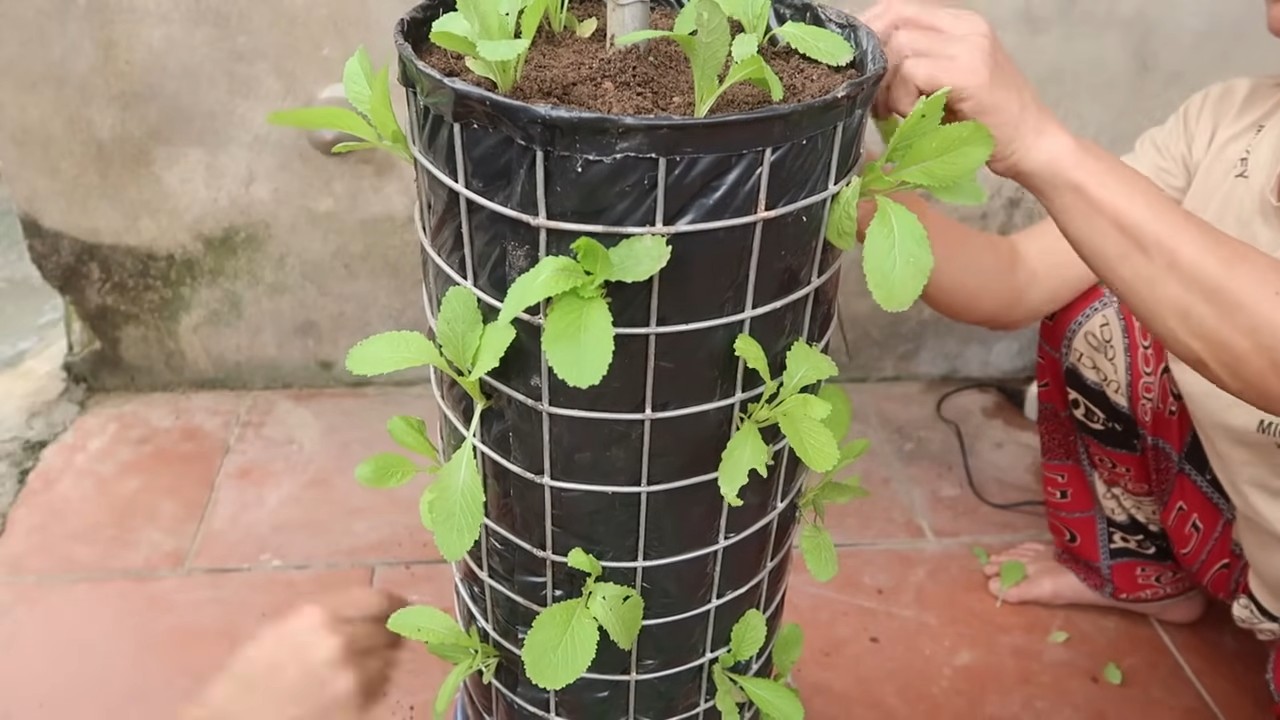
Sweet Potato Harvest Increase – dreaming of overflowing baskets of vibrant sweet potatoes from your very own garden? I know I am! There’s nothing quite like the satisfaction of digging up those earthy treasures you’ve nurtured from tiny slips. But let’s be honest, sometimes the yield can be a little… underwhelming. That’s where these clever DIY tricks come in!
For centuries, sweet potatoes have been a staple in diets around the world, holding significant cultural importance in many societies. From their origins in Central and South America, they’ve spread globally, becoming a symbol of sustenance and resilience. But even with generations of cultivation, maximizing your sweet potato harvest can still feel like a bit of a mystery.
That’s why I’ve compiled a collection of simple, yet effective, DIY hacks designed to help you achieve a sweet potato harvest increase you can brag about. Forget complicated techniques and expensive equipment. These are practical tips that anyone, regardless of their gardening experience, can implement. Whether you’re battling poor soil, limited space, or just want to boost your yield, these tricks will empower you to grow bigger, healthier, and more abundant sweet potatoes. Get ready to transform your garden and enjoy a truly bountiful harvest!
Unlock a Bountiful Sweet Potato Harvest: My DIY Soil Warming Hack
Hey there, fellow gardeners! Are you dreaming of overflowing baskets of sweet potatoes this fall? I know I am! But sometimes, Mother Nature throws us a curveball with a late spring or a cool summer, leaving our sweet potato plants struggling to thrive. That’s where this DIY soil warming hack comes in! I’ve personally used this method for the past few years, and let me tell you, the difference it makes is incredible. We’re talking bigger, healthier sweet potatoes and a significantly increased yield. So, let’s dive in and get your garden ready for a sweet potato bonanza!
Why Warm Soil Matters for Sweet Potatoes
Sweet potatoes are heat-loving plants, plain and simple. They need warm soil to sprout, grow vigorously, and develop those delicious tubers we all crave. Cool soil can stunt their growth, delay tuber formation, and even lead to rot. By warming the soil, we’re essentially giving our sweet potatoes a head start and creating the perfect environment for them to flourish.
The DIY Soil Warming Hack: Black Plastic Mulch Magic
This hack is all about harnessing the power of the sun using black plastic mulch. Black plastic absorbs sunlight and traps heat in the soil, raising the soil temperature by several degrees. This can make a huge difference, especially in cooler climates or during periods of unpredictable weather.
Materials You’ll Need:
* Black Plastic Mulch: Choose a heavy-duty plastic mulch that’s at least 1.5 mil thick. This will ensure it lasts throughout the growing season and doesn’t tear easily. You can find it at most garden centers or online.
* Measuring Tape: To accurately measure your garden bed.
* Scissors or Utility Knife: For cutting the plastic mulch.
* Garden Staples or Rocks: To secure the plastic mulch to the ground. Garden staples are specifically designed for this purpose and are readily available. Rocks work in a pinch, but staples provide a more secure hold.
* Soil Thermometer (Optional but Recommended): This will help you monitor the soil temperature and ensure it’s warm enough before planting.
* Sweet Potato Slips: Of course, you’ll need your sweet potato slips! Make sure they are healthy and well-rooted.
* Trowel or Shovel: For planting your sweet potato slips.
* Watering Can or Hose: To water your newly planted slips.
Tools You’ll Need:
* Gloves (optional, but recommended to protect your hands)
Step-by-Step Instructions: Warming Your Soil for Sweet Potatoes
Here’s the breakdown of how to implement this simple yet effective soil warming technique:
1. Prepare Your Garden Bed:
* Start by clearing your garden bed of any weeds, rocks, or debris. Sweet potatoes need loose, well-drained soil, so till or amend the soil with compost or other organic matter if necessary. I usually add a generous amount of compost to improve drainage and fertility.
* Rake the soil smooth and level. This will ensure good contact between the plastic mulch and the soil, maximizing heat absorption.
* If you’re using raised beds, make sure the soil is filled to the top.
2. Measure and Cut the Plastic Mulch:
* Measure the length and width of your garden bed.
* Cut the black plastic mulch to the appropriate size, leaving a few extra inches on each side for securing it to the ground. It’s always better to have a little extra than not enough!
* I usually add about 6 inches to each side to give myself plenty of material to work with.
3. Lay the Plastic Mulch:
* Carefully lay the plastic mulch over the prepared garden bed, ensuring it covers the entire area.
* Stretch the plastic mulch taut and smooth out any wrinkles or creases. This will help it absorb sunlight more efficiently.
4. Secure the Plastic Mulch:
* Use garden staples or rocks to secure the edges of the plastic mulch to the ground.
* Place the staples or rocks every 1-2 feet along the perimeter of the bed. Make sure the plastic is held firmly in place to prevent it from blowing away in the wind.
* I prefer using garden staples because they provide a more secure hold and are less likely to damage the plastic.
5. Wait for the Soil to Warm Up:
* This is the crucial part! Now, you need to be patient and let the sun do its work.
* Use a soil thermometer to monitor the soil temperature under the plastic mulch.
* Ideally, you want the soil temperature to reach at least 65°F (18°C) before planting your sweet potato slips.
* This may take a week or two, depending on the weather conditions. I usually start checking the soil temperature after about a week.
6. Planting Your Sweet Potato Slips:
* Once the soil has warmed up sufficiently, it’s time to plant your sweet potato slips.
* Use a utility knife or scissors to cut holes in the plastic mulch where you want to plant your slips.
* The spacing between holes will depend on the variety of sweet potato you’re growing, but generally, you’ll want to space them about 12-18 inches apart.
* Make the holes large enough to accommodate the root ball of your slips.
* Carefully dig a small hole in the soil beneath the plastic mulch and plant your sweet potato slip, making sure the roots are well covered.
* Water the newly planted slips thoroughly.
7. Maintain and Monitor:
* Continue to water your sweet potato plants regularly, especially during dry periods.
* Check the plastic mulch periodically to make sure it’s still securely in place.
* Remove any weeds that may grow around the edges of the plastic mulch.
* Monitor your plants for any signs of pests or diseases.
Troubleshooting Tips:
* Plastic Mulch Tears: If the plastic mulch tears, you can patch it with duct tape or replace it with a new piece.
* Weeds Growing Under the Plastic: Occasionally, weeds may sprout underneath the plastic mulch. You can try to pull them out through the planting holes, but if they become too problematic, you may need to remove the plastic mulch and reapply it after weeding.
* Soil Not Warming Up: If the soil isn’t warming up as quickly as you’d like, make sure the plastic mulch is tightly secured and that there are no gaps or tears. You can also try using a thicker plastic mulch.
* Slugs and Snails: The moist environment under the plastic mulch can attract slugs and snails. Use slug bait or other control methods to protect your sweet potato plants.
Harvesting Your Sweet Potatoes:
* Sweet potatoes are typically ready to harvest in the fall, about 90-120 days after planting.
* The leaves will start to turn yellow and die back when the sweet potatoes are mature.
* Carefully dig up the sweet potatoes, being careful not to damage them.
* Cure the sweet potatoes for 10-14 days in a warm, humid place to allow the skins to harden and the sugars to develop.
* Store the cured sweet potatoes in a cool, dry place.
Additional Tips for Sweet Potato Success:
* Choose the Right Variety: Select a sweet potato variety that is well-suited to your climate and growing conditions.
* Start with Healthy Slips: Purchase healthy, disease-free sweet potato slips from a reputable source.
* Provide Adequate Sunlight: Sweet potatoes need at least 6-8 hours of sunlight per day.
* Water Regularly: Water your sweet potato plants regularly, especially during dry periods.
* Fertilize Sparingly: Sweet potatoes don’t need a lot of fertilizer. Over-fertilizing can lead to excessive vine growth and fewer tubers. I usually side-dress with a balanced organic fertilizer a few weeks after planting.
* Rotate Your Crops: Avoid planting sweet potatoes in the same location year after year to prevent the buildup of soilborne diseases.
Beyond Black Plastic: Other Soil Warming Options
While black plastic mulch is my go-to method, there are other options you can explore:
* Clear Plastic Mulch: Clear plastic mulch warms the soil even more than black plastic, but it also allows weeds to grow underneath. You’ll need to be diligent about weeding if you use clear plastic.
* Row Covers: Row covers can be used to trap heat around your sweet potato plants, especially during cool nights.
* Raised Beds: Raised beds tend to warm up faster than in-ground beds.
* Compost: Adding a thick layer of compost to your garden bed can help to warm the soil and improve drainage.
Final Thoughts:
This DIY soil warming hack has been a game-changer for my
Conclusion
So, there you have it! This simple, yet incredibly effective DIY trick for increasing your sweet potato harvest is a game-changer for any gardener, whether you’re a seasoned pro or just starting out. We’ve walked you through the process, explained the science behind it, and hopefully, inspired you to give it a try.
Why is this a must-try? Because it’s about maximizing your yield with minimal effort. Imagine harvesting significantly more sweet potatoes from the same amount of space and resources. That’s the power of this technique. It’s not just about getting more; it’s about getting the most out of your garden, reducing waste, and enjoying the fruits (or rather, the tubers!) of your labor.
But don’t just take our word for it. The real magic happens when you put this into practice. And the beauty of this method is its adaptability. Feel free to experiment with different types of rooting hormones, or even try using natural alternatives like willow water. Consider the specific needs of your sweet potato variety and adjust the timing of the slips accordingly.
Want to get even more creative? Try this technique with other vining plants like pumpkins or squash to see if you can boost their yields as well. The possibilities are endless!
We are confident that this **sweet potato harvest increase** method will revolutionize your gardening experience. It’s a sustainable, cost-effective, and rewarding way to get the most out of your sweet potato crop.
Now, it’s your turn. We wholeheartedly encourage you to try this DIY trick in your own garden. Document your process, take pictures, and most importantly, share your results with us! We’d love to hear about your successes, your challenges, and any variations you discover along the way. Let’s build a community of gardeners who are passionate about maximizing their harvests and sharing their knowledge.
Head over to our comments section, join our online forum, or tag us on social media with your sweet potato success stories. Together, we can unlock the full potential of our gardens and enjoy the bounty of nature. Happy gardening!
Frequently Asked Questions (FAQ)
Q: What exactly is a sweet potato slip, and why is it important for this method?
A: Sweet potato slips are sprouts that grow from a mature sweet potato. They are essentially baby sweet potato plants that are ready to be planted in the ground. They are crucial for this method because they are what you’ll be rooting and planting to increase your overall sweet potato yield. Using slips allows you to propagate new plants from a single sweet potato, effectively multiplying your potential harvest.
Q: What type of rooting hormone should I use?
A: You can use either a liquid or powder rooting hormone. Liquid rooting hormones are often easier to apply evenly, while powder forms are generally more cost-effective. Look for a rooting hormone that contains Indole-3-butyric acid (IBA) or Naphthaleneacetic acid (NAA) as the active ingredient. These hormones stimulate root growth and increase the success rate of rooting your sweet potato slips. Follow the instructions on the product label for proper dilution and application.
Q: How long does it take for the sweet potato slips to root?
A: Rooting time can vary depending on factors such as temperature, humidity, and the specific rooting hormone used. Generally, you can expect to see roots developing within 7-14 days. Keep the slips in a warm, bright location and change the water every few days to prevent bacterial growth. Once the roots are about 1-2 inches long, they are ready to be transplanted into the garden.
Q: Can I use tap water to root the sweet potato slips?
A: While tap water can be used, it’s best to use filtered or dechlorinated water. Tap water often contains chlorine and other chemicals that can inhibit root growth. If you must use tap water, let it sit out for 24 hours to allow the chlorine to evaporate before using it to root your slips. Rainwater is also an excellent option, as it’s naturally soft and free of chemicals.
Q: What is the best time to plant the rooted sweet potato slips in the garden?
A: The best time to plant your rooted sweet potato slips is after the last frost when the soil has warmed up to at least 60°F (15°C). Sweet potatoes are heat-loving plants and will not thrive in cold soil. Choose a sunny location with well-drained soil. Amend the soil with compost or other organic matter to improve its fertility and drainage.
Q: How far apart should I plant the sweet potato slips?
A: Space the sweet potato slips about 12-18 inches apart in rows that are 3-4 feet apart. This spacing allows the plants to spread out and develop healthy tubers without overcrowding each other. If you are growing sweet potatoes in raised beds, you can plant them closer together, but be sure to provide adequate support for the vines as they grow.
Q: What kind of soil is best for growing sweet potatoes?
A: Sweet potatoes prefer well-drained, sandy loam soil. Heavy clay soil can be problematic, as it can retain too much moisture and lead to root rot. Amend clay soil with compost, sand, and other organic matter to improve its drainage. The ideal soil pH for sweet potatoes is between 5.5 and 6.5.
Q: How often should I water sweet potatoes?
A: Water sweet potatoes regularly, especially during dry periods. Aim to keep the soil consistently moist, but not waterlogged. Water deeply and less frequently, rather than shallowly and more often. Once the plants are established, they are relatively drought-tolerant, but they will still benefit from regular watering.
Q: Do sweet potatoes need fertilizer?
A: Sweet potatoes benefit from a balanced fertilizer, especially during the early stages of growth. Apply a fertilizer that is low in nitrogen and higher in phosphorus and potassium. Too much nitrogen can promote excessive vine growth at the expense of tuber development. You can also amend the soil with compost or other organic matter to provide a slow-release source of nutrients.
Q: How do I know when my sweet potatoes are ready to harvest?
A: Sweet potatoes are typically ready to harvest about 90-120 days after planting. The leaves will start to turn yellow and the vines will begin to die back. You can also dig up a test plant to check the size and maturity of the tubers. Harvest sweet potatoes before the first frost, as frost can damage the tubers.
Q: How should I cure sweet potatoes after harvesting?
A: Curing sweet potatoes is essential for improving their flavor and storage life. After harvesting, gently brush off any excess soil and place the sweet potatoes in a warm, humid location (80-85°F and 85-90% humidity) for 7-10 days. This allows the skins to harden and any minor cuts or bruises to heal. After curing, store the sweet potatoes in a cool, dry, and well-ventilated location (55-60°F) for several months.
Q: Can I grow sweet potatoes in containers?
A: Yes, you can grow sweet potatoes in containers, but you’ll need a large container (at least 20 gallons) with good drainage. Choose a container that is at least 12 inches deep and wide. Fill the container with a well-draining potting mix and plant the sweet potato slips as you would in the garden. Water regularly and fertilize as needed. Keep in mind that container-grown sweet potatoes may not produce as large of a harvest as those grown in the ground.
Q: What are some common pests and diseases that affect sweet potatoes?
A: Some common pests that affect sweet potatoes include sweet potato weevils, flea beetles, and wireworms. Common diseases include stem rot, black rot, and scurf. Practice good garden hygiene to prevent pests and diseases. Rotate crops regularly, remove any infected plants, and use organic pest control methods as needed.
Q: Can I save my own sweet potato slips for next year?
A: Yes, you can save your own sweet potato slips for next year. Select healthy, disease-free sweet potatoes from your harvest and store them in a cool, dry place. In the spring, start the slips indoors by placing the sweet potatoes in a container of water or burying them in moist sand. Once the slips have developed roots, you can transplant them into the garden. This allows you to continue to improve your **sweet potato harvest increase** year after year.


Leave a Comment