
Terrace Guava Tree Fruit – imagine plucking a juicy, sun-ripened guava straight from your own terrace! Sounds like a tropical dream, right? Well, it doesn’t have to be just a dream. I’m here to tell you that growing your own guava tree, even in a limited space, is totally achievable with a few clever tricks and a little DIY magic.
Guava, a fruit with roots tracing back to Central and South America, has been cherished for centuries, not just for its delicious taste but also for its incredible health benefits. From ancient medicinal practices to modern-day superfood status, the guava has always held a special place in various cultures. But what if you could bring a piece of that history and goodness right to your doorstep?
Let’s face it, we all crave fresh, homegrown produce. But not everyone has a sprawling backyard. That’s where these DIY hacks come in! Growing a terrace guava tree fruit offers a fantastic solution for urban dwellers and gardening enthusiasts alike. It allows you to enjoy the taste of the tropics, connect with nature, and even impress your friends with your green thumb – all without needing acres of land. Plus, who can resist the satisfaction of nurturing a plant from seedling to fruit-bearing beauty? So, let’s dive into some simple yet effective DIY tricks that will have you harvesting your own delicious guavas in no time!
Growing Guavas in Pots: A Guide to Bountiful Terrace Harvests
Hey there, fellow gardening enthusiasts! Dreaming of juicy, homegrown guavas but short on space? Don’t worry, you can absolutely cultivate these tropical delights right on your terrace or balcony! I’ve been growing guavas in pots for years, and let me tell you, the satisfaction of plucking a ripe guava from your own tree is simply unmatched. This guide will walk you through everything you need to know to successfully grow guavas in containers, from choosing the right variety to harvesting your delicious rewards.
Choosing the Right Guava Variety
Not all guava varieties are created equal, especially when it comes to container gardening. You’ll want to select a dwarf or semi-dwarf variety that’s naturally compact and well-suited for growing in pots. Here are a few of my personal favorites:
* ‘Ruby Supreme’: This variety produces medium-sized, pink-fleshed guavas with a sweet and slightly tart flavor. It’s known for its disease resistance and relatively compact growth habit.
* ‘Mexican Cream’: Also known as ‘White Indian’, this guava boasts creamy white flesh and a delicate, sweet taste. It’s a reliable producer and stays relatively small.
* ‘Tropical White’: A popular choice for its prolific fruiting and mild, sweet flavor. The fruits are medium-sized with white flesh.
* ‘Red Malaysian’: If you’re looking for something visually stunning, the ‘Red Malaysian’ guava is a great option. It features vibrant red foliage and pink-fleshed fruits. Keep in mind that this variety might require a bit more pruning to maintain its shape.
* ‘Dwarf Hawaiian’: As the name suggests, this is a truly dwarf variety, making it perfect for smaller containers. It produces small to medium-sized, yellow-skinned guavas with a sweet and aromatic flavor.
Important Note: Always check the mature size of the variety you choose to ensure it’s suitable for container growing. Look for varieties that stay under 6-8 feet tall.
Essential Supplies You’ll Need
Before we dive into the planting process, let’s gather all the necessary supplies. Having everything on hand will make the process much smoother and more enjoyable.
* A large container: Choose a pot that’s at least 20-24 inches in diameter and depth. The bigger, the better, as it will provide ample space for the roots to grow. Make sure the container has drainage holes to prevent waterlogging.
* Well-draining potting mix: Guavas thrive in well-draining soil. Avoid using garden soil, as it can become compacted in containers. A good mix consists of equal parts potting soil, perlite, and compost.
* Guava plant: Purchase a healthy guava plant from a reputable nursery. Look for a plant with vibrant green leaves and a strong, well-developed root system.
* Slow-release fertilizer: A slow-release fertilizer formulated for fruit trees will provide your guava plant with the nutrients it needs to thrive.
* Watering can or hose: Essential for keeping your guava plant hydrated.
* Pruning shears: For shaping and maintaining your guava tree.
* Gloves: To protect your hands while working with soil.
* Mulch: Organic mulch, such as wood chips or shredded bark, helps retain moisture and suppress weeds.
* Optional: A trellis or support structure if you choose a variety that tends to be a bit sprawling.
Planting Your Guava Tree
Now for the fun part – planting your guava tree! Follow these step-by-step instructions to ensure a successful start.
1. Prepare the container: Place a layer of gravel or broken pottery at the bottom of the container to improve drainage. This will prevent the drainage holes from becoming clogged.
2. Add potting mix: Fill the container about one-third full with your well-draining potting mix.
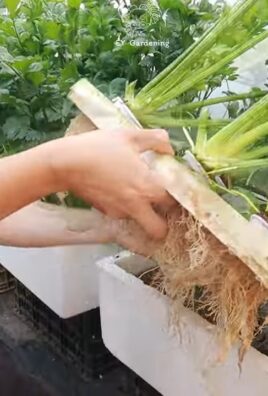
3. Remove the guava plant from its nursery pot: Gently loosen the roots of the guava plant by teasing them apart with your fingers. This will encourage them to grow outwards into the new potting mix.
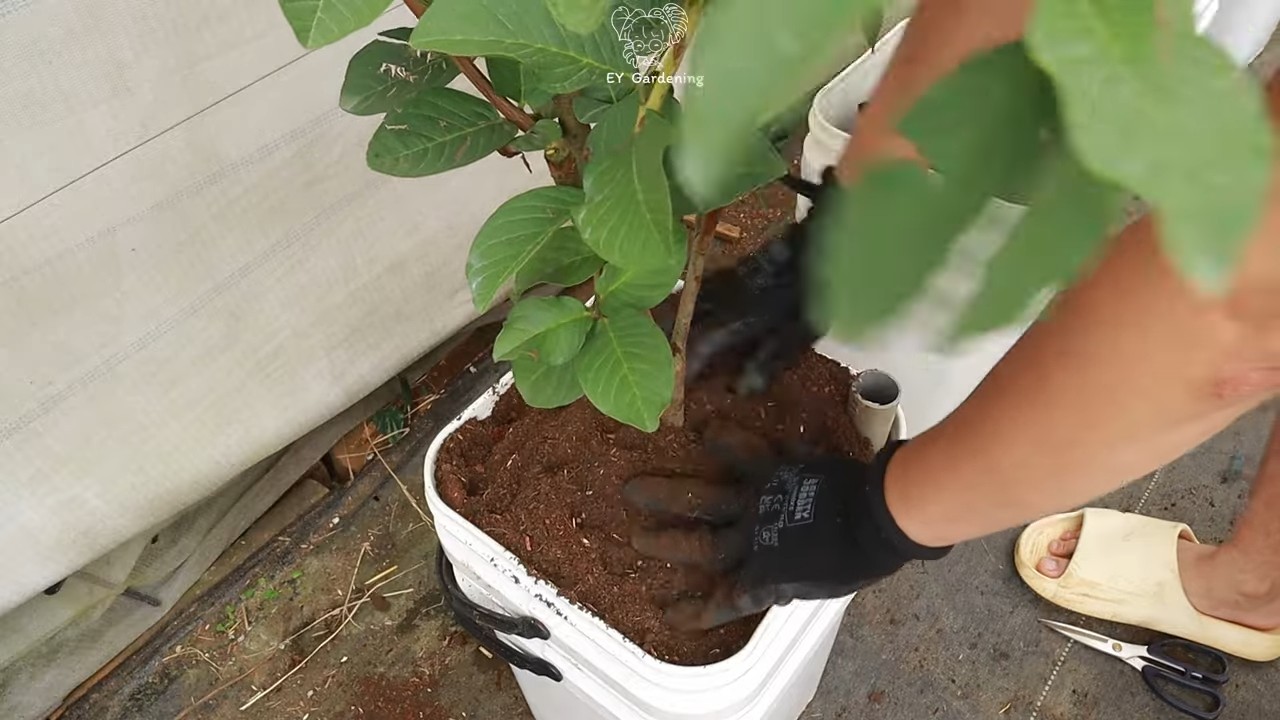
4. Position the plant: Place the guava plant in the center of the container, making sure the top of the root ball is level with the surface of the potting mix.
5. Fill the container with potting mix: Add more potting mix around the root ball, gently firming it down as you go. Leave about an inch or two of space between the top of the potting mix and the rim of the container.
6. Water thoroughly: Water the newly planted guava tree thoroughly until water drains out of the drainage holes. This will help settle the soil and ensure the roots are properly hydrated.
7. Add mulch: Apply a layer of organic mulch around the base of the plant, keeping it a few inches away from the trunk. This will help retain moisture, suppress weeds, and regulate soil temperature.
Caring for Your Potted Guava Tree
Once your guava tree is planted, it’s crucial to provide it with the proper care to ensure healthy growth and abundant fruit production.
Watering
Guavas prefer consistently moist soil, but they don’t like to be waterlogged. Water your guava tree deeply whenever the top inch of soil feels dry to the touch. During hot, dry weather, you may need to water it more frequently. Reduce watering during the winter months when the plant is dormant.
Pro Tip: Use a moisture meter to accurately gauge the moisture level of the soil.
Fertilizing
Guavas are heavy feeders and require regular fertilization to thrive. Apply a slow-release fertilizer formulated for fruit trees in the spring and again in the summer. Follow the instructions on the fertilizer package for application rates. You can also supplement with liquid fertilizer every few weeks during the growing season.
Pro Tip: Look for a fertilizer that’s rich in potassium, as this nutrient is essential for fruit development.
Sunlight
Guavas need at least 6-8 hours of direct sunlight per day to produce fruit. Place your potted guava tree in a sunny location on your terrace or balcony. If you live in a particularly hot climate, provide some afternoon shade to protect the plant from scorching.
Pruning
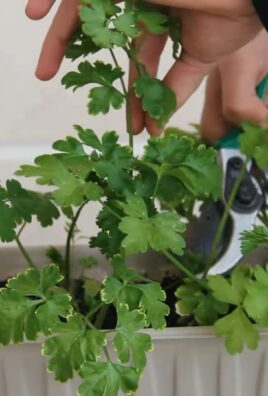
Pruning is essential for maintaining the shape and size of your guava tree, as well as promoting fruit production. Prune your guava tree in late winter or early spring, before new growth begins. Remove any dead, damaged, or crossing branches. You can also prune to shape the tree and encourage branching.
Pro Tip: Guavas fruit on new growth, so avoid pruning too heavily, as this can reduce fruit production.
Pest and Disease Control
Guavas are generally resistant to pests and diseases, but they can occasionally be affected by aphids, scale, or fruit flies. Inspect your guava tree regularly for any signs of infestation or disease. If you notice any problems, treat them promptly with an appropriate insecticide or fungicide.
Pro Tip: Encourage beneficial insects, such as ladybugs and lacewings, to help control pests naturally.
Overwintering
If you live in a region with cold winters, you’ll need to protect your potted guava tree from frost. Guavas are sensitive to freezing temperatures and can be damaged or killed by prolonged exposure to cold.
* Move the plant indoors: The easiest way to protect your guava tree from frost is to move it indoors to a bright, sunny location.
* Wrap the container: If you can’t move the plant indoors, wrap the container with burlap or blankets to insulate the roots.
* Protect the foliage: Cover the foliage with a frost blanket or sheet to protect it from frost damage.
Harvesting Your Guavas
The moment you’ve been waiting for – harvesting your homegrown guavas! Guavas typically ripen in the fall or winter, depending on the variety and your climate.
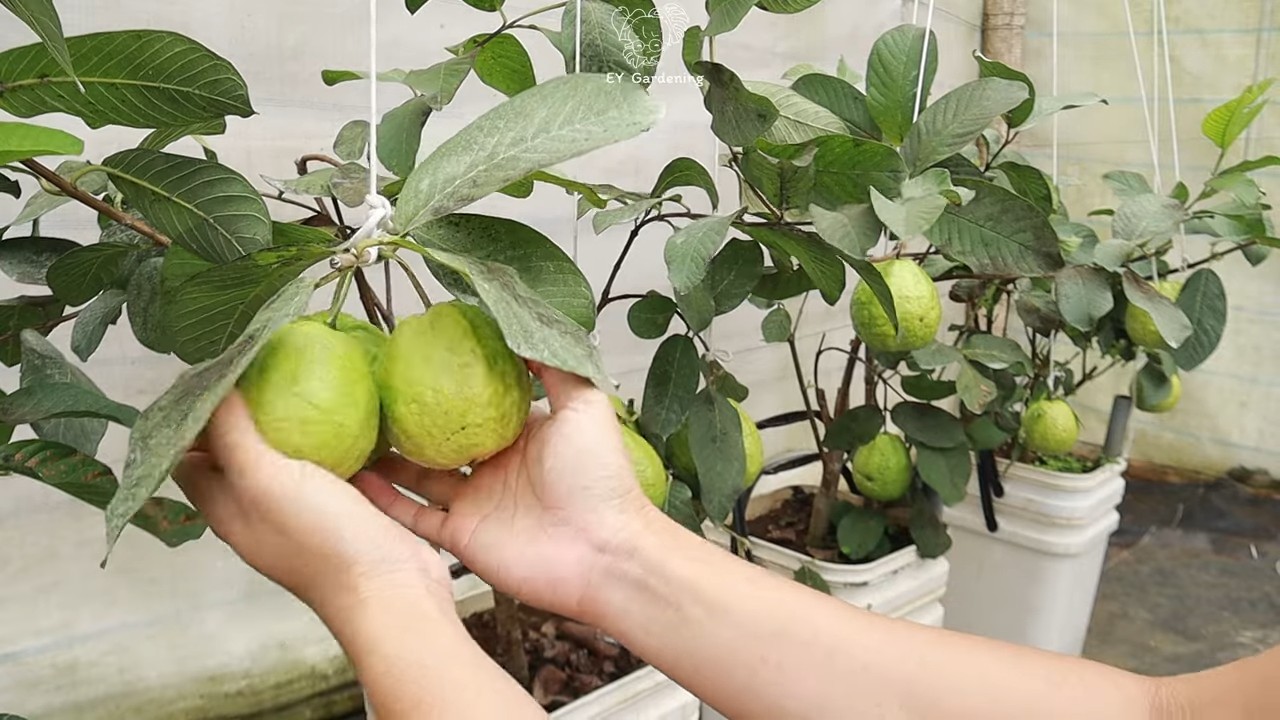
* Check for ripeness: Guavas are ripe when they change color from green to yellow or pink, depending on the variety. The fruit should also feel slightly soft to the touch.
* Gently twist the fruit: To harvest a guava, gently twist the fruit from the branch. If it’s ripe, it should come off easily.
* Enjoy your harvest: Guavas can be eaten fresh, or they can be used to make jams, jellies, and juices.
Pro Tip: Guavas continue to ripen after they’re harvested, so you can pick them slightly underripe and allow them to ripen indoors.
Growing guavas in pots is a rewarding experience that allows you to enjoy the taste of the tropics, even if you don’t have a large garden. With a little care and attention, you can successfully cultivate these delicious fruits on your terrace or balcony. Happy gardening!
Conclusion
So, there you have it! Transforming your terrace guava tree fruit into a delectable homemade jam is not just a rewarding experience; it’s a testament to the incredible flavors you can unlock right in your own backyard. Forget the store-bought varieties laden with artificial preservatives and excessive sugar. This DIY approach allows you to control every ingredient, ensuring a fresh, vibrant, and utterly delicious final product.
Why is this DIY trick a must-try? Because it’s about more than just making jam. It’s about connecting with the source of your food, appreciating the journey from tree to table, and savoring the unique taste of your own homegrown guava. It’s about reducing food waste by utilizing every precious piece of fruit your tree provides. And, let’s be honest, there’s a certain satisfaction that comes from creating something truly special with your own two hands.
But the beauty of this recipe lies in its adaptability. Feel free to experiment with different variations to suit your taste preferences. For a spicier kick, add a pinch of red pepper flakes or a small, finely chopped chili pepper during the cooking process. If you prefer a smoother texture, use an immersion blender to puree the jam before jarring it. You can also incorporate other fruits, such as mango or pineapple, for a tropical twist. Consider adding a splash of lime or lemon juice for extra brightness and acidity. For a more complex flavor profile, try incorporating spices like cinnamon, cloves, or star anise. The possibilities are truly endless!
Don’t be intimidated by the process. While it requires a bit of time and attention, making guava jam is surprisingly straightforward. The aroma that fills your kitchen as the fruit simmers is an added bonus, creating a warm and inviting atmosphere. And the look on your friends’ and family’s faces when they taste your homemade creation will be priceless.
We wholeheartedly encourage you to give this DIY guava jam recipe a try. It’s a fantastic way to celebrate the bounty of your terrace guava tree and create a truly unique and memorable treat. Once you’ve experienced the joy of making your own jam, you’ll never look at store-bought varieties the same way again.
So, gather your ingredients, roll up your sleeves, and get ready to embark on a culinary adventure. We’re confident that you’ll be thrilled with the results. And most importantly, don’t forget to share your experience with us! We’d love to hear about your variations, your successes, and any challenges you encountered along the way. Share your photos and stories on social media using [Your Hashtag Here] and let’s celebrate the deliciousness of homemade guava jam together! Let us know how you perfected your **terrace guava tree fruit** jam!
Frequently Asked Questions (FAQ)
1. My guava fruit isn’t very sweet. Can I still make jam?
Absolutely! The sweetness of guava fruit can vary depending on the variety and ripeness. If your fruit is less sweet, simply adjust the amount of sugar in the recipe to your liking. Start with the recommended amount and taste as you go, adding more sugar until you achieve the desired sweetness. You can also consider adding a touch of honey or agave nectar for a more complex flavor. Remember that the sugar not only contributes to the sweetness but also acts as a preservative, so don’t reduce it too drastically.
2. How do I know when the jam is ready?
Determining the “set point” of jam can be a bit tricky, but there are a few reliable methods. The most common is the “cold plate test.” Place a small plate in the freezer before you start making the jam. When you think the jam is nearing completion, spoon a small amount onto the cold plate and return it to the freezer for about a minute. Then, push the jam with your finger. If it wrinkles and forms a skin, it’s ready. If it’s still runny, continue cooking for a few more minutes and test again. Another method is to use a candy thermometer. The jam is typically ready when it reaches 220°F (104°C).
3. Can I use frozen guava fruit to make jam?
Yes, you can definitely use frozen guava fruit. In fact, using frozen fruit can sometimes be advantageous as it helps to break down the fruit’s cell structure, resulting in a smoother jam. Just make sure to thaw the fruit completely before using it in the recipe. Drain off any excess liquid that accumulates during thawing to prevent the jam from becoming too watery.
4. How long does homemade guava jam last?
Properly sealed and processed guava jam can last for up to a year in a cool, dark place. Once opened, it should be stored in the refrigerator and consumed within a few weeks. To ensure proper sealing, follow the canning instructions carefully, paying attention to sterilization and processing times. If you notice any signs of spoilage, such as mold or an off odor, discard the jam immediately.
5. I don’t have canning equipment. Can I still make this jam?
Yes, you can still make guava jam even without canning equipment, but it will need to be stored in the refrigerator and consumed within a shorter timeframe, typically within a week or two. To maximize its shelf life, store the jam in sterilized jars and ensure they are tightly sealed. Alternatively, you can freeze the jam in small portions for longer storage.
6. What can I do with guava jam besides spreading it on toast?
Guava jam is incredibly versatile and can be used in a variety of ways. Try using it as a filling for pastries, cakes, or cookies. It’s also delicious as a glaze for meats, especially pork or chicken. You can add a spoonful to yogurt or oatmeal for a burst of flavor. Guava jam also pairs well with cheese and crackers, making it a great addition to a cheese board. Get creative and experiment with different ways to incorporate it into your favorite dishes!
7. My jam is too thick. What can I do?
If your jam has become too thick, you can add a small amount of water or guava juice to thin it out. Heat the jam gently in a saucepan, stirring in the liquid a tablespoon at a time until you reach the desired consistency. Be careful not to add too much liquid, as this could prevent the jam from setting properly.
8. My jam is too runny. What can I do?
If your jam is too runny, it means it hasn’t reached the proper set point. Return the jam to the saucepan and continue cooking it over medium heat, stirring frequently, until it thickens. Be sure to test the set point using the cold plate test or a candy thermometer. You can also add a small amount of pectin to help the jam set.
9. Can I reduce the amount of sugar in the recipe?
While you can reduce the amount of sugar, keep in mind that sugar plays a crucial role in preserving the jam. Reducing the sugar too much can affect the jam’s shelf life and texture. If you want to reduce the sugar, consider using a low-sugar pectin or adding a natural sweetener like stevia or erythritol in addition to a reduced amount of sugar. Experiment to find the right balance that suits your taste and ensures proper preservation.
10. What are some other variations I can try with this recipe?
The possibilities are endless! Consider adding a splash of rum or brandy for a boozy twist. You can also incorporate spices like ginger, cardamom, or nutmeg for a warm and aromatic flavor. For a savory-sweet combination, try adding a pinch of salt and a dash of balsamic vinegar. Don’t be afraid to experiment and create your own unique guava jam masterpiece! Remember to adjust the cooking time and ingredients based on the specific variations you choose. Enjoy the process of creating your perfect **terrace guava tree fruit** jam!
Leave a Comment