
Trash Garden DIY: Turning Waste into Wonder in Your Backyard!
Have you ever looked at your overflowing recycling bin and thought, “There has to be a better way?” I know I have! Well, what if I told you that “better way” could be a thriving, beautiful garden? For centuries, resourceful gardeners around the world have embraced the art of repurposing, transforming discarded items into functional and aesthetically pleasing elements in their green spaces. From ancient civilizations utilizing broken pottery for drainage to modern-day eco-conscious gardeners, the spirit of making the most of what you have is deeply ingrained in our horticultural heritage.
In today’s world, where sustainability is more crucial than ever, learning Trash Garden DIY techniques isn’t just a fun hobby; it’s a responsible choice. Think about it: less waste going to landfills, more fresh produce or vibrant flowers gracing your table, and a unique, personalized garden that reflects your creativity. This article is your ultimate guide to unlocking the potential hidden within your trash. We’ll explore easy-to-follow projects that require minimal skills but deliver maximum impact. Whether you’re a seasoned gardener or just starting out, these DIY tricks and hacks will empower you to create a stunning and sustainable oasis right in your own backyard. So, grab your gloves, gather your recyclables, and let’s get ready to transform trash into treasure!
Transform Your Trash into Treasure: A DIY Upcycled Garden Project
Hey there, fellow garden enthusiasts! Are you looking for a fun, eco-friendly, and budget-friendly way to spruce up your outdoor space? Well, you’ve come to the right place! Today, I’m going to walk you through a fantastic DIY project: creating a beautiful and functional garden using items you’d normally toss in the trash. Get ready to unleash your creativity and turn those discarded materials into stunning planters and garden features!
What You’ll Need: Gathering Your “Trash” Treasures
Before we dive into the nitty-gritty, let’s gather our supplies. The beauty of this project is that you can adapt it to whatever you have on hand. Here’s a list to get you started, but feel free to get creative and substitute with similar items:
* Plastic Bottles (various sizes): Soda bottles, water bottles, juice containers – the more, the merrier! These will become our planters.
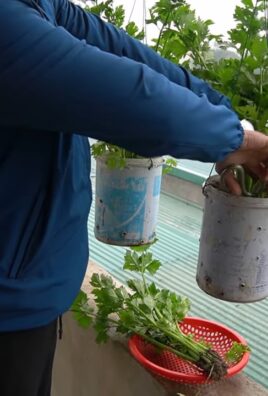
* Tin Cans (different sizes): Soup cans, vegetable cans, coffee cans – these are great for smaller plants and herbs.
* Old Tires: These can be stacked and painted to create raised garden beds or whimsical planters.
* Wooden Pallets: Perfect for vertical gardens, compost bins, or even garden furniture.
* Glass Jars (mason jars, pickle jars, etc.): Ideal for starting seeds or creating mini terrariums.
* Broken Pottery: Don’t throw away those cracked pots! We can use them for drainage or create mosaic designs.
* Old Shoes or Boots: A quirky and fun way to display small plants.
* Paint (exterior grade): To add color and protect your upcycled planters from the elements.
* Potting Soil: The lifeblood of our garden!
* Seeds or Seedlings: Choose your favorite flowers, herbs, or vegetables.
* Tools:
* Scissors or a utility knife
* Gloves (to protect your hands)
* Sandpaper (for smoothing rough edges)
* Drill (for drainage holes)
* Paintbrushes
* Measuring tape
* Safety glasses
Phase 1: Preparing Your Upcycled Planters
This is where the magic begins! We’ll transform our “trash” into functional and aesthetically pleasing planters.
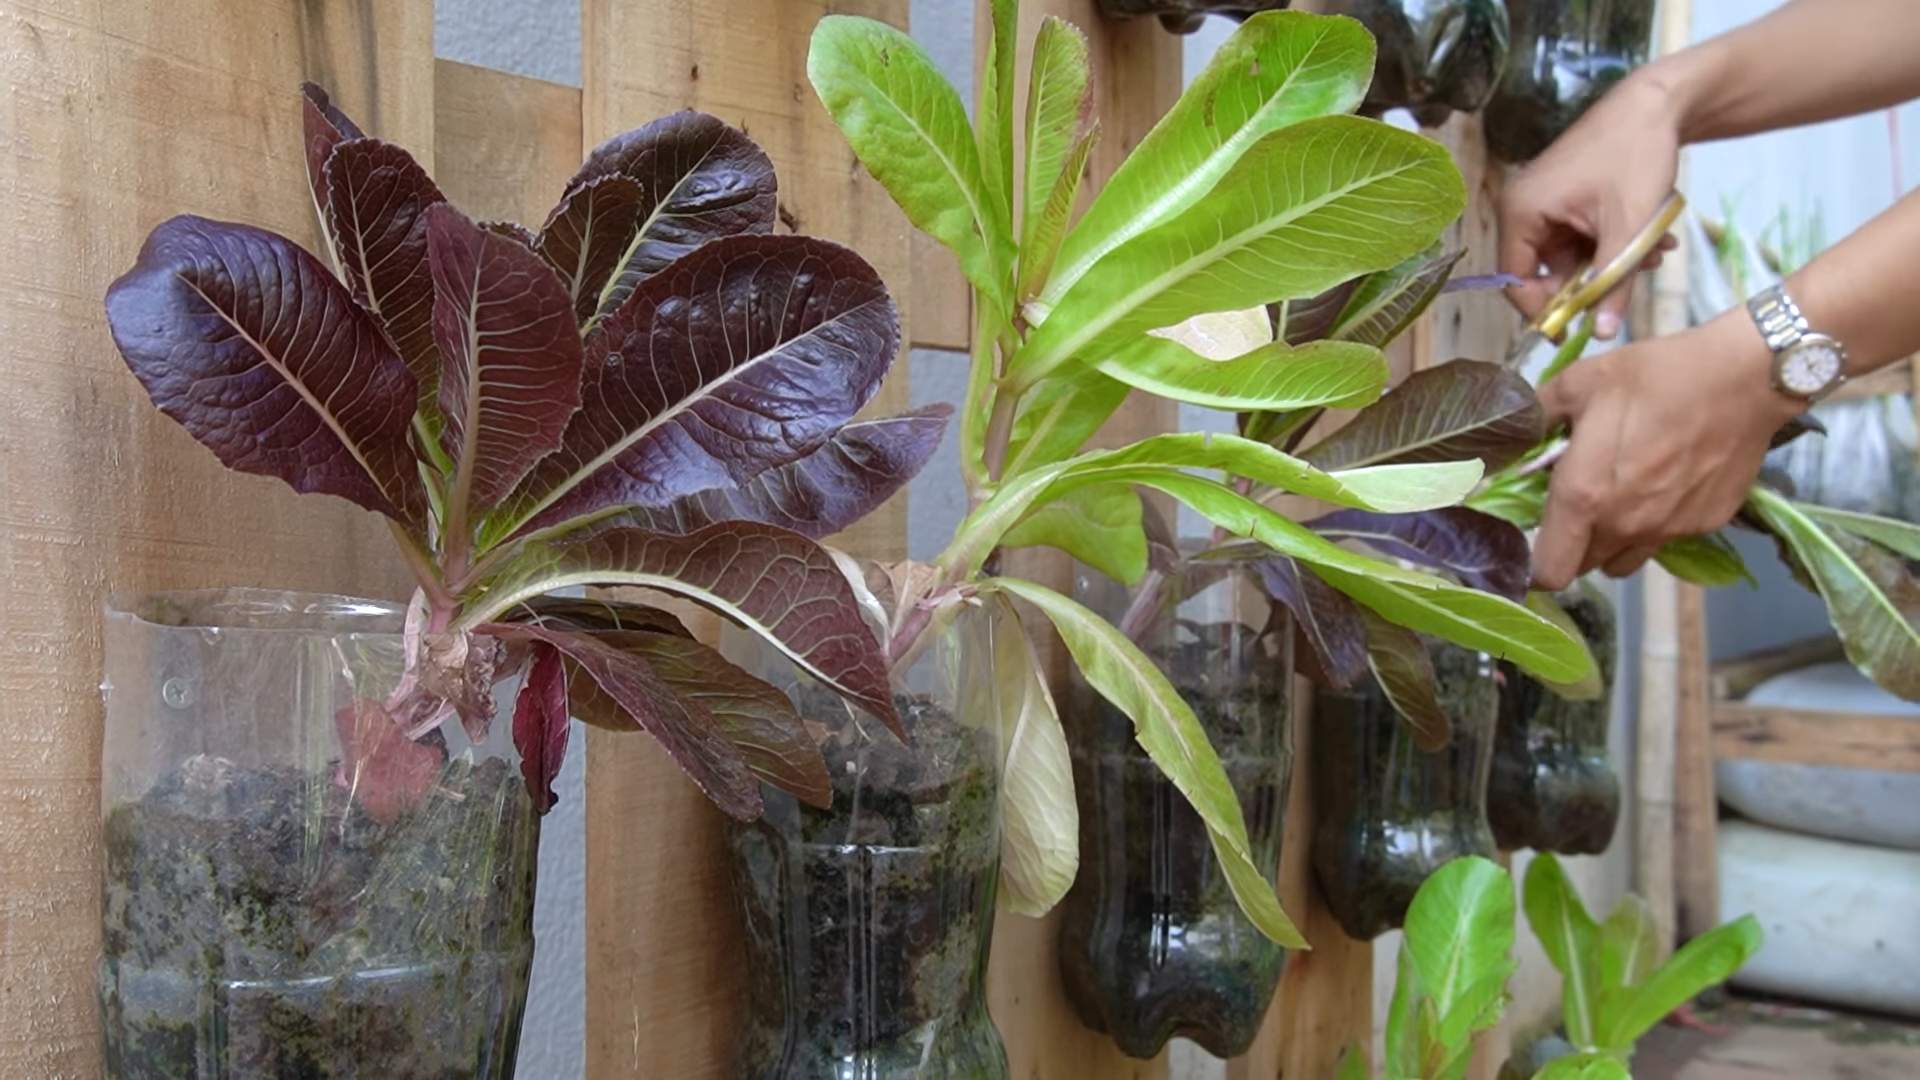
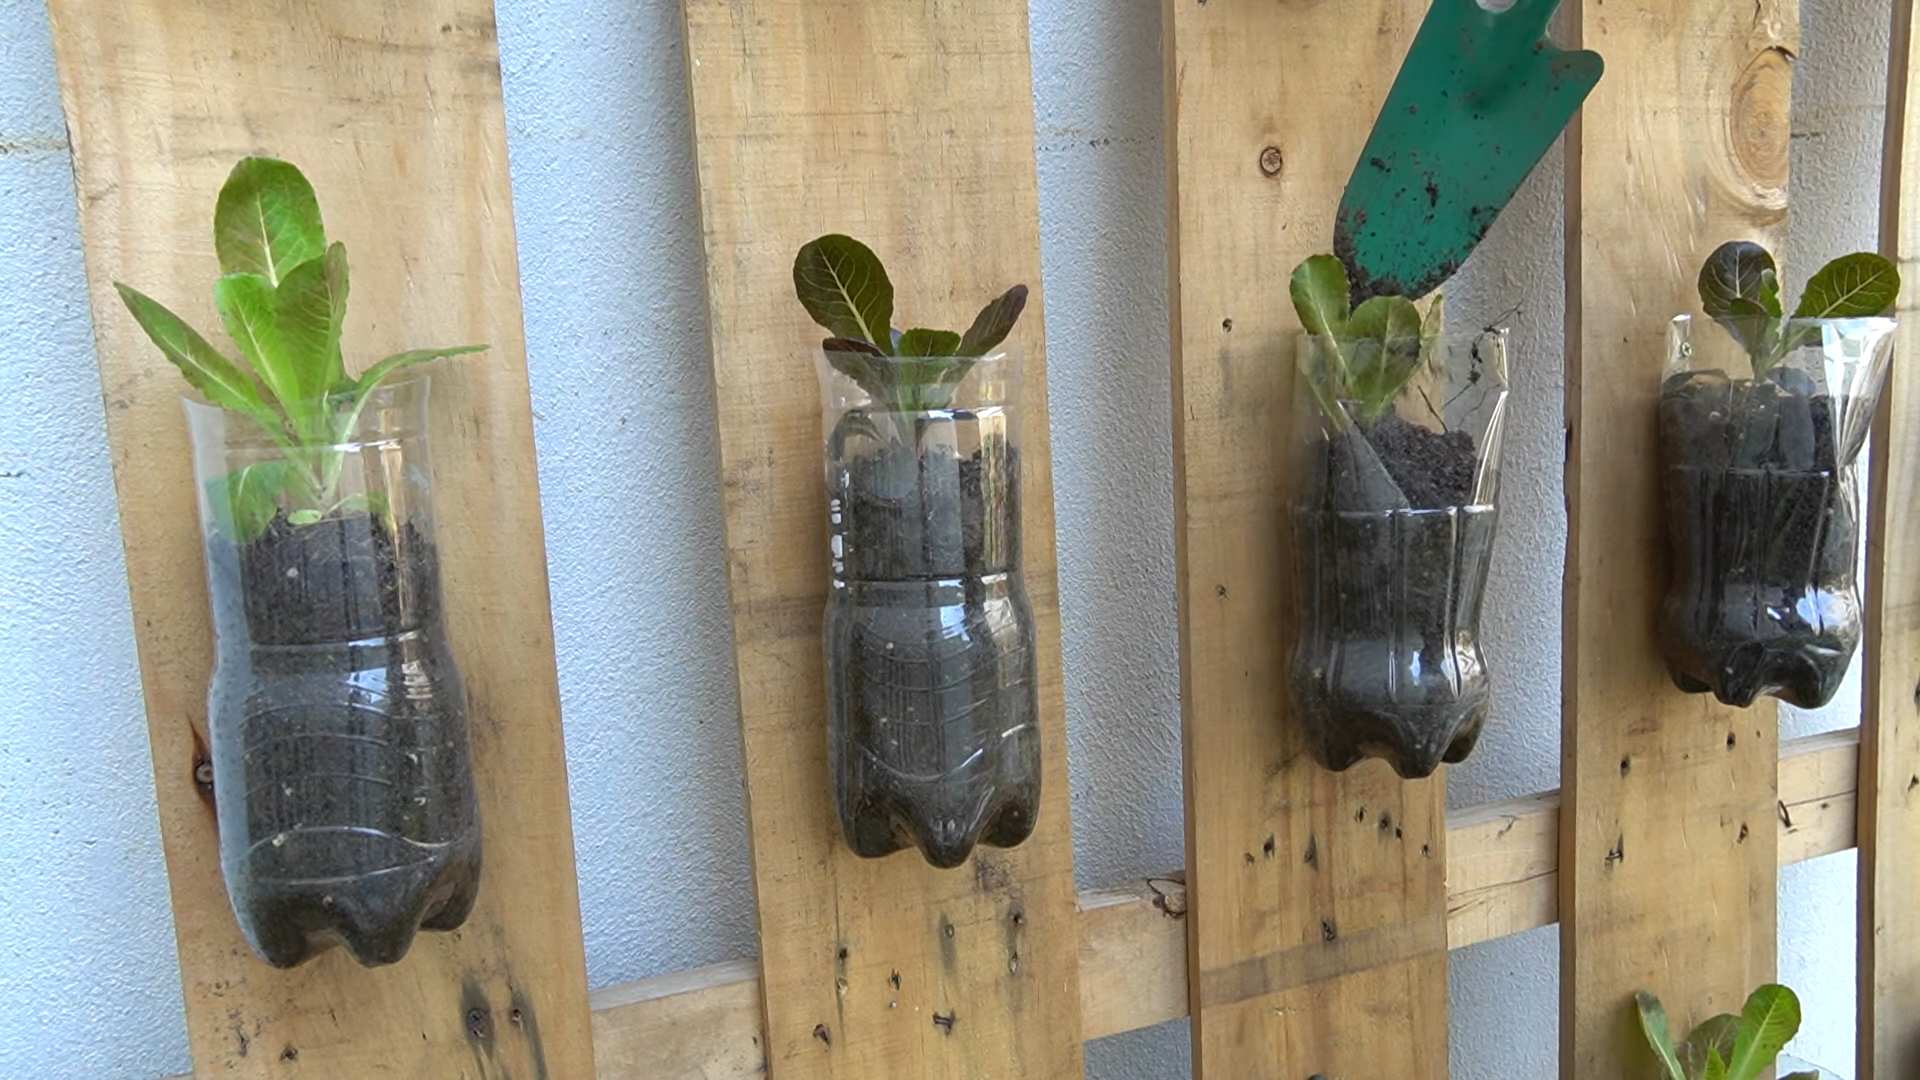
Plastic Bottle Planters
1. Clean the Bottles: Thoroughly wash each bottle with soap and water to remove any residue.
2. Cut the Bottles: Decide how you want to use the bottles. You can cut them in half horizontally to create two separate planters, or cut a rectangular opening on one side to create a trough-like planter. I personally like cutting them horizontally because it gives me more options.
3. Create Drainage Holes: Use a drill or a sharp object (like a nail) to create drainage holes in the bottom of each bottle. This is crucial to prevent waterlogging and root rot.
4. Sand the Edges (Optional): If the cut edges are sharp, use sandpaper to smooth them down. This will prevent any accidental cuts.
5. Paint and Decorate: Now for the fun part! Use exterior-grade paint to decorate your bottles. You can paint them solid colors, create patterns, or even draw designs. Let your creativity run wild! I love using bright colors to add a pop of vibrancy to my garden.
6. Let the Paint Dry: Allow the paint to dry completely before moving on to the next step.
Tin Can Planters
1. Clean the Cans: Wash the cans thoroughly with soap and water. Remove any labels and glue residue.
2. Create Drainage Holes: Use a drill or a nail and hammer to create drainage holes in the bottom of each can. Be careful not to bend the can while doing this.
3. Sand the Edges (Important!): The edges of tin cans can be very sharp. Use sandpaper to smooth them down thoroughly. This is especially important if you have children or pets.
4. Paint and Decorate: Just like with the plastic bottles, you can paint and decorate the cans to your liking. Consider using different colors and patterns to create a visually appealing display. I often use stencils to create intricate designs.
5. Let the Paint Dry: Allow the paint to dry completely.
Tire Planters
1. Clean the Tires: Wash the tires thoroughly with soap and water. Remove any dirt, grime, or debris.
2. Choose a Location: Tires can be heavy, so choose a location for your tire planters before you start painting.
3. Paint the Tires: Use exterior-grade paint to paint the tires. You can paint them solid colors, create patterns, or even paint them to look like animals or other fun characters. I’ve seen some amazing tire planters painted to look like giant teacups!
4. Let the Paint Dry: Allow the paint to dry completely.
5. Cut the Top (Optional): If you want to create a deeper planter, you can cut the top off the tire. Be very careful when doing this, as tires can be difficult to cut. Use a sharp utility knife or a reciprocating saw.
6. Add Drainage: If you’re not cutting the top off, make sure to drill several large drainage holes in the bottom of the tire.
Wooden Pallet Garden
1. Inspect the Pallet: Make sure the pallet is in good condition and hasn’t been treated with harmful chemicals. Look for a stamp that says “HT” (heat treated) instead of “MB” (methyl bromide), which is a toxic fumigant.
2. Clean the Pallet: Wash the pallet thoroughly with soap and water. Remove any dirt, grime, or debris.
3. Sand the Pallet: Sand down any rough edges or splinters.
4. Reinforce (Optional): If the pallet is flimsy, you can reinforce it with additional wood screws or nails.
5. Line the Back and Bottom: Use landscape fabric or heavy-duty plastic to line the back and bottom of the pallet. This will prevent soil from falling out. Secure the lining with staples or tacks.
6. Paint or Stain (Optional): You can paint or stain the pallet to match your garden decor.
7. Let the Paint/Stain Dry: Allow the paint or stain to dry completely.
Phase 2: Planting Your Garden
Now that our planters are ready, it’s time to get our hands dirty and plant our garden!
1. Fill the Planters with Potting Soil: Fill each planter with high-quality potting soil. Leave about an inch of space at the top.
2. Plant Your Seeds or Seedlings: Follow the instructions on the seed packet or seedling label for spacing and planting depth.
3. Water Thoroughly: Water the plants thoroughly after planting.
4. Place in a Sunny Location: Most plants need at least six hours of sunlight per day. Choose a location that receives plenty of sunlight.
5. Water Regularly: Water your plants regularly, especially during hot weather. Check the soil moisture by sticking your finger into the soil. If the soil feels dry, it’s time to water.
6. Fertilize (Optional): Fertilize your plants every few weeks with a balanced fertilizer.
Phase 3: Adding Finishing Touches and Garden Features
Now that your plants are happily growing, let’s add some finishing touches to make your upcycled garden truly special.
* Create Plant Markers: Use popsicle sticks, stones, or even old spoons to create plant markers. Write the name of each plant on the marker.
* Add Mulch: Mulch helps to retain moisture, suppress weeds, and regulate soil temperature. You can use wood chips, straw, or even shredded newspaper as mulch.
* Build a Compost Bin (Using Pallets!): A compost bin is a great way to recycle kitchen scraps and yard waste into nutrient-rich compost for your garden. You can easily build a compost bin using wooden pallets.
* Create a Vertical Garden: Use a wooden pallet or a repurposed shelving unit to create a vertical garden. This is a great way to save space and add visual interest to your garden.
* Build a Bug Hotel: A bug hotel provides shelter for beneficial insects that can help to pollinate your plants and control pests. You can build a bug hotel using a variety of materials, such as bamboo, pine cones, and straw.
* Add Decorative Elements: Add decorative elements to your garden, such as stones, shells, or garden gnomes. These elements can add personality and charm to your space. I love adding fairy lights to my garden for a magical touch in the evenings.
* Upcycled Garden Art: Use broken pottery pieces to create mosaic stepping stones or garden art. You can also use old CDs or DVDs to create shimmering garden ornaments.
Conclusion
So, there you have it! Transforming your household trash into a thriving garden is not just a whimsical idea; it’s a practical, eco-conscious, and surprisingly rewarding endeavor. We’ve walked you through the simple steps, highlighted the benefits, and hopefully, ignited a spark of inspiration within you to embrace the world of **Trash Garden DIY**.
Why is this a must-try? Because it’s more than just recycling; it’s upcycling at its finest. You’re not just diverting waste from landfills; you’re giving it a new lease on life, transforming discarded items into vibrant vessels for growth and beauty. Imagine the satisfaction of nurturing a flourishing herb garden in an old soda bottle or watching colorful flowers bloom from repurposed yogurt containers. It’s a tangible way to reduce your environmental footprint while adding a touch of unique charm to your home.
Beyond the environmental benefits, a trash garden offers a fantastic opportunity for creativity and personalization. Feel free to experiment with different types of containers, plants, and designs. Consider painting your repurposed planters with vibrant colors, adding decorative elements like pebbles or shells, or even creating vertical gardens using old pallets or plastic bottles. The possibilities are truly endless!
For example, if you’re short on space, consider creating a hanging trash garden using plastic bottles or tin cans. Simply attach them to a sturdy rope or wire and hang them from a balcony, fence, or even a sunny window. This is a great way to maximize your growing space and add a touch of greenery to even the smallest of areas.
Or, if you’re looking for a more rustic aesthetic, try using old wooden crates or pallets as planters. These can be easily found at local hardware stores or even online marketplaces. Simply line them with plastic sheeting to prevent the soil from leaking out and fill them with your favorite plants.
Don’t be afraid to get your kids involved in the process! A trash garden is a fantastic way to teach them about sustainability, recycling, and the importance of caring for the environment. Let them help you collect and clean the containers, plant the seeds, and water the plants. It’s a fun and educational activity that the whole family can enjoy.
We encourage you to take the plunge and embark on your own Trash Garden DIY adventure. Start small, experiment with different techniques, and don’t be afraid to make mistakes. The most important thing is to have fun and enjoy the process.
And most importantly, we want to hear about your experiences! Share your photos, tips, and stories with us in the comments section below. Let’s create a community of Trash Garden enthusiasts and inspire others to embrace this sustainable and creative way of gardening. What creative containers did you use? What plants thrived in your upcycled planters? We’re eager to learn from your successes and challenges. Together, we can transform our trash into treasure and create a more beautiful and sustainable world, one repurposed container at a time. So get out there, get creative, and get gardening!
Frequently Asked Questions (FAQ)
What types of trash can I use for a trash garden?
Almost any type of clean, sturdy container can be repurposed for a trash garden. Popular options include plastic bottles, tin cans, yogurt containers, milk jugs, old tires, wooden crates, and even discarded shoes! Just make sure the container is clean and has drainage holes to prevent waterlogging. Avoid using containers that have held hazardous materials.
How do I prepare the containers for planting?
First, thoroughly clean the containers with soap and water to remove any dirt or residue. Then, drill drainage holes in the bottom of the containers to allow excess water to escape. If you’re using a container that’s not food-safe, consider lining it with plastic sheeting to prevent any harmful chemicals from leaching into the soil. For containers with sharp edges, you can use sandpaper or duct tape to smooth them out and prevent injuries.
What kind of soil should I use?
Use a good-quality potting mix that’s specifically designed for container gardening. This type of soil is lightweight, well-draining, and contains the nutrients that plants need to thrive. Avoid using garden soil, as it can be too heavy and compacted for containers. You can also amend your potting mix with compost or other organic matter to improve its fertility and drainage.
What plants are best for a trash garden?
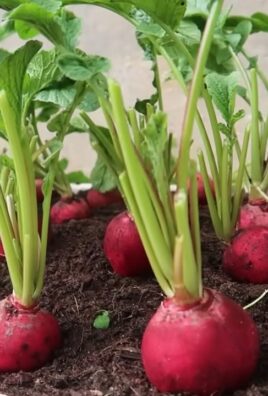
The best plants for a trash garden are those that are relatively small, easy to grow, and don’t require a lot of space. Some popular options include herbs like basil, mint, and thyme; vegetables like lettuce, spinach, and radishes; and flowers like pansies, petunias, and marigolds. Consider the amount of sunlight your trash garden will receive when choosing your plants.
How often should I water my trash garden?
The frequency of watering will depend on the type of plants you’re growing, the size of the containers, and the weather conditions. Generally, you should water your trash garden whenever the top inch of soil feels dry to the touch. Avoid overwatering, as this can lead to root rot. During hot, dry weather, you may need to water your plants more frequently.
How do I fertilize my trash garden?
Container plants need regular fertilization to stay healthy and productive. You can use a liquid fertilizer that’s specifically designed for container gardening. Follow the instructions on the fertilizer label carefully. You can also use organic fertilizers like compost tea or worm castings. Fertilize your plants every two to four weeks during the growing season.
How do I protect my trash garden from pests and diseases?
Regularly inspect your plants for signs of pests or diseases. If you find any, take action immediately to prevent them from spreading. You can use organic pest control methods like insecticidal soap or neem oil. You can also try companion planting, which involves planting certain plants together that repel pests or attract beneficial insects. Ensure good air circulation around your plants to prevent fungal diseases.
Can I grow a trash garden indoors?
Yes, you can definitely grow a trash garden indoors! Just make sure your plants receive enough sunlight. If you don’t have a sunny window, you can use grow lights to supplement the natural light. Choose plants that are well-suited for indoor growing conditions.
What if I don’t have a lot of space?
That’s the beauty of a trash garden – it can be adapted to fit any space! Consider creating a vertical garden using plastic bottles or tin cans. You can also hang your trash garden from a balcony, fence, or even a sunny window. Get creative and think outside the box!
How can I make my trash garden more visually appealing?
There are many ways to make your trash garden more visually appealing. Consider painting your repurposed planters with vibrant colors, adding decorative elements like pebbles or shells, or even creating a mosaic design. You can also use different sizes and shapes of containers to add visual interest. Arrange your plants in a pleasing way, taking into account their height, color, and texture. The key is to have fun and let your creativity shine!
Leave a Comment