
Easy cleaning hacks are the secret weapon every homeowner needs in their arsenal! Let’s face it, cleaning isn’t exactly anyone’s favorite pastime. We’d all rather be curled up with a good book or enjoying the sunshine, right? But a clean home is a happy home, and that’s where these clever tricks come in.
For centuries, people have been devising ingenious ways to keep their homes sparkling with minimal effort. Think about it – our grandmothers and great-grandmothers didn’t have the fancy gadgets we do today, yet their homes were often impeccably clean. They relied on simple, effective methods passed down through generations. These easy cleaning hacks are inspired by that same spirit of resourcefulness and ingenuity.
In today’s busy world, time is precious. Who wants to spend hours scrubbing and polishing? That’s why I’m so excited to share these DIY cleaning solutions with you. They’re designed to save you time, money, and energy, allowing you to reclaim your weekends and enjoy the things you truly love. From tackling stubborn stains to banishing unpleasant odors, these hacks will transform your cleaning routine from a chore into a breeze. Get ready to discover the power of simple ingredients and clever techniques – your sparkling clean home awaits!
DIY Cleaning Hacks That Will Save You Time and Money!
Okay, let’s be honest, cleaning isn’t exactly anyone’s favorite pastime. But a clean home is a happy home, right? I’ve gathered some of my absolute favorite DIY cleaning hacks that are not only super effective but also use ingredients you probably already have in your pantry. Get ready to ditch those expensive cleaning products and embrace the power of DIY!
Cleaning Your Microwave with Lemon Power
Microwaves, those convenient kitchen appliances, can quickly become breeding grounds for splatters and grime. But fear not! This lemon hack is a game-changer.
What you’ll need:
* 1 Lemon
* 1 Cup of water
* Microwave-safe bowl
Step-by-step instructions:
1. Prepare the lemon solution: Cut the lemon in half. Squeeze the juice from both halves into the microwave-safe bowl. Then, drop the lemon halves into the bowl as well.
2. Add water: Pour one cup of water into the bowl with the lemon juice and lemon halves.
3. Microwave the mixture: Place the bowl in the microwave and heat on high for 3-5 minutes. You want the water to boil and create steam.
4. Let it steam: After microwaving, don’t open the door immediately! Let the steam sit inside the microwave for another 5-10 minutes. This steam will loosen all the grime and splatters.
5. Wipe it clean: Carefully remove the bowl (it will be hot!). Use a clean cloth or sponge to wipe down the inside of the microwave. You’ll be amazed at how easily the dirt comes off! The lemon scent will also leave your microwave smelling fresh and clean.
Deodorizing Your Garbage Disposal
That funky smell coming from your garbage disposal? Yeah, nobody wants that. Here’s a simple and natural way to freshen it up.
What you’ll need:
* Ice cubes
* Lemon or lime wedges
* Coarse salt (like kosher salt)
Step-by-step instructions:
1. Prepare the ice cubes: Fill an ice cube tray with water and freeze. You can also use store-bought ice cubes.
2. Add citrus: Cut a lemon or lime into wedges.
3. Combine ingredients: Toss a handful of ice cubes, a few lemon or lime wedges, and a tablespoon or two of coarse salt into the garbage disposal.
4. Run the disposal: Turn on the cold water and run the garbage disposal for about 30-60 seconds. The ice helps to scrub the disposal blades, the citrus deodorizes, and the salt helps to break down any built-up grime.
5. Repeat if needed: If the smell persists, repeat the process. You can also add a few drops of your favorite essential oil for an extra boost of freshness.
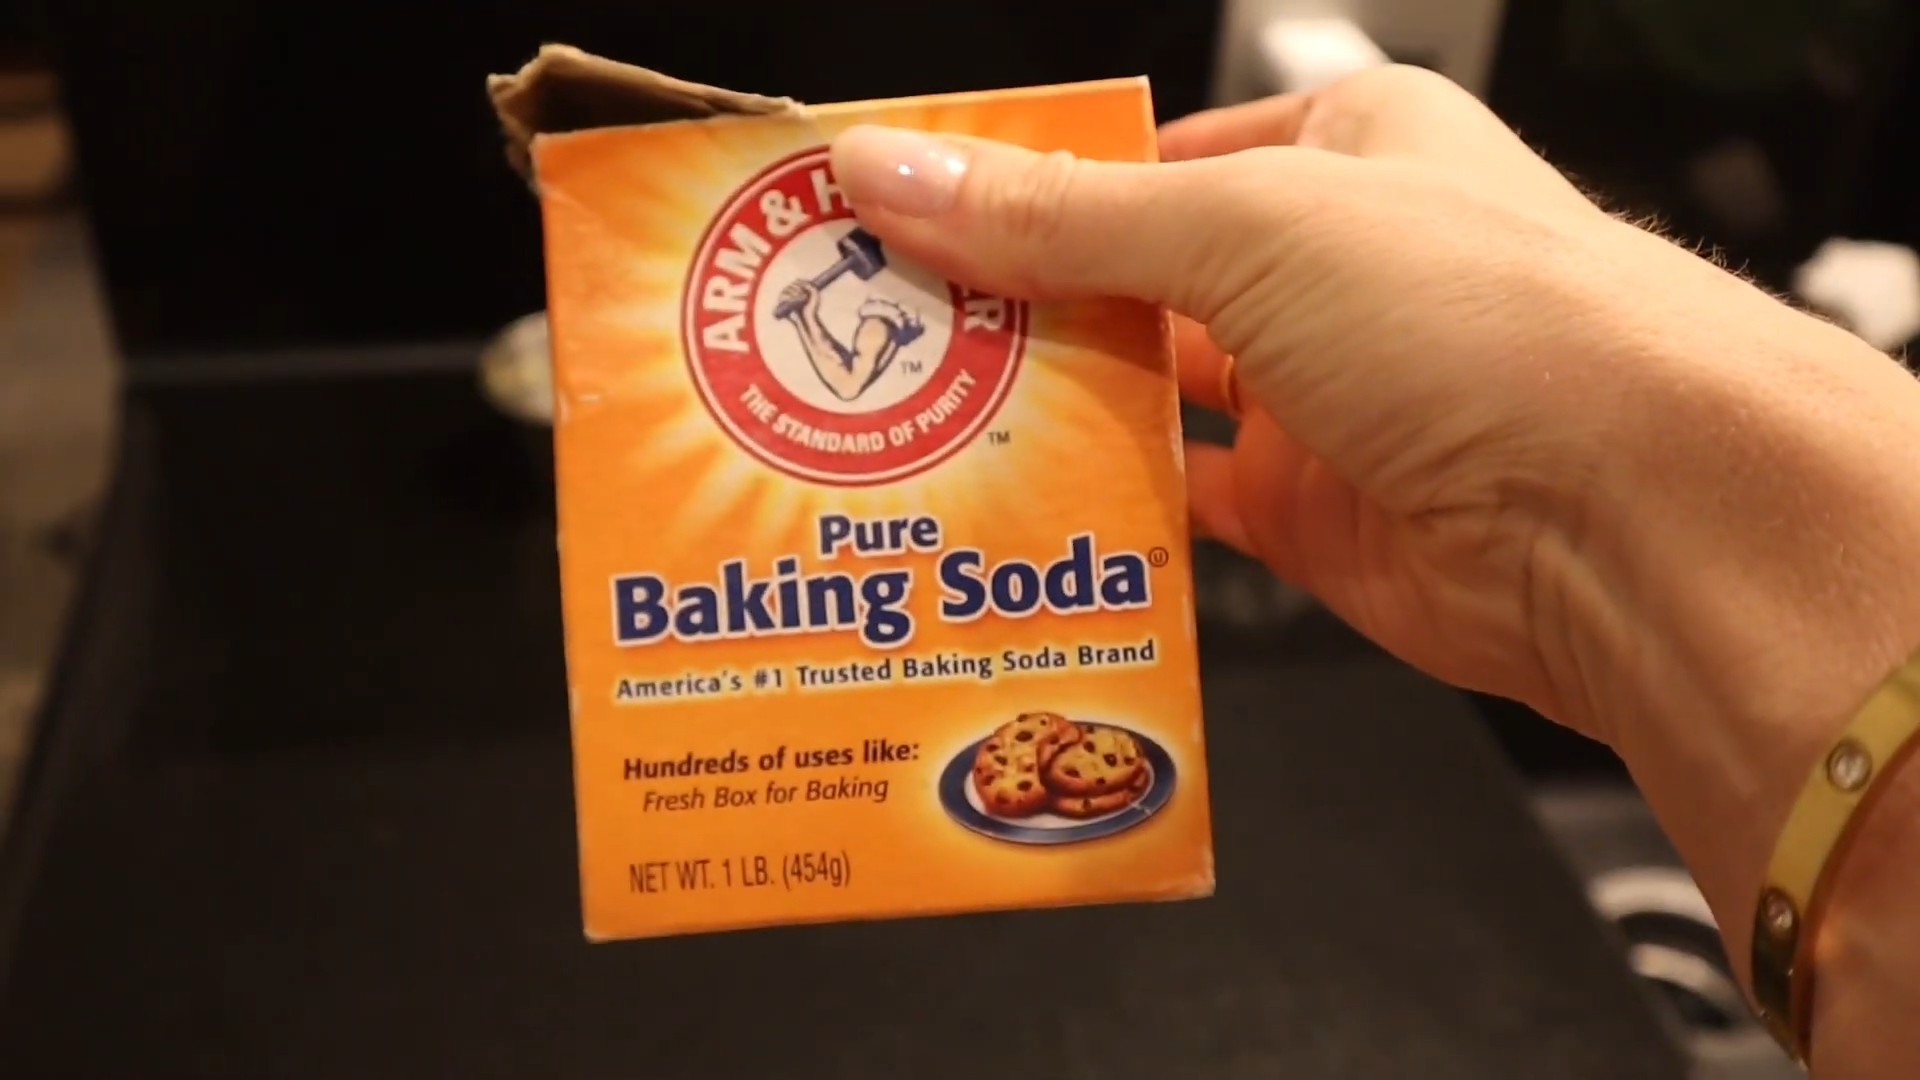
Cleaning Grout with Baking Soda and Vinegar
Grimey grout can make your whole bathroom look dirty. This baking soda and vinegar combo is a powerful, natural cleaner.
What you’ll need:
* Baking soda
* White vinegar
* Old toothbrush or grout brush
* Spray bottle
* Water
Step-by-step instructions:
1. Create a baking soda paste: Mix baking soda with a little water to form a thick paste.
2. Apply the paste: Apply the baking soda paste to the grout lines. Let it sit for about 5-10 minutes.
3. Spray with vinegar: Fill a spray bottle with white vinegar and spray it directly onto the baking soda paste. You’ll see it fizz!
4. Scrub the grout: Use an old toothbrush or grout brush to scrub the grout lines. The fizzing action helps to loosen the dirt and grime.
5. Rinse with water: Rinse the area with clean water. You can use a damp cloth or sponge to wipe away any remaining baking soda residue.
6. Dry the area: Dry the area with a clean towel.
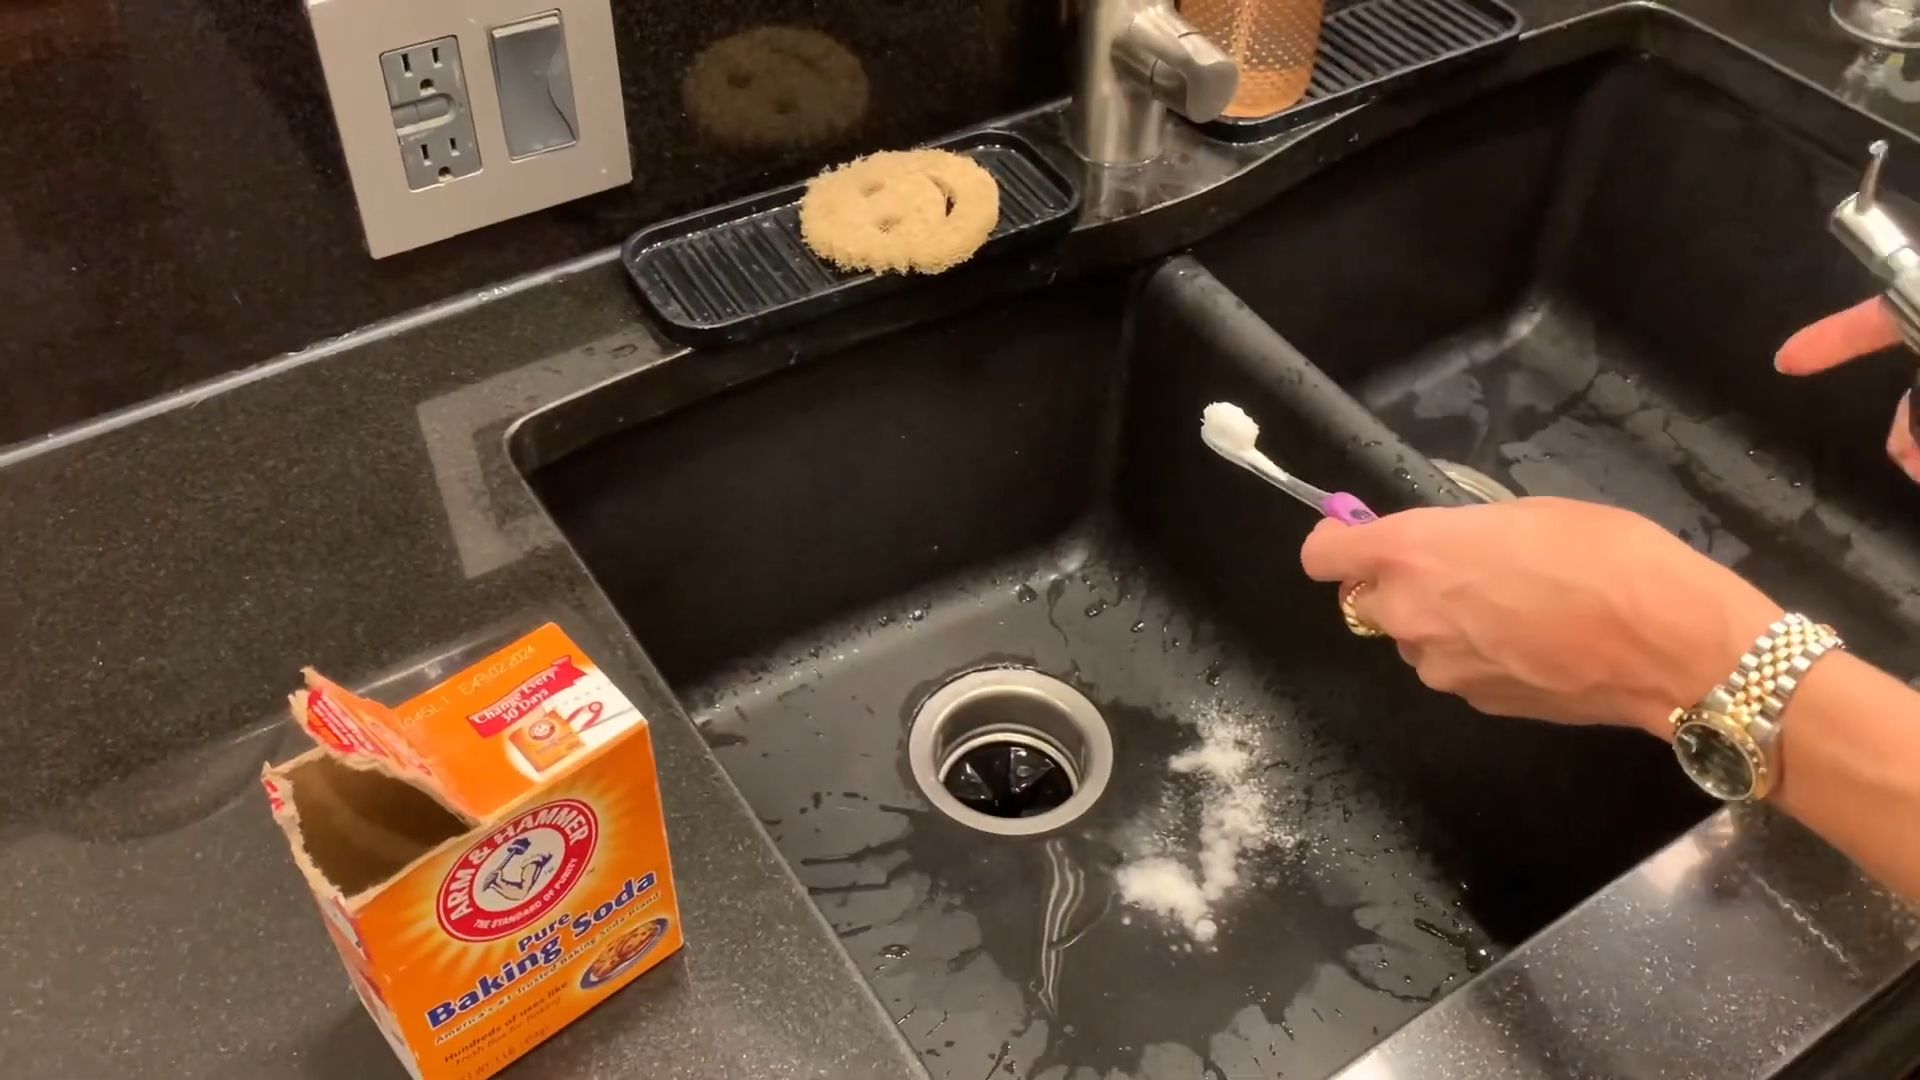
Unclogging Drains with Baking Soda and Vinegar
A clogged drain is a major inconvenience. This baking soda and vinegar method is a safe and effective alternative to harsh chemical drain cleaners.
What you’ll need:
* 1 cup baking soda
* 2 cups white vinegar
* Boiling water
Step-by-step instructions:
1. Pour in baking soda: Pour one cup of baking soda down the clogged drain.
2. Add vinegar: Immediately follow with two cups of white vinegar.
3. Let it fizz: Let the mixture fizz for about 30 minutes. This chemical reaction helps to break down the clog.
4. Flush with boiling water: After 30 minutes, carefully pour a pot of boiling water down the drain.
5. Repeat if needed: If the drain is still clogged, repeat the process. For stubborn clogs, you may need to repeat it several times.
Cleaning Your Showerhead
Mineral buildup can clog your showerhead and reduce water pressure. This vinegar soak will have it working like new.
What you’ll need:
* White vinegar
* Plastic bag (gallon-sized)
* Rubber band or twist tie
Step-by-step instructions:
1. Fill the bag with vinegar: Pour enough white vinegar into the plastic bag to completely submerge the showerhead.
2. Attach the bag to the showerhead: Carefully place the bag over the showerhead, ensuring that the showerhead is fully submerged in the vinegar.
3. Secure the bag: Use a rubber band or twist tie to secure the bag to the showerhead.
4. Soak overnight: Let the showerhead soak in the vinegar overnight (or for at least a few hours).
5. Remove the bag and rinse: Remove the bag and discard the vinegar. Run the shower for a few minutes to flush out any remaining vinegar and loosened mineral deposits.
6. Wipe clean: Wipe the showerhead clean with a damp cloth.
Cleaning Your Blender
Cleaning a blender can be tricky, especially if you’ve been making smoothies with sticky ingredients. This self-cleaning hack is a lifesaver.
What you’ll need:
* Water
* Dish soap
Step-by-step instructions:
1. Fill the blender halfway: Fill the blender jar about halfway with warm water.
2. Add dish soap: Add a few drops of dish soap to the water.
3. Blend: Secure the lid and blend on high speed for about 30-60 seconds.
4. Rinse: Carefully pour out the soapy water and rinse the blender jar thoroughly with clean water.
5. Dry: Let the blender jar air dry or dry it with a clean towel.
Freshening Up Your Mattress
Mattresses can harbor dust mites and odors. This baking soda treatment will leave your mattress feeling fresh and clean.
What you’ll need:
* Baking soda
* Essential oil (optional)
* Vacuum cleaner with upholstery attachment
Step-by-step instructions:
1. Strip the bed: Remove all bedding from the mattress.
2. Sprinkle with baking soda: Generously sprinkle baking soda over the entire surface of the mattress.
3. Add essential oil (optional): If desired, add a few drops of your favorite essential oil to the baking soda before sprinkling it on the mattress. Lavender, eucalyptus, and tea tree oil are all great choices for their antibacterial and deodorizing properties.
4. Let it sit: Let the baking soda sit on the mattress for at least 30 minutes, or even better, for a few hours. This allows the baking soda to absorb odors and moisture.
5. Vacuum thoroughly: Use the upholstery attachment on your vacuum cleaner to thoroughly vacuum the entire surface of the mattress, removing all traces of baking soda.
6. Flip and repeat: Flip the mattress and repeat the process on the other side.
Cleaning Burnt Food from Pots and Pans
Burnt food stuck to the bottom of your pots and pans? Don’t despair! This baking soda and vinegar trick can help.
What you’ll need:
* Baking soda
* White vinegar
* Water
* Dish soap
* Non-abrasive sponge or scrubber
Step-by-step instructions:
1. Cover the burnt food: Cover the burnt food with a generous layer of baking soda.
2. Add vinegar: Pour a layer of white vinegar over the baking soda. You’ll see it fizz.
3. Add water: Add enough water to cover the burnt food.
4. Bring to a boil: Bring the mixture to a boil on the stov
Conclusion
So, there you have it! This simple yet incredibly effective DIY cleaning trick is more than just a time-saver; it’s a game-changer for anyone looking to maintain a sparkling clean home without resorting to harsh chemicals or spending a fortune on specialized products. We’ve shown you how to harness the power of readily available ingredients to tackle common cleaning challenges, leaving your surfaces gleaming and your home smelling fresh.
Why is this DIY cleaning trick a must-try? Because it’s:
* Economical: Say goodbye to expensive cleaning solutions. This method utilizes ingredients you likely already have in your pantry, saving you money in the long run.
* Eco-Friendly: Reduce your environmental impact by ditching harsh chemicals and opting for a natural, biodegradable solution.
* Effective: Don’t let the simplicity fool you. This trick is surprisingly powerful at cutting through grease, grime, and everyday dirt.
* Versatile: Adaptable to various surfaces and cleaning needs, making it a one-stop solution for many household chores.
* Easy: The steps are straightforward and require minimal effort, making it perfect for busy individuals and families.
But the beauty of DIY lies in its adaptability! Feel free to experiment with variations to suit your specific needs and preferences. For instance:
* For a stronger disinfectant: Add a few drops of tea tree oil or eucalyptus oil to your solution. These essential oils possess natural antibacterial and antifungal properties.
* For a more pleasant scent: Infuse your cleaning solution with citrus peels (lemon, orange, or grapefruit) for a refreshing and invigorating aroma. Simply add the peels to the solution and let it steep for a few hours before using.
* For tackling stubborn stains: Create a paste by mixing the cleaning solution with baking soda. Apply the paste to the stain, let it sit for a few minutes, and then scrub gently.
* For cleaning wood surfaces: Dilute the solution further with water to prevent damage to the wood finish. Always test on an inconspicuous area first.
We are confident that once you try this DIY cleaning trick, you’ll be amazed by the results. It’s a simple, effective, and sustainable way to keep your home clean and healthy.
Now, it’s your turn! We encourage you to give this DIY cleaning trick a try and share your experience with us. Let us know what variations you’ve experimented with and how it worked for you. Your feedback is invaluable and helps us refine and improve our cleaning tips. Share your before-and-after photos, your favorite scent combinations, and any other helpful tips you’ve discovered along the way. Let’s create a community of clean-home enthusiasts who are passionate about sustainable and effective cleaning practices. Embrace the power of easy cleaning hacks and transform your home into a sparkling sanctuary!
Frequently Asked Questions (FAQ)
Is this DIY cleaning trick safe for all surfaces?
While this DIY cleaning trick is generally safe for most surfaces, it’s always a good idea to test it on an inconspicuous area first, especially on delicate materials like wood, marble, or painted surfaces. Diluting the solution further with water can also help to minimize the risk of damage. Avoid using it on surfaces that are known to be sensitive to acidic solutions, such as certain types of natural stone.
What are the best ingredients to use for this DIY cleaning trick?
The best ingredients are those that are readily available and effective for your specific cleaning needs. White vinegar is a great all-purpose cleaner and disinfectant. Baking soda is excellent for scrubbing and deodorizing. Lemon juice adds a fresh scent and helps to cut through grease. Water is essential for diluting the solution and preventing damage to surfaces. Experiment with different combinations and ratios to find what works best for you.
How often should I use this DIY cleaning trick?
The frequency of use depends on your cleaning habits and the level of dirt and grime in your home. For general cleaning, you can use this trick as often as needed. For tougher stains or heavily soiled areas, you may need to use it more frequently. Regular use of this DIY cleaning trick can help to prevent the buildup of dirt and grime, making your cleaning tasks easier in the long run.
Can I use this DIY cleaning trick to clean my bathroom?
Yes, this DIY cleaning trick is excellent for cleaning bathrooms. It can be used to clean sinks, toilets, showers, and tiles. The vinegar helps to remove soap scum and hard water stains, while the baking soda acts as a gentle abrasive to scrub away dirt and grime. Be sure to ventilate the bathroom well when using this cleaning solution.
Is this DIY cleaning trick safe for pets and children?
This DIY cleaning trick is generally safer than commercial cleaning products, which often contain harsh chemicals that can be harmful to pets and children. However, it’s still important to keep the cleaning solution out of reach of children and pets. Avoid spraying it directly on pets or allowing them to ingest it. If you have concerns about the safety of this cleaning trick, consult with your veterinarian or pediatrician.
How long does the DIY cleaning solution last?
The DIY cleaning solution can last for several weeks when stored in a sealed container in a cool, dark place. However, it’s best to use it within a few weeks to ensure its effectiveness. If the solution starts to smell or change color, it’s best to discard it and make a fresh batch.
Can I add essential oils to this DIY cleaning trick?
Yes, adding essential oils to this DIY cleaning trick can enhance its cleaning power and add a pleasant scent. Tea tree oil, eucalyptus oil, lavender oil, and lemon oil are all excellent choices. Add a few drops of your favorite essential oil to the cleaning solution and shake well before using. Be sure to use high-quality essential oils that are safe for cleaning purposes.
What are some other easy cleaning hacks I can use in my home?
There are many other easy cleaning hacks you can use to keep your home clean and tidy. Some popular hacks include using vinegar to clean coffee makers, using baking soda to deodorize carpets, and using lemon juice to remove stains from clothing. Experiment with different cleaning hacks to find what works best for you and your home. Remember to always test new cleaning methods on an inconspicuous area first to avoid damage.


Leave a Comment